In lane Planning & Budget
Create Elegant Faux Rattan Wedding Menus with Cardstock and Cricut
Description
Discover how to make stunning faux rattan wedding menus using cardstock and a Cricut machine, adding a touch of natural elegance to your celebration.
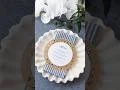
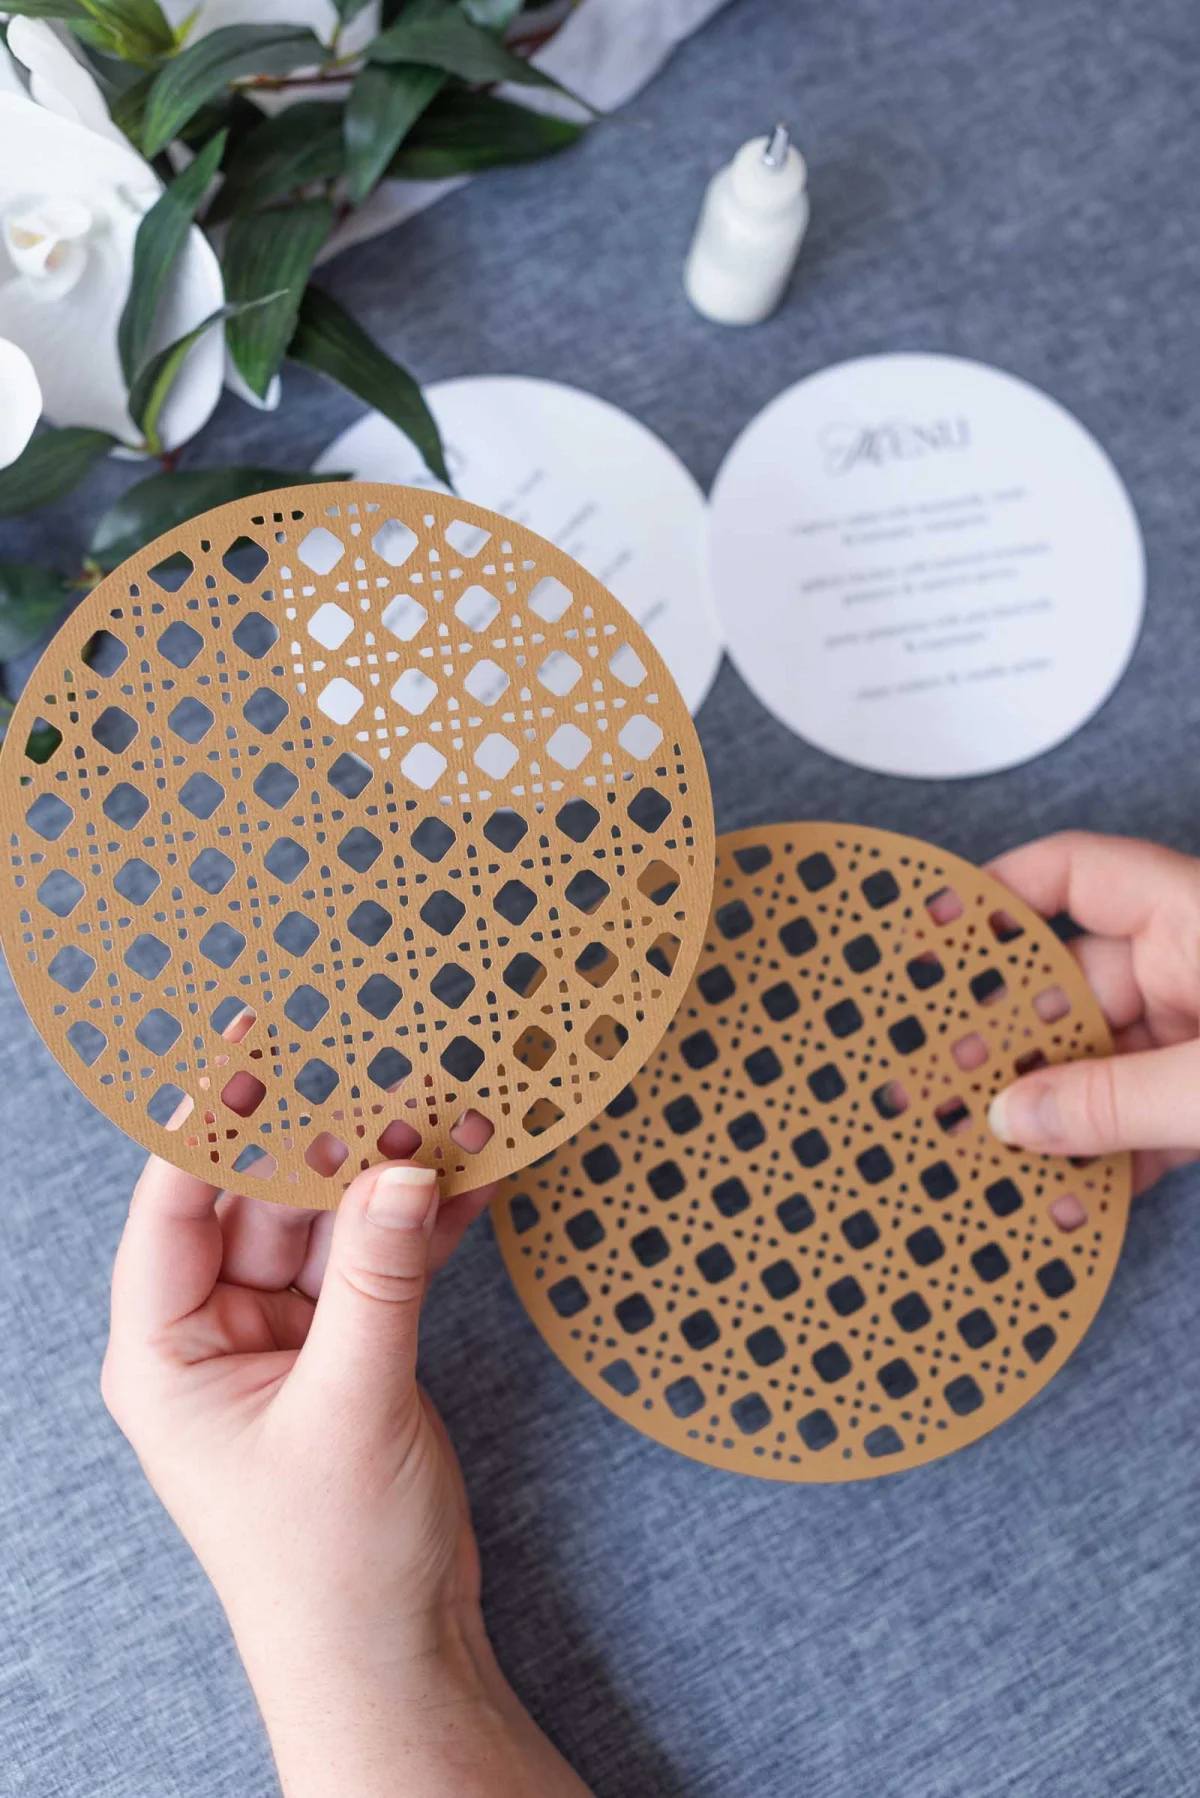
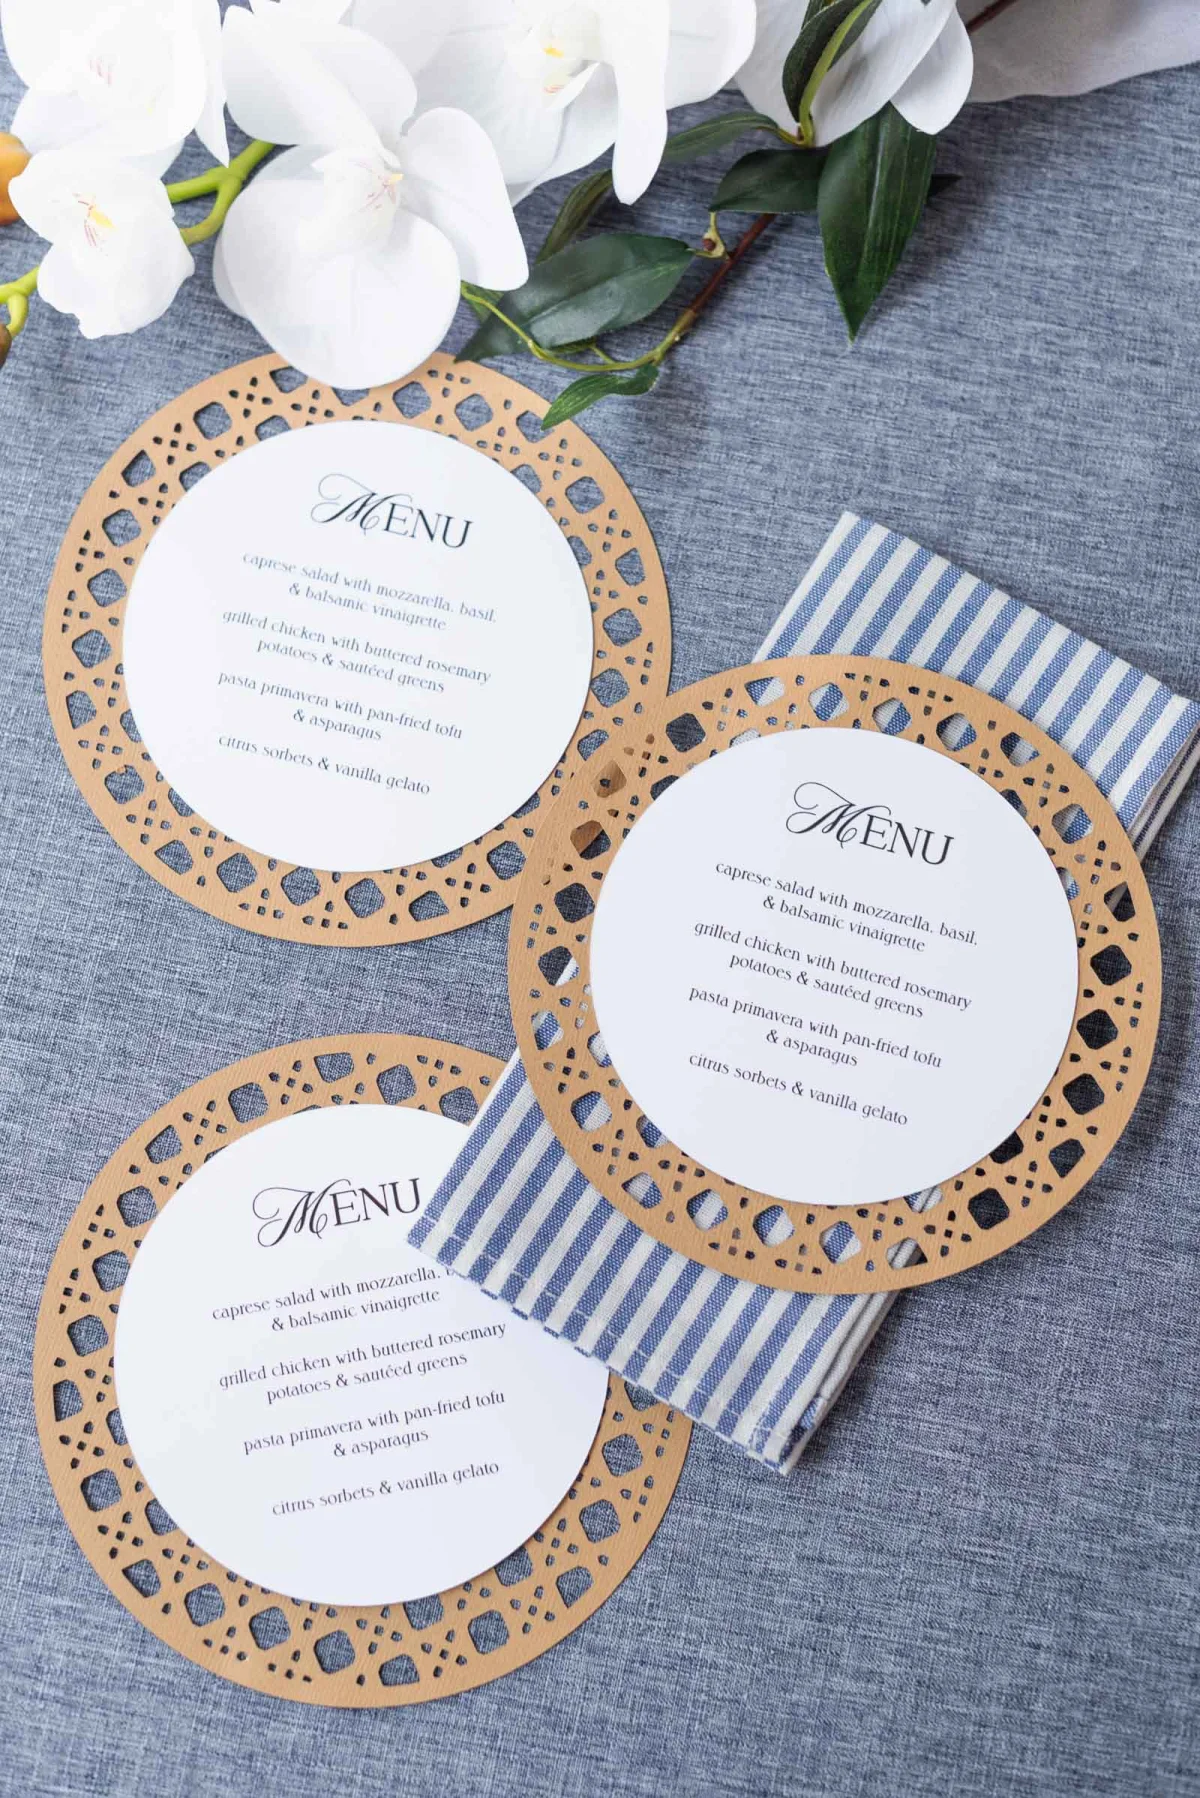
In the world of wedding design, natural textures are increasingly popular, with rattan accents and organic materials lending warmth and charm to reception tables. A standout choice in this trend is the use of faux rattan as a decorative element. While genuine cane webbing has its own appeal for larger pieces, it poses challenges for smaller elements such as menus and place cards. That’s where papercrafting comes into play. By using textured cardstock and precise Cricut cutwork, couples can achieve the woven look of rattan without the bulk or expense of real cane webbing, resulting in lightweight, customizable wedding menus that are perfect for any occasion, especially on a budget.
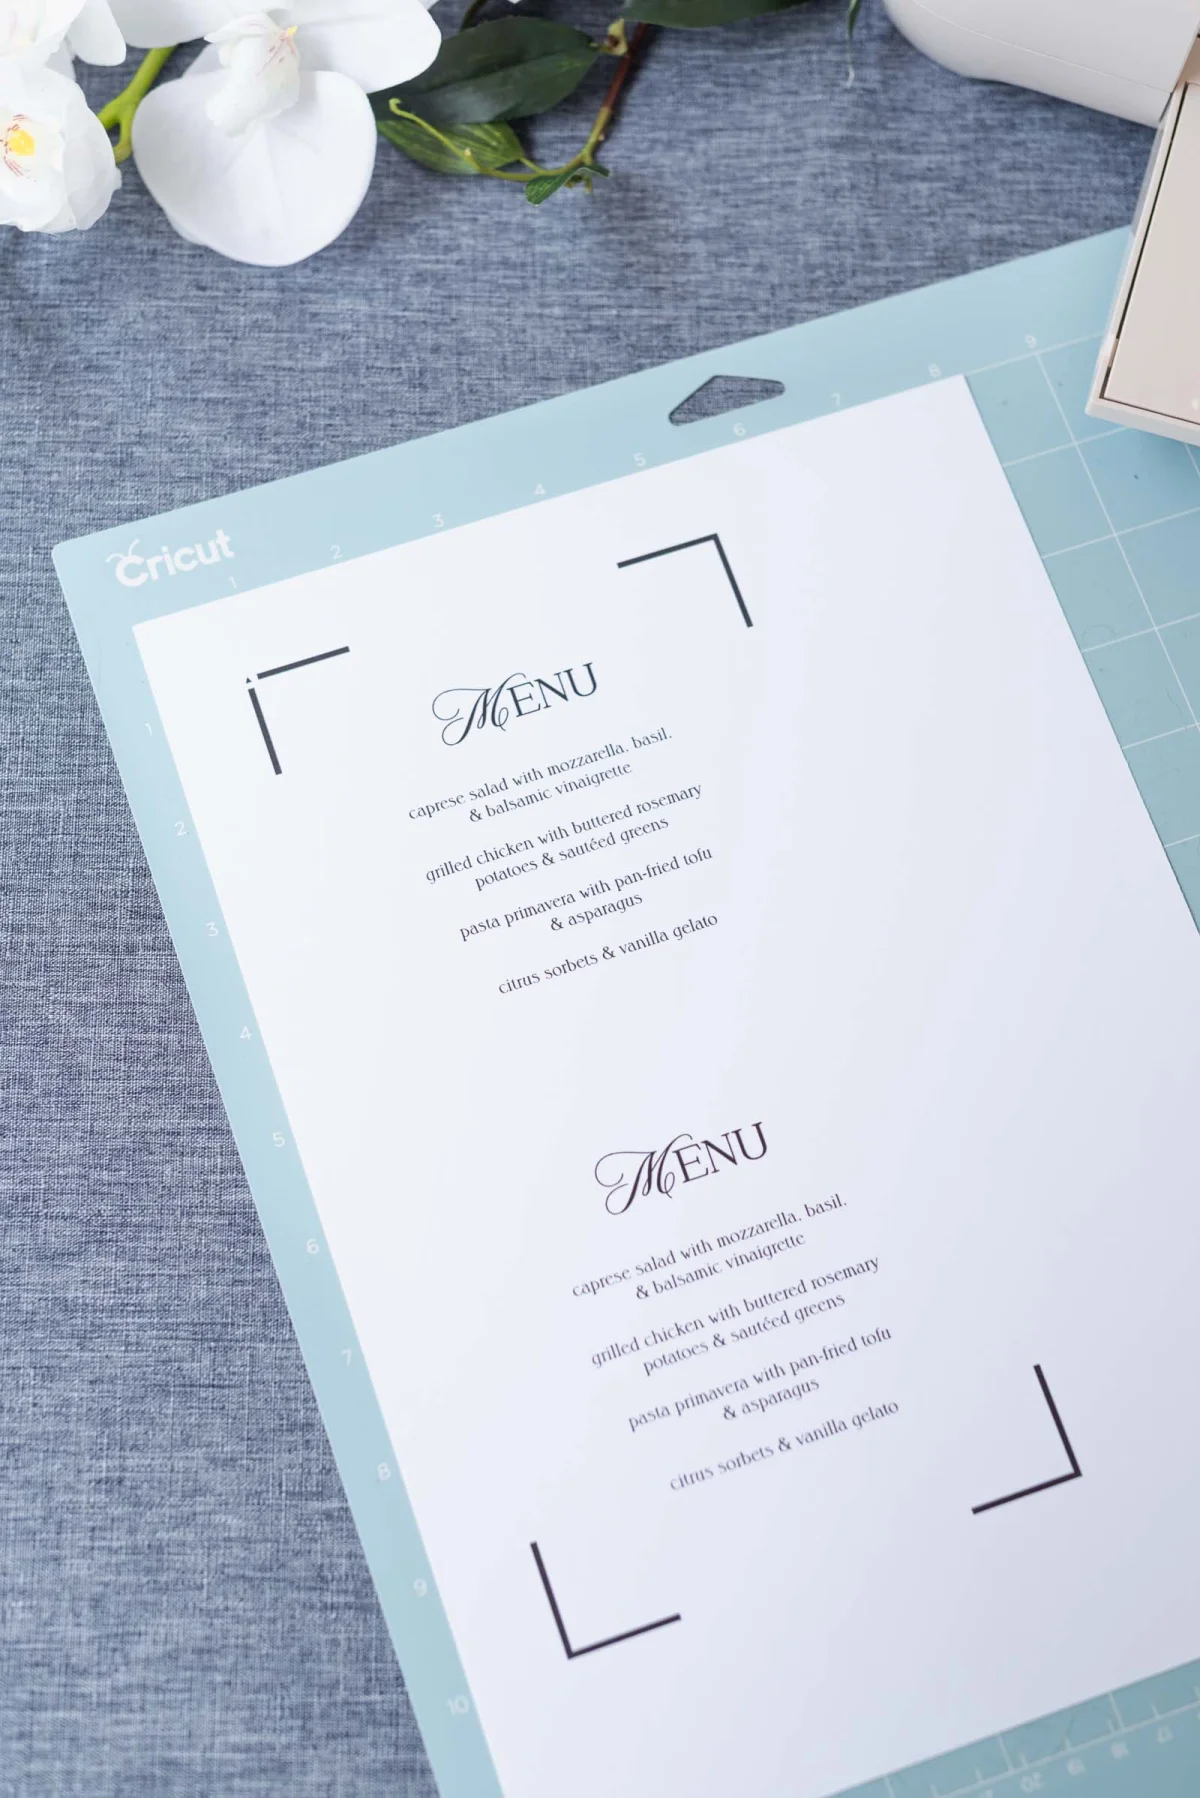
Whether you’re hosting a garden celebration, a coastal gathering, or a chic bohemian reception, this DIY menu tutorial offers a straightforward approach to incorporating the rattan aesthetic into your wedding décor. Let’s explore the benefits and process of creating these charming faux rattan menus.
Benefits of Faux Rattan Cardstock for Your Wedding Menus
Contemporary weddings often showcase the beauty of rattan accents, as seen on social media platforms where styled weddings capture the essence of luxury and natural warmth. Real cane webbing certainly adds an organic look, but it also comes with considerable drawbacks, especially for DIY enthusiasts. The primary concerns include high costs, intricate preparation (such as soaking rigid fibers), and the difficulty of securing rattan without heavy adhesives.
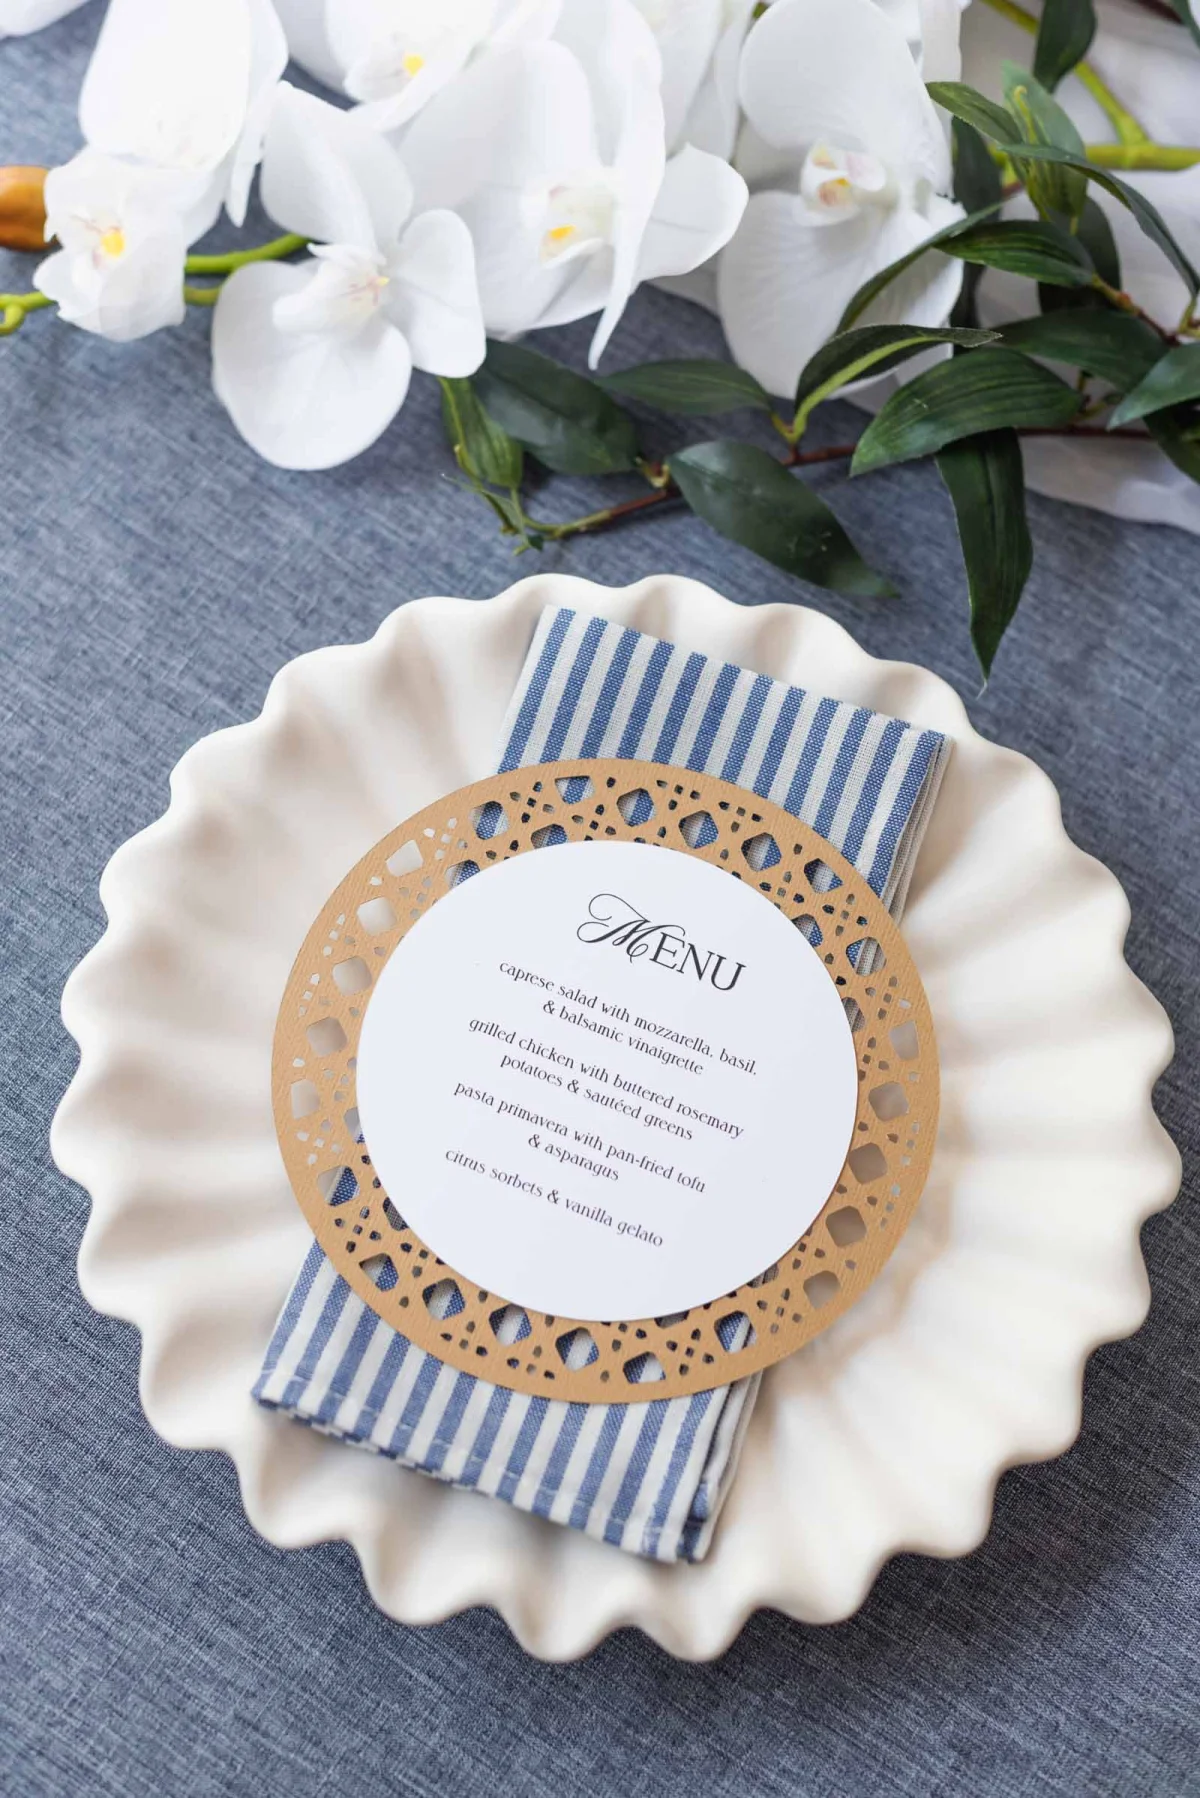
Using textured cardstock instead provides several advantages: it mimics the earthy, chic appeal of real rattan while being less expensive and more manageable for those new to crafting. Importantly, paper menus are recyclable, making this an eco-friendly option for couples wanting to reduce waste after their big day.
Step-by-Step: Crafting Rattan Inspired Wedding Menus with Cricut
Skill Level: Beginner
Materials Needed
- Cricut cutting machine
- Fine-point blade
- Caramel-brown textured cardstock (minimum 80lb / 216gsm)
- White smooth cardstock compatible with your printer (minimum 80lb / 216gsm)
- Home inkjet printer
- LightGrip cutting mat
- Brayer (optional)
- Toothpick
- XL scraper tool
- Quick-drying craft glue with a precision tip
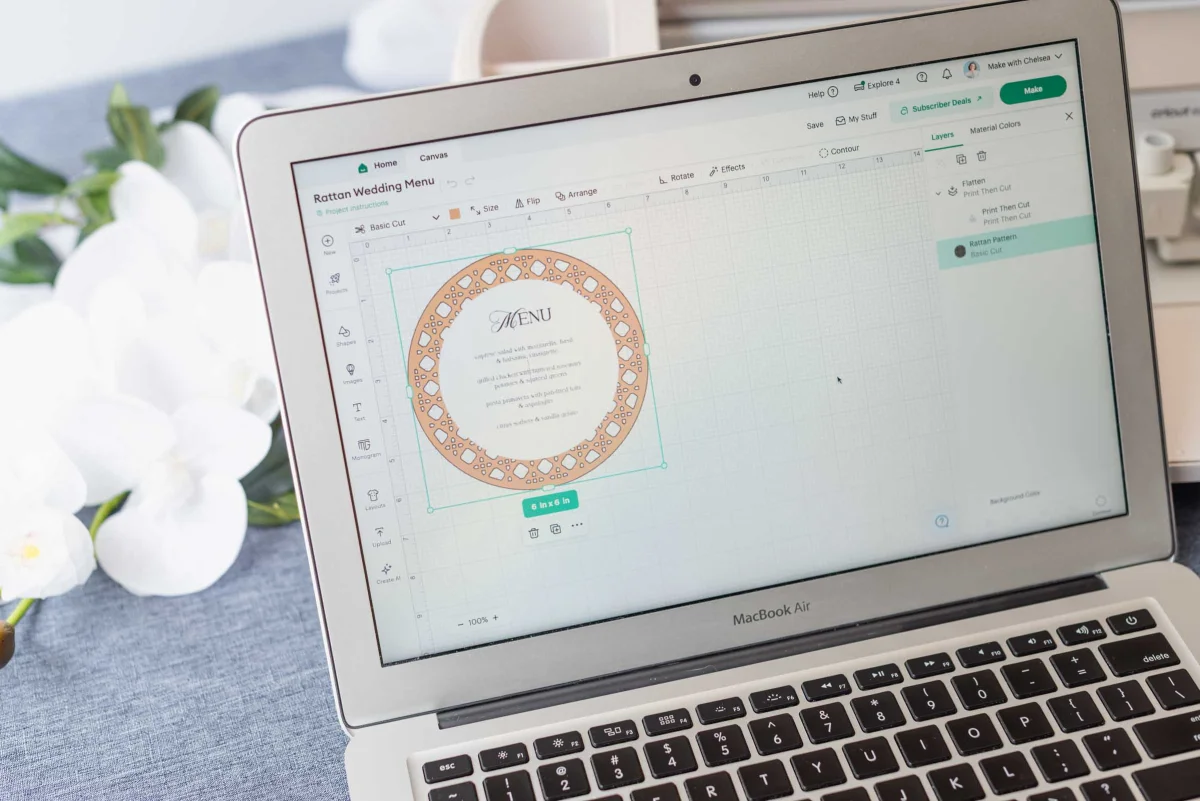
- Rattan Wedding Menu Cricut Design Space project
Design Notes: The project utilizes Design Space images created by Cricut contributing artists, requiring a Cricut Access subscription or individual purchases of images. Feel free to modify the design and headings to fit your style.
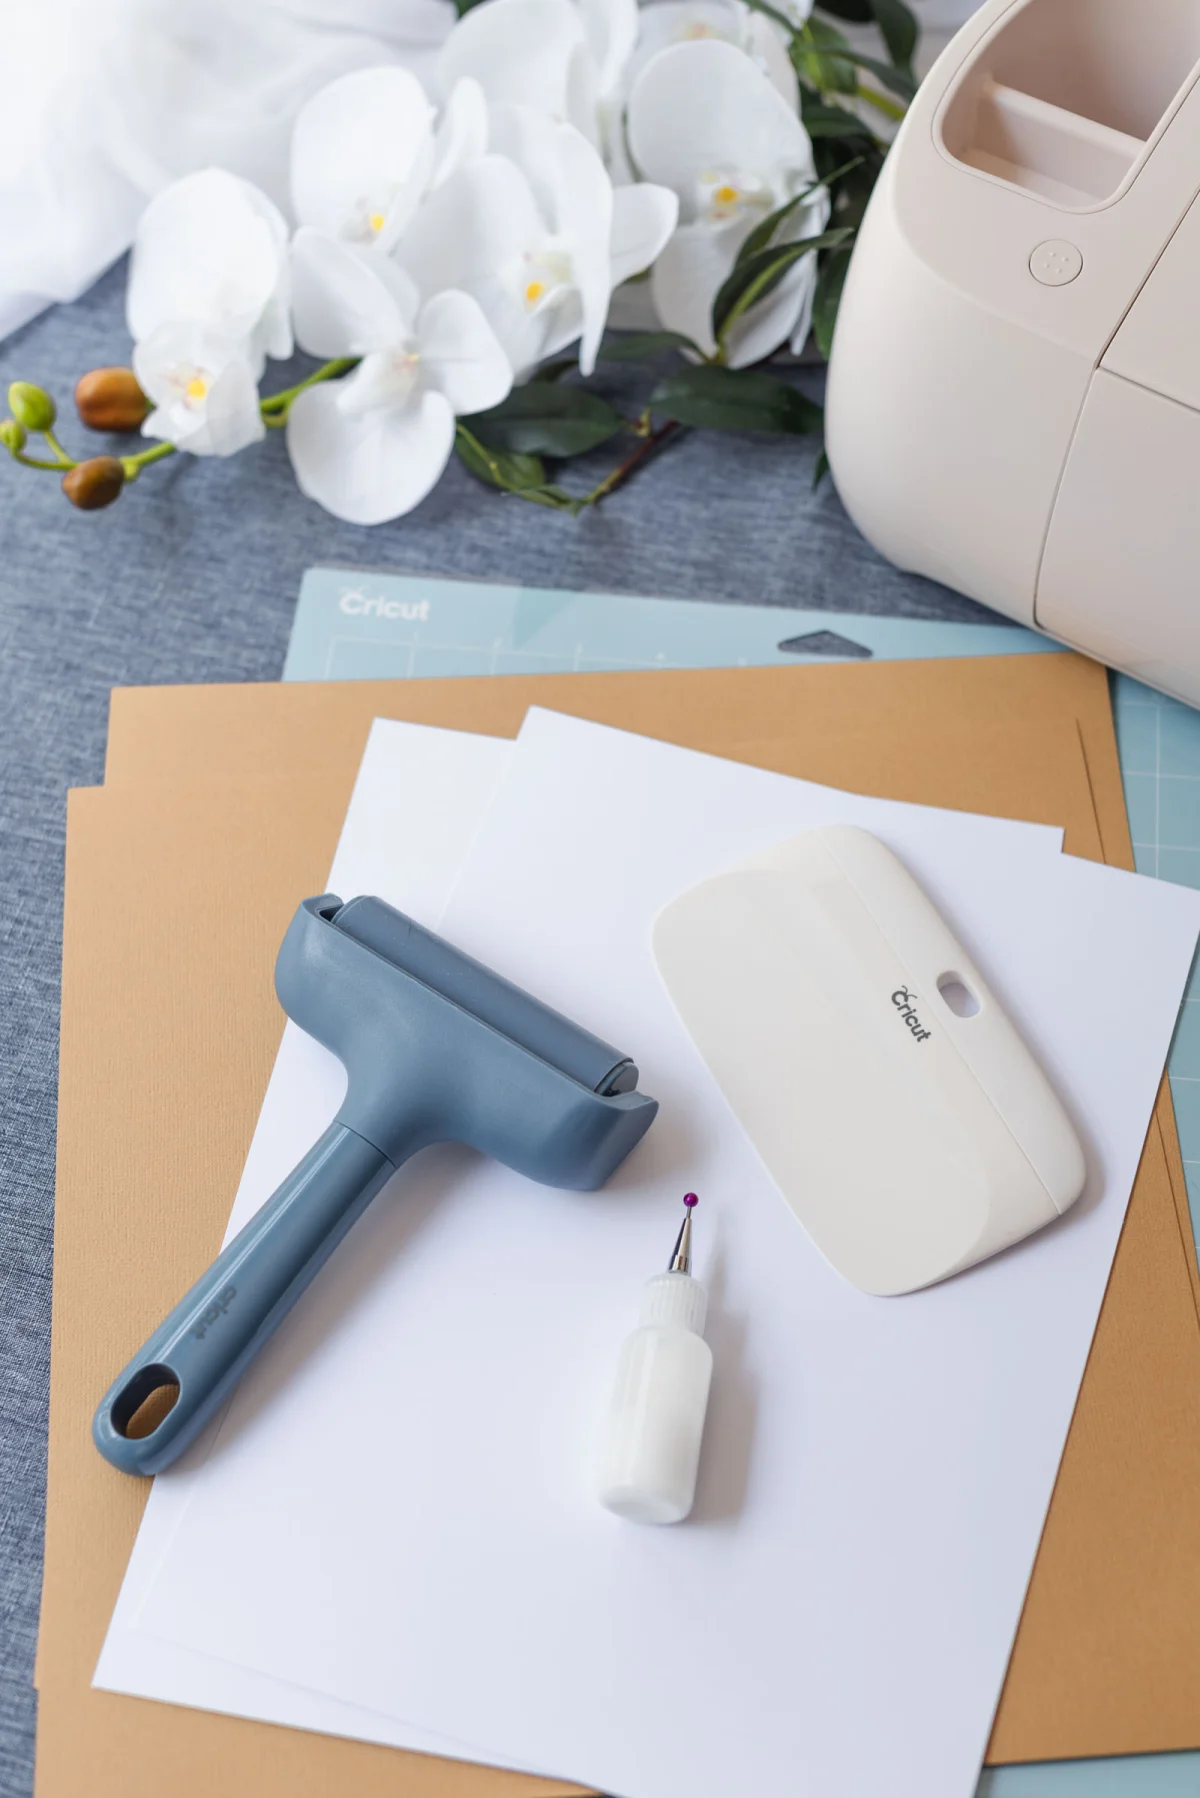
Preparing to Cut Textured Cardstock
Understanding your cardstock's weight is essential, as it determines the cutting depth required by the Cricut machine. For this project, the ideal settings include:
- Rattan Layers: "Medium Cardstock - Intricate Cuts"
- Menu Layer: "Heavy Watercolor Paper" (140lb / 300gsm)
Compatible Cricut Machines
A quick note: the assembled rattan menus measure 6 inches (15.2 cm) in diameter. Depending on your Cricut model, you can fit multiple layers on a single sheet of cardstock.
Step-by-Step Instructions to Create Your Menus
- Prep Your Project: Organize all materials and set up Cricut Design Space. If necessary, calibrate your machine. If using a pre-made project template, click “Customize” to edit the text with your menu items.
- Edit and Resize: Adjust menu size as needed. The final dimensions should ideally fit the plate serving size–consult your caterer for specifics.
- Set Up the On-Screen Mat: Duplicate menu pieces for each guest, then cut layers in the order you prefer. This helps streamline batch production.
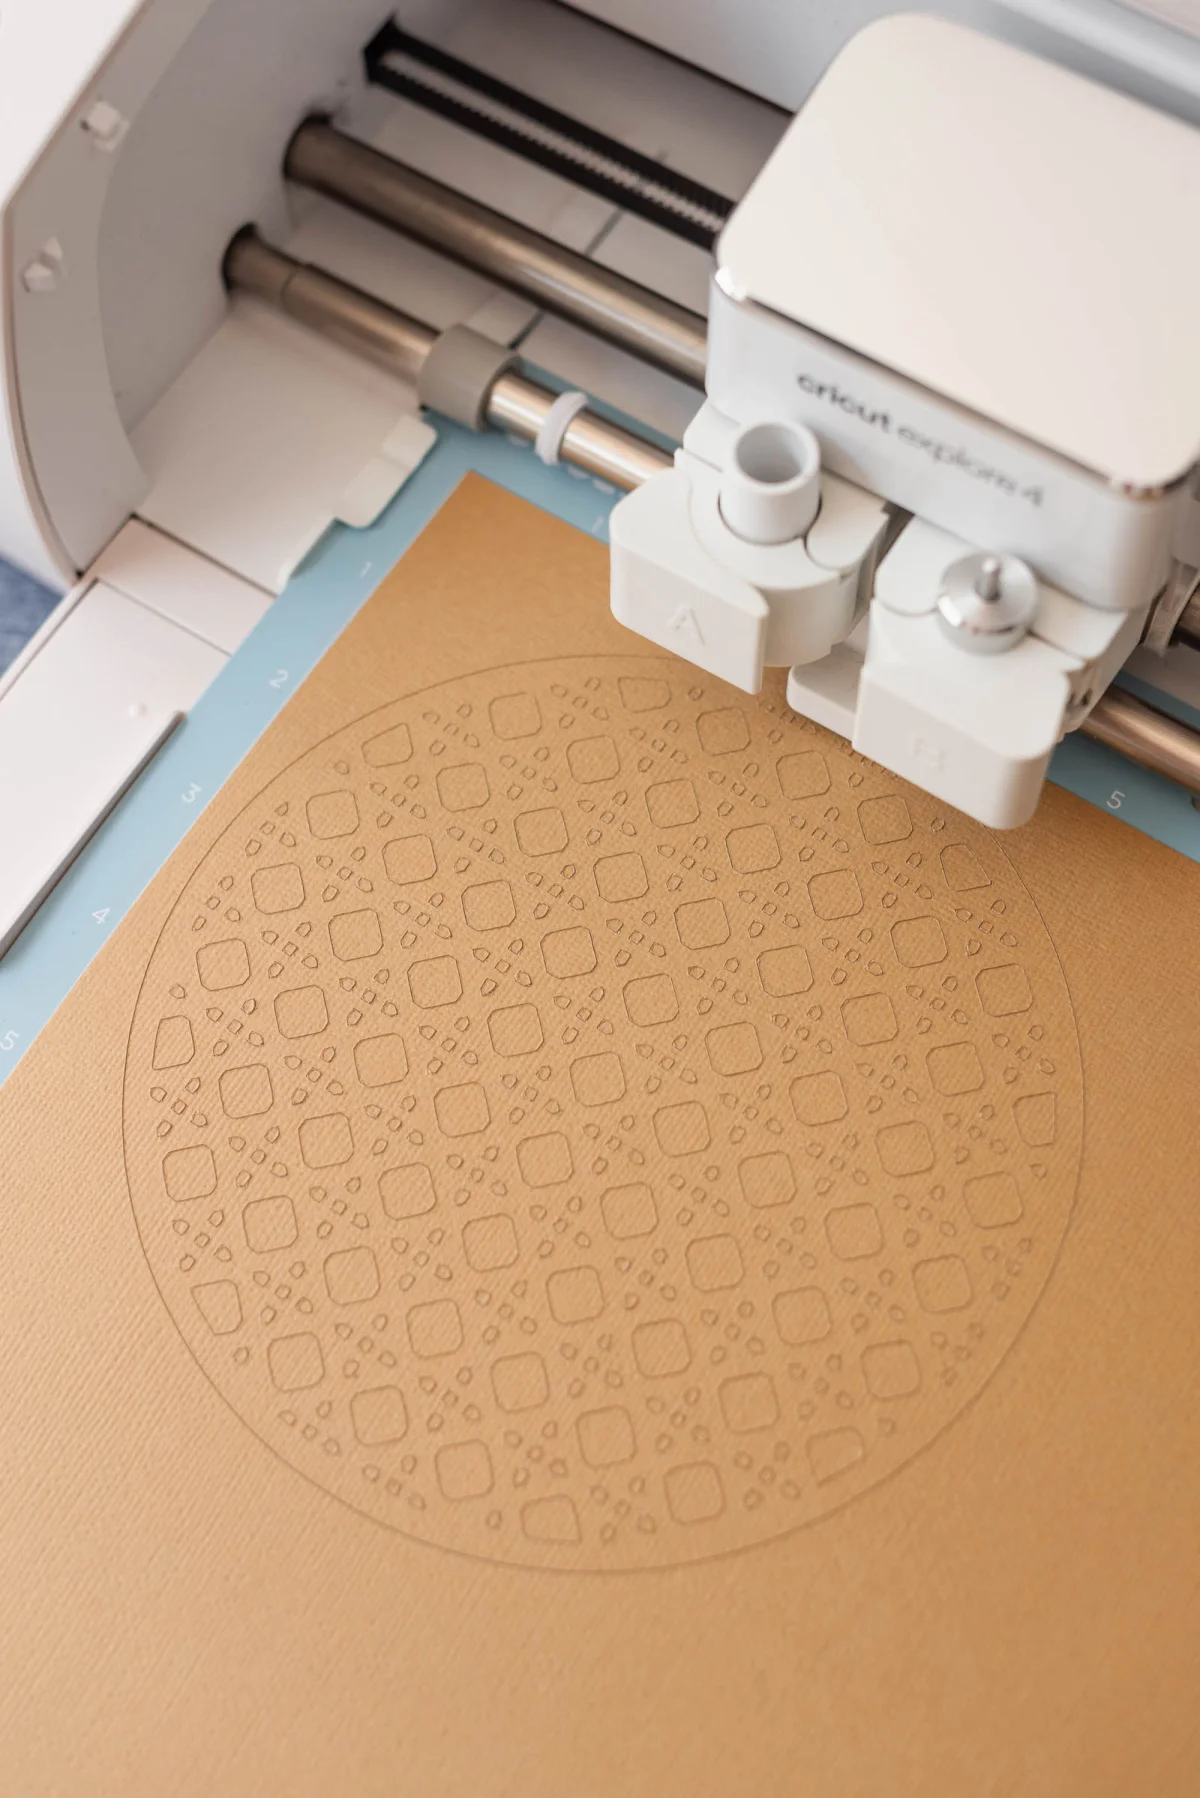
- Cut Menu Pieces: Carefully cut your rattan layers first, ensuring they're securely attached to the LightGrip mat. Then, print and cut your menu cards.
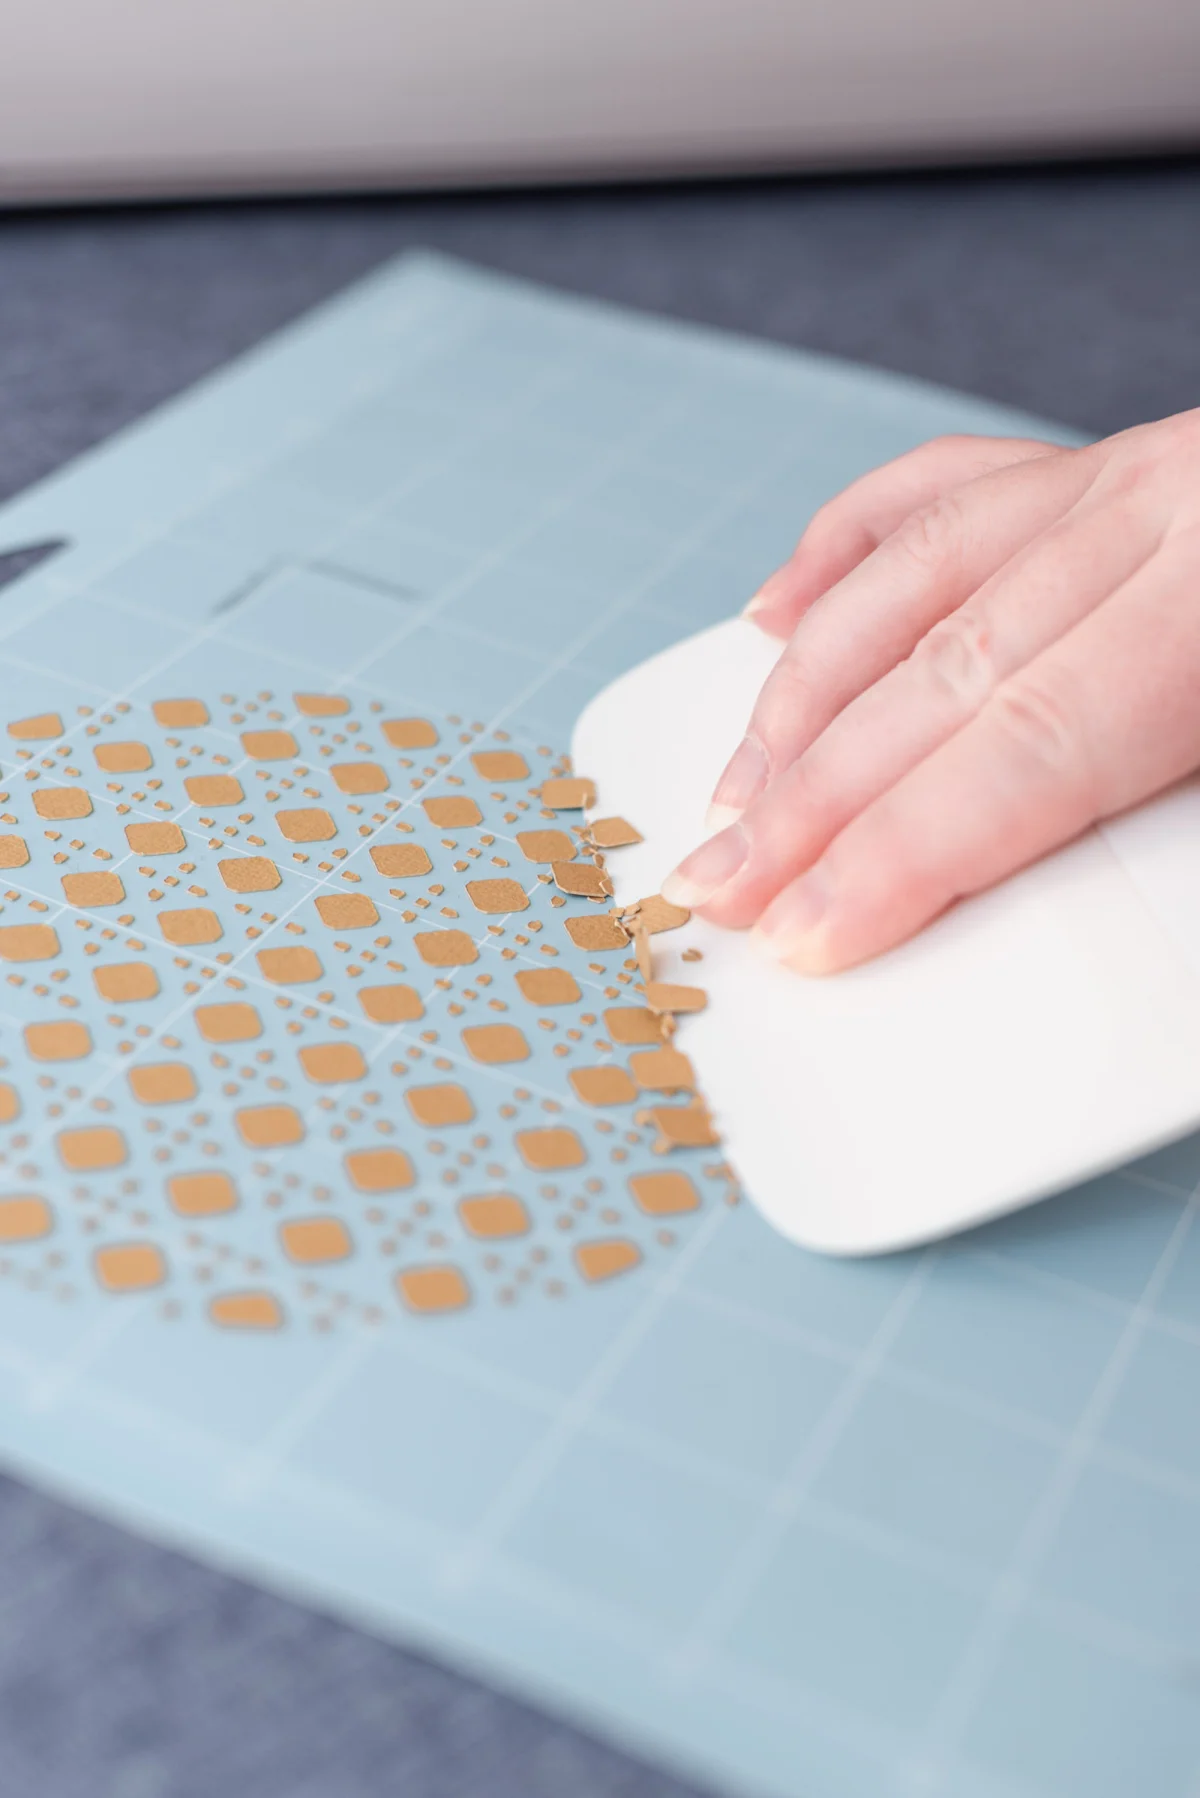
- Clean Up Your Cuts: After cutting, use a toothpick to remove any leftover bits stuck to your mat, then clean the mat with the XL scraper tool.
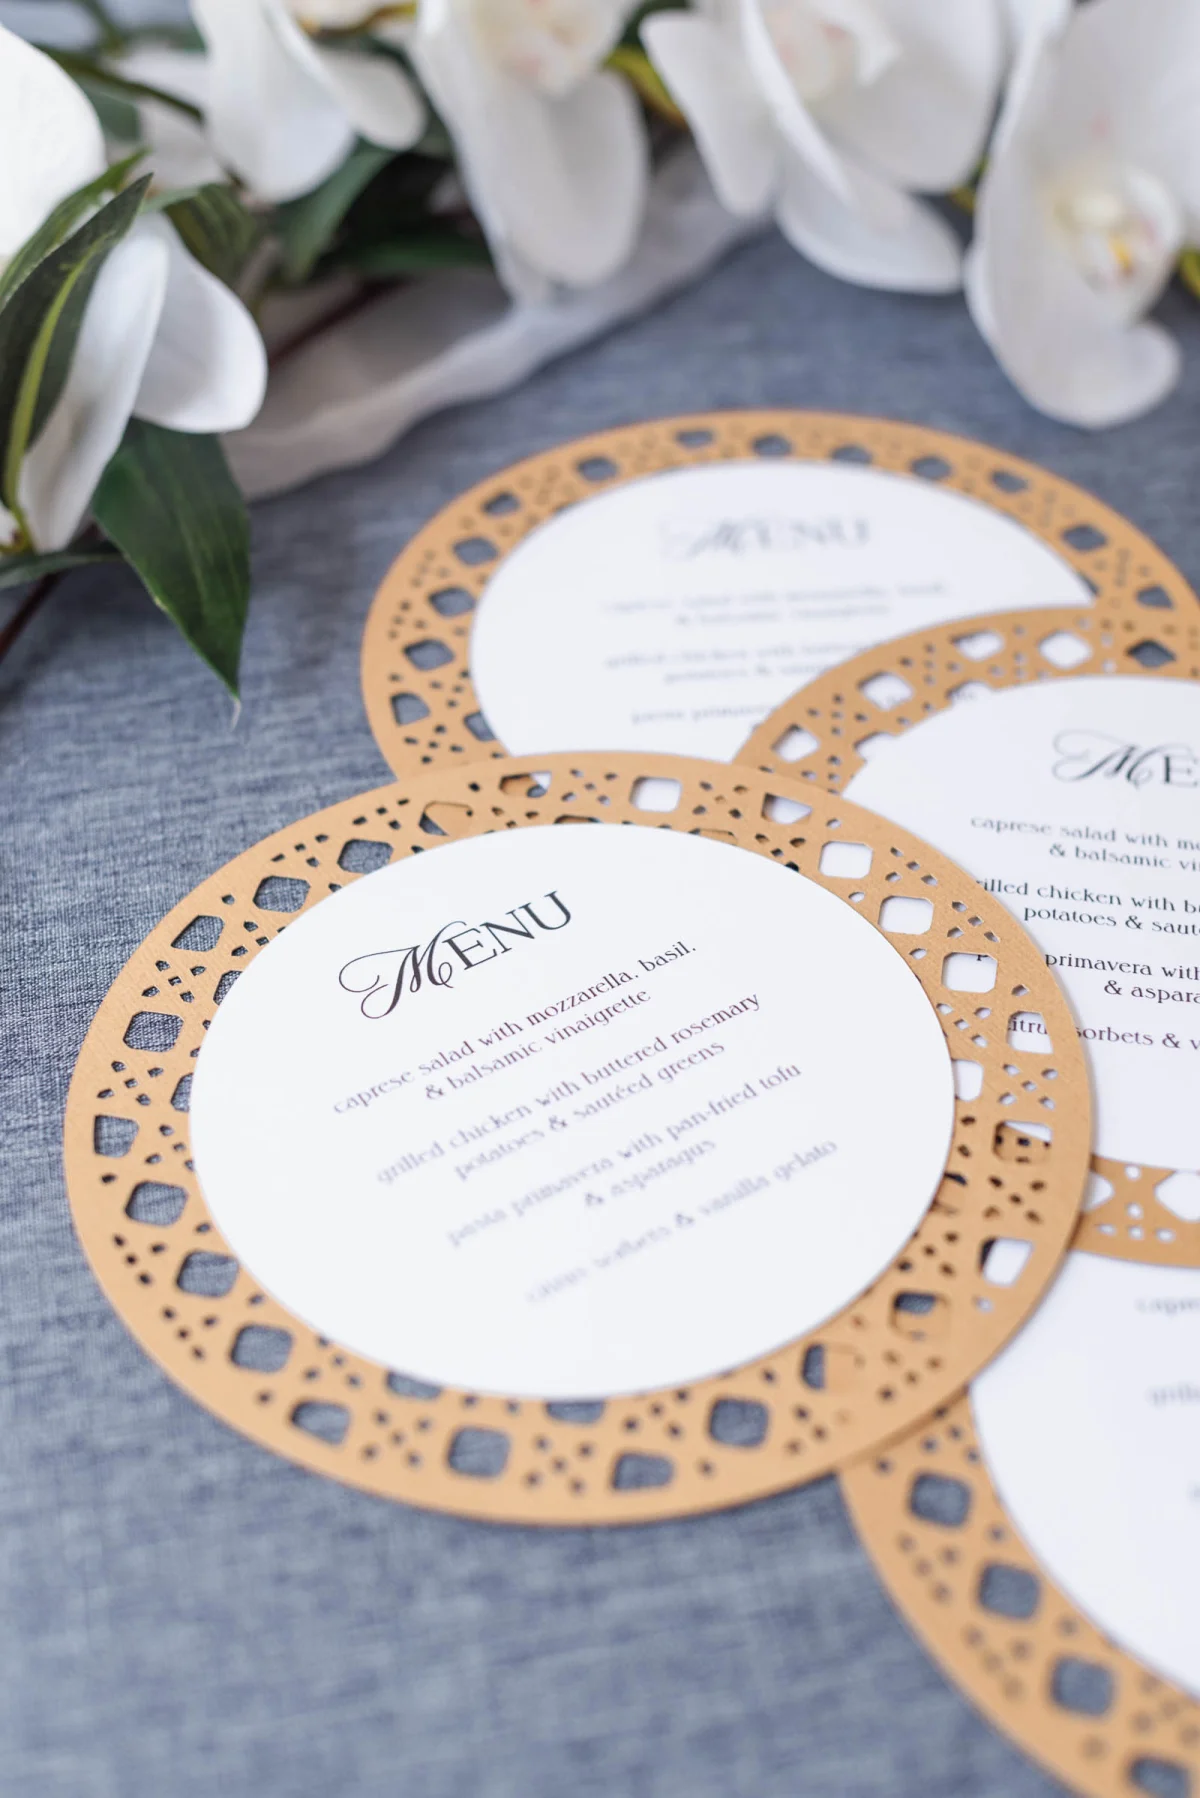
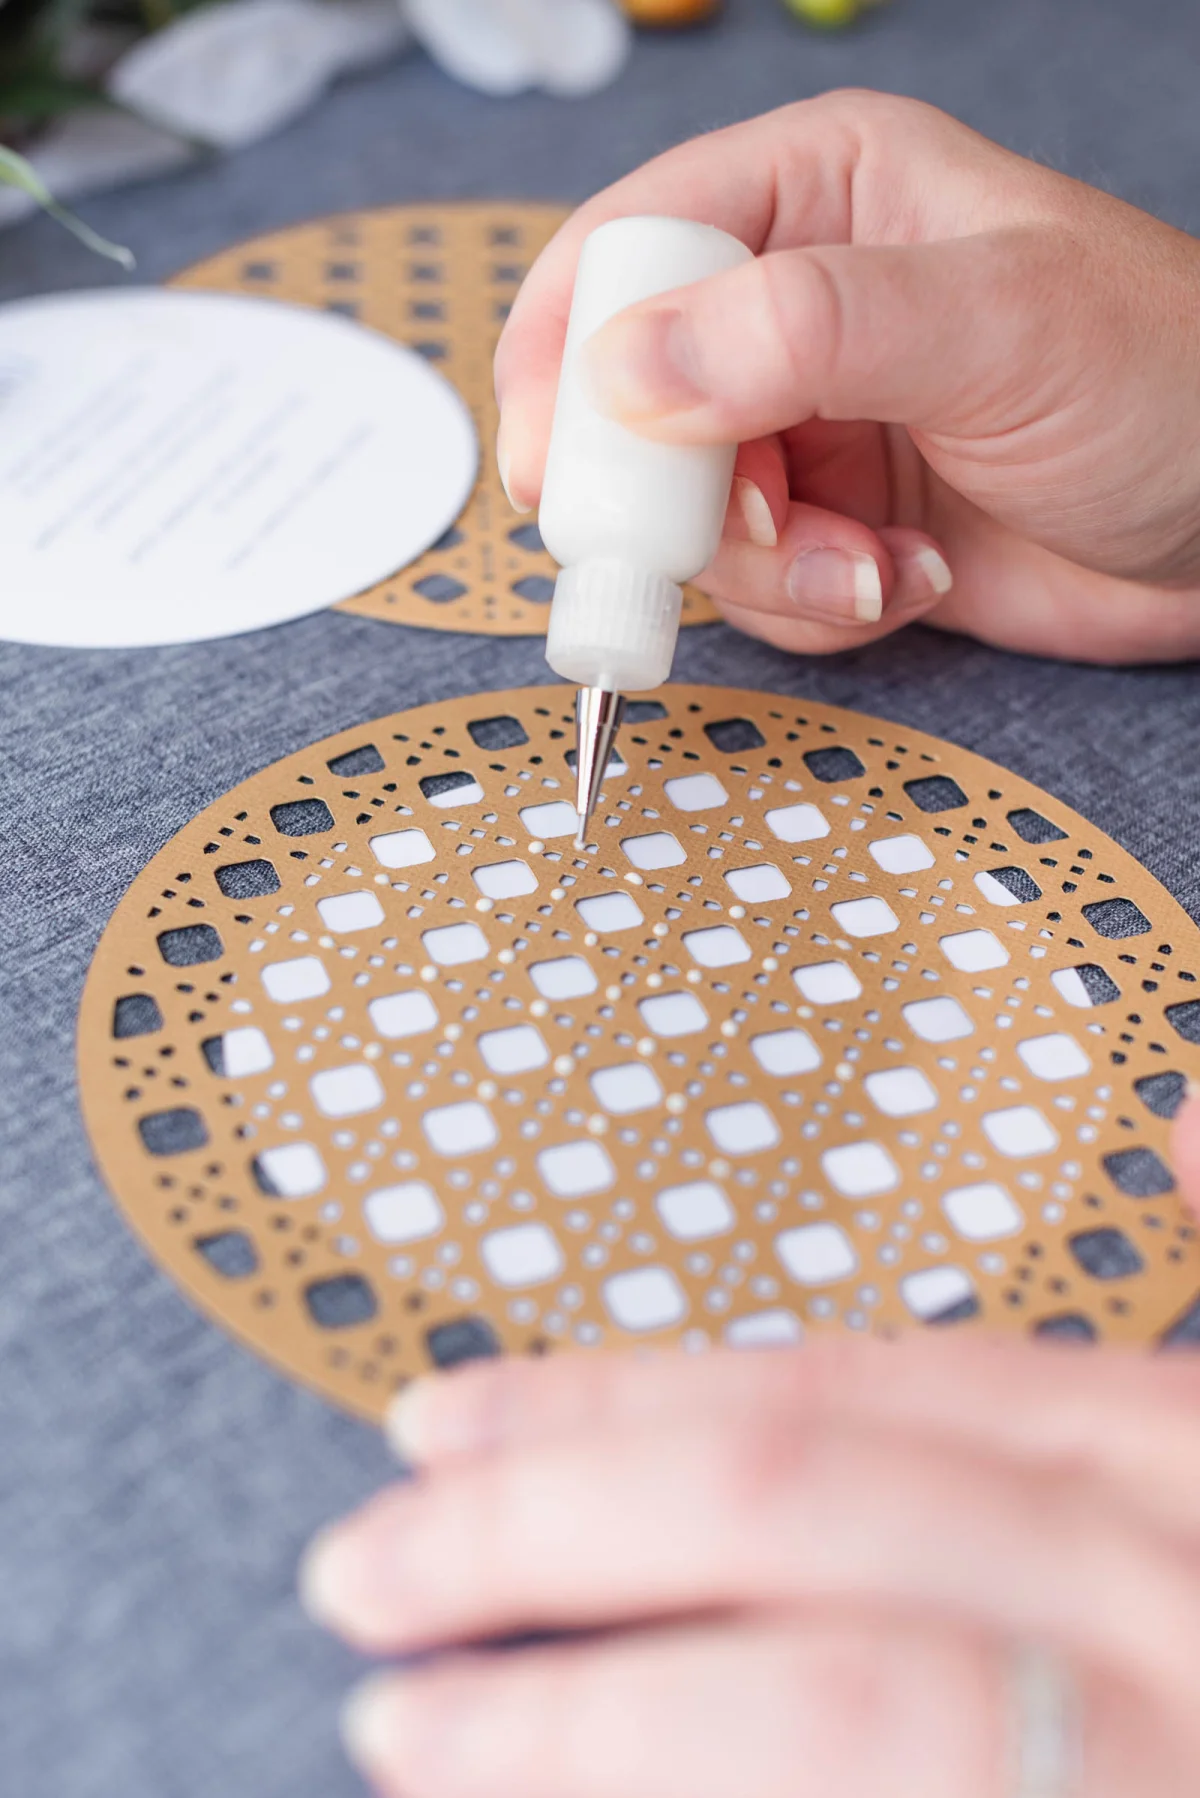
- Assemble Your Menus: Apply craft glue in small dots to the rattan layers, affixing the menu cards on top. Store assembled menus flat until the event.
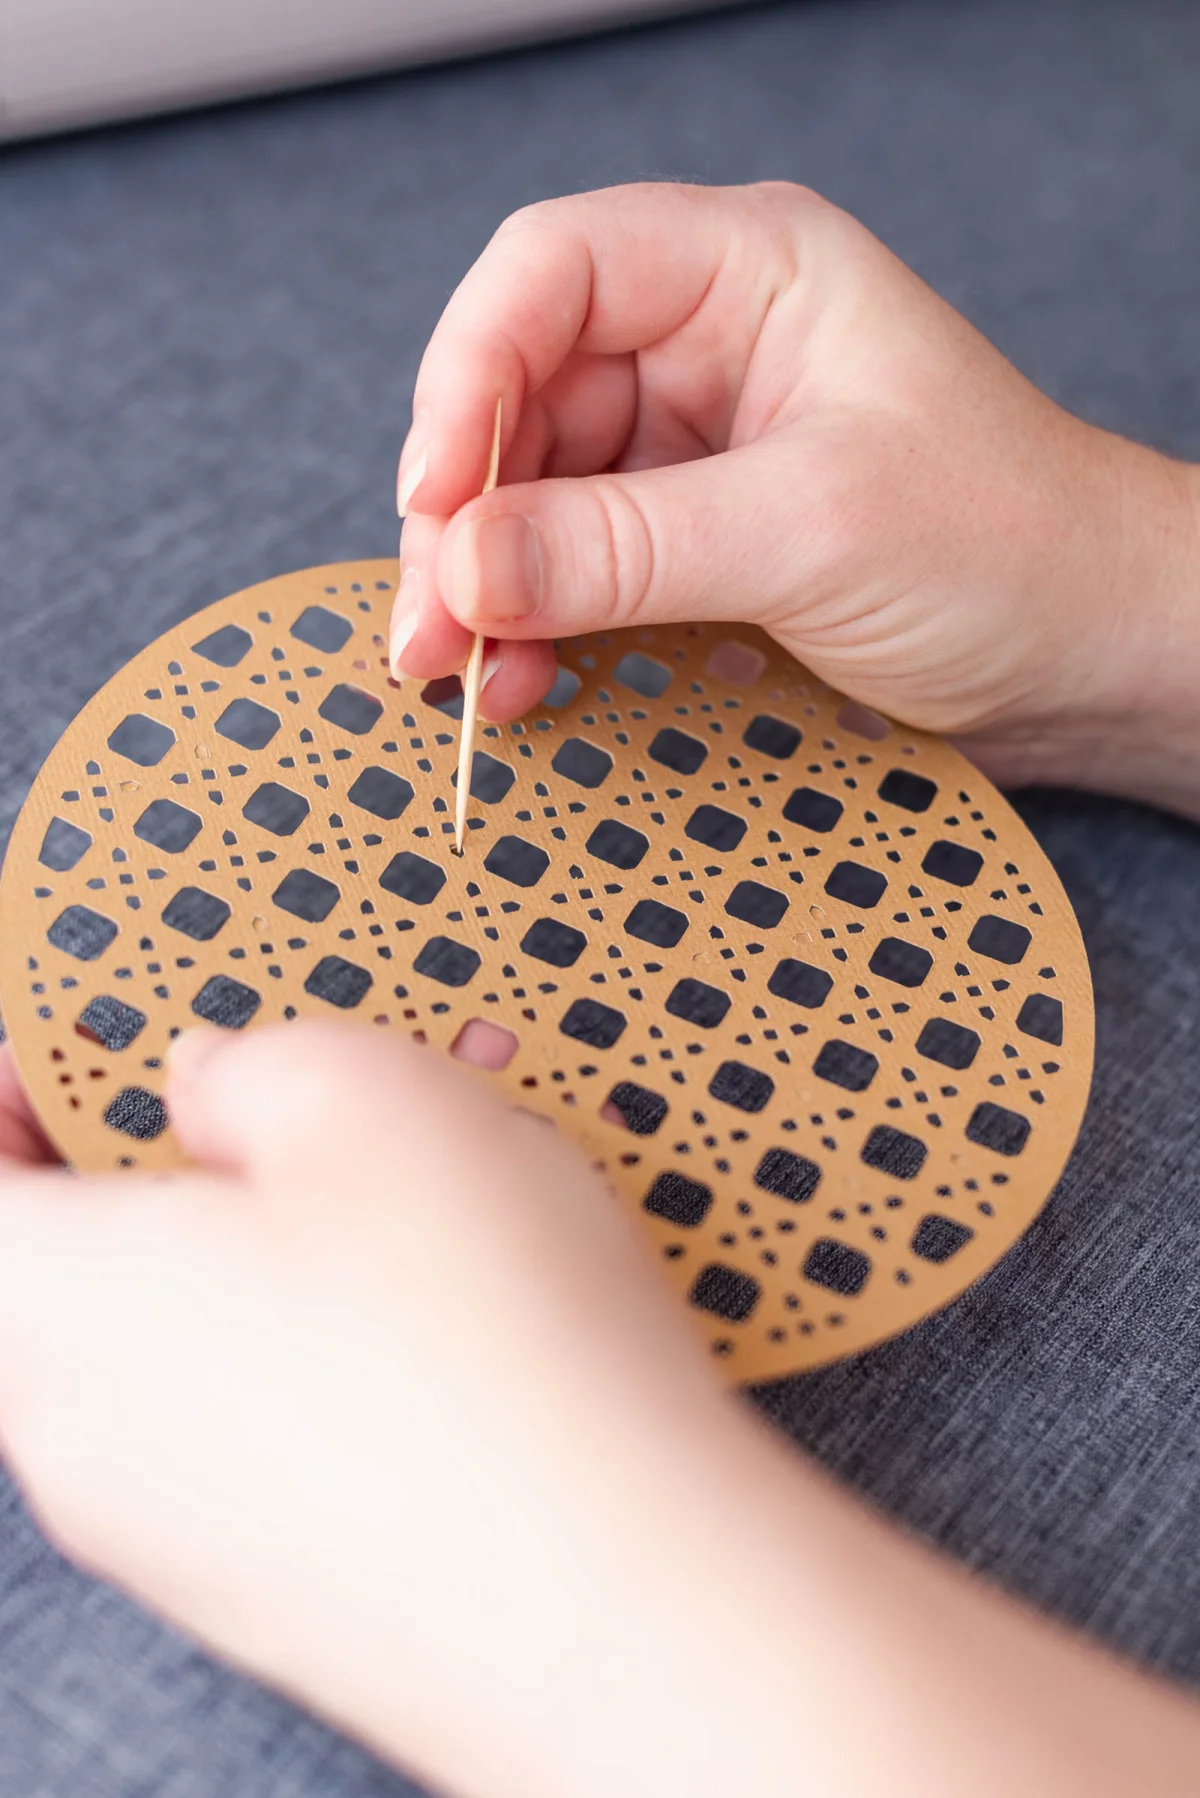
Troubleshooting Cutting Issues
If you encounter problems such as tearing or dragging, consider these solutions:
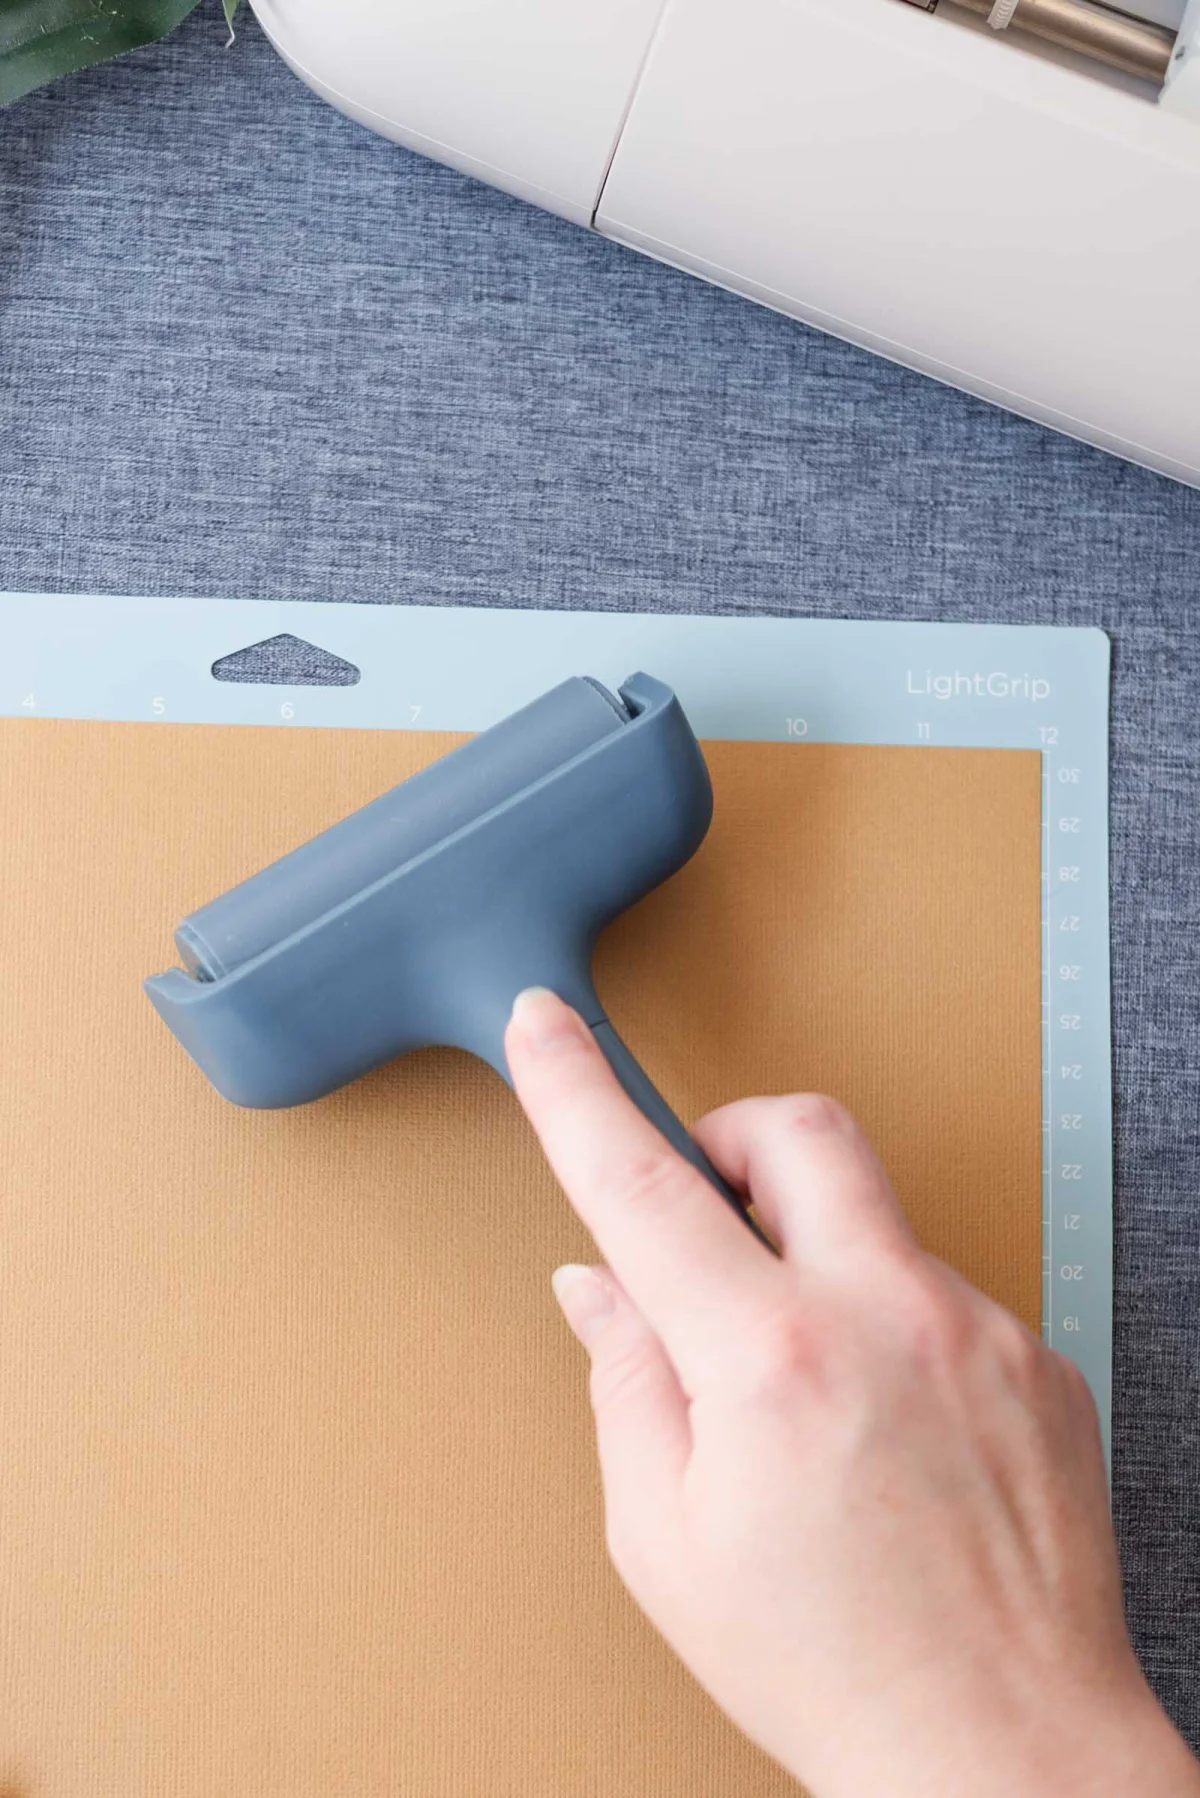
- Secure Your Cardstock: Use a brayer to keep the cardstock adhered firmly to the mat. If the stickiness has worn off, replace the mat.
- Adjust Cut Settings: Selecting the right material setting in Design Space is crucial for accurate cutting.
- Check the Blade: Ensure your fine-point blade is clean and free from paper fibers or replace if necessary.
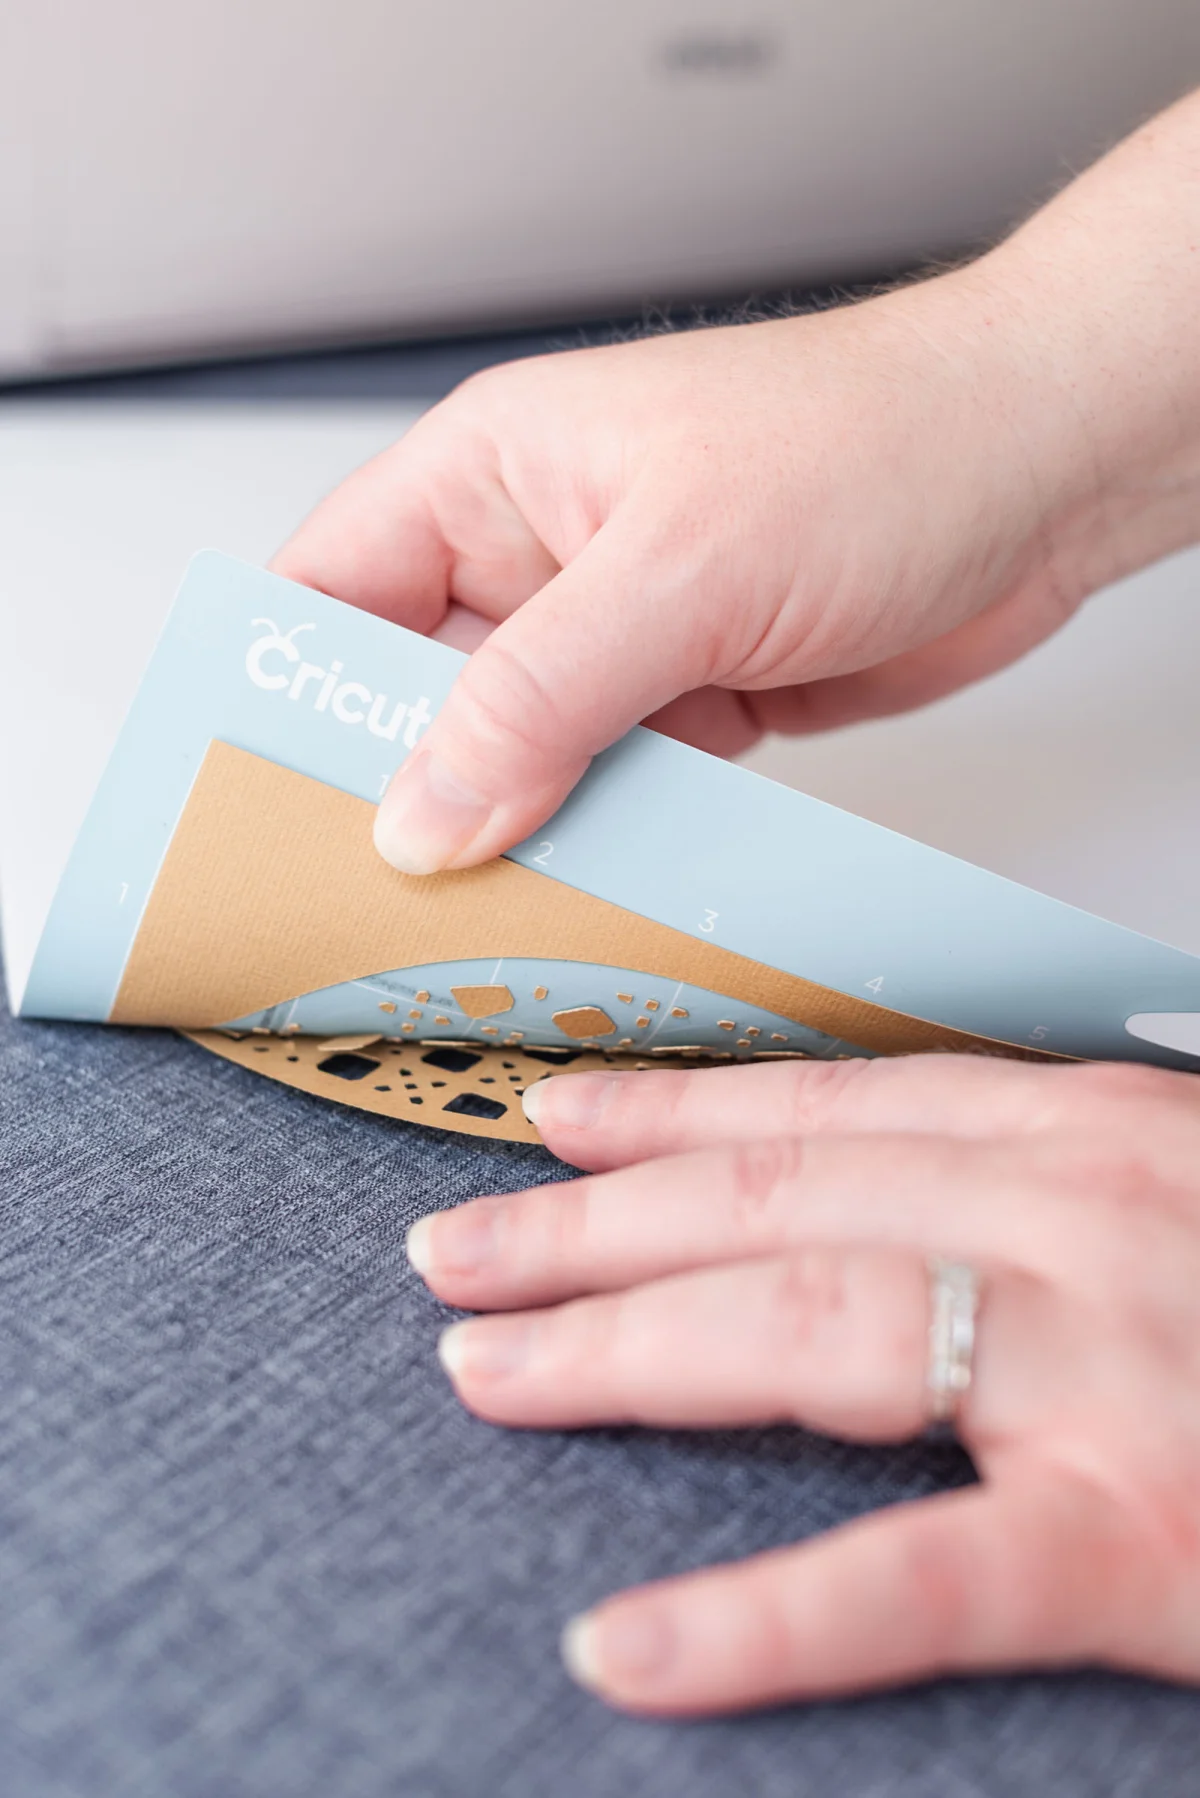
- Handle Cuts Properly: Flip the mat over when removing to avoid curling or tearing intricate pieces.
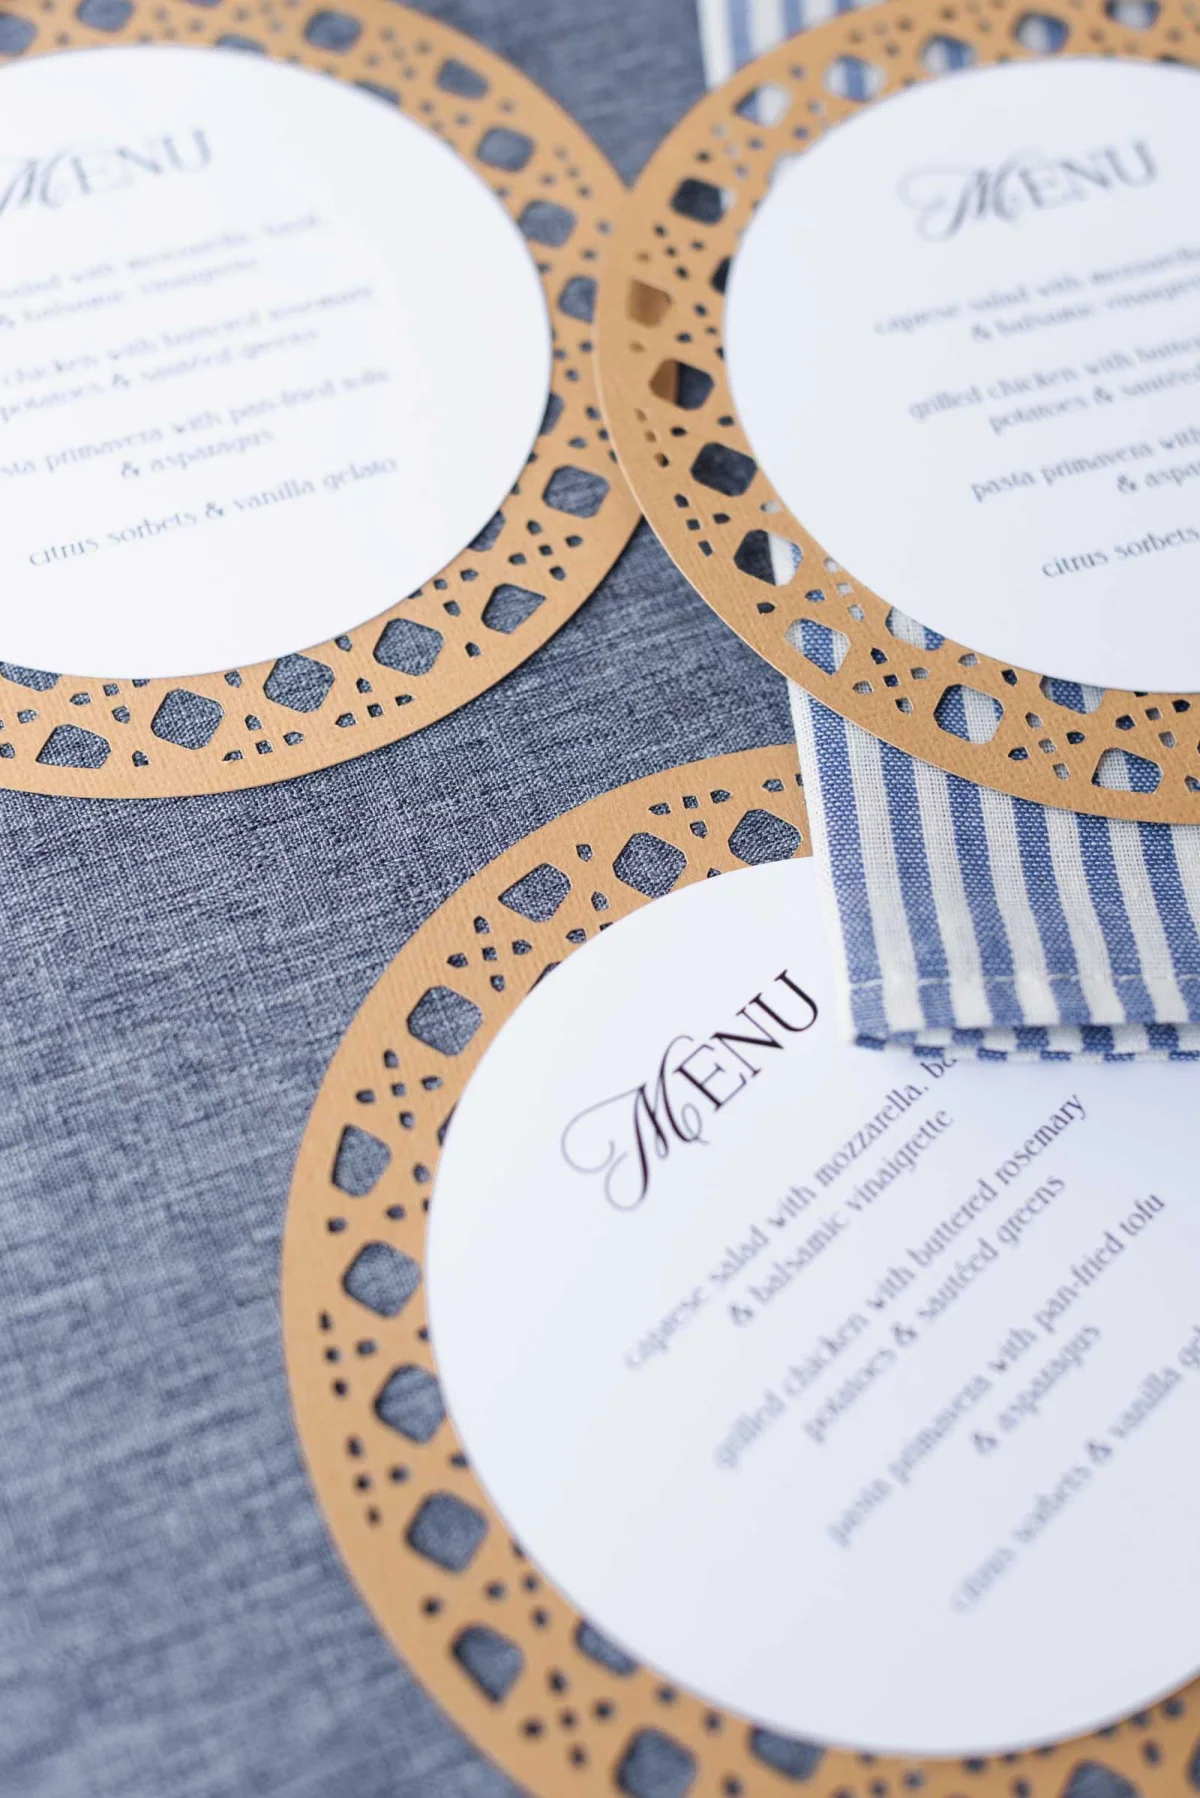
Embrace the Elegance of Faux Rattan Menus
Crafting faux rattan wedding menus not only showcases your style but also offers a unique touch to your wedding décor. By simple materials and creative design, you can add warmth and texture to each place setting, enhancing the overall atmosphere of your celebration.

WRITTEN BY
Chelsea Barton
Founder & Wedding DIY ExpertA former wedding photographer and the founder of Tidewater and Tulle, Chelsea Barton has inspired countless couples with her approachable wedding ideas since 2009. Her insights have appeared in prestigious publications, merging creative expertise with practical guidance for unforgettable celebrations.
TUTORIAL CREDITS
Photography and Video: Chelsea Barton
Note: Some links may be monetized, providing support for our website through purchases.