In lane Planning & Budget
Create Stylish Silver Foil Table Numbers for Your Wedding with Cricut
Description
Discover how to craft elegant silver foil wedding table numbers using a Cricut Maker, perfect for adding a chic touch while staying eco-friendly.
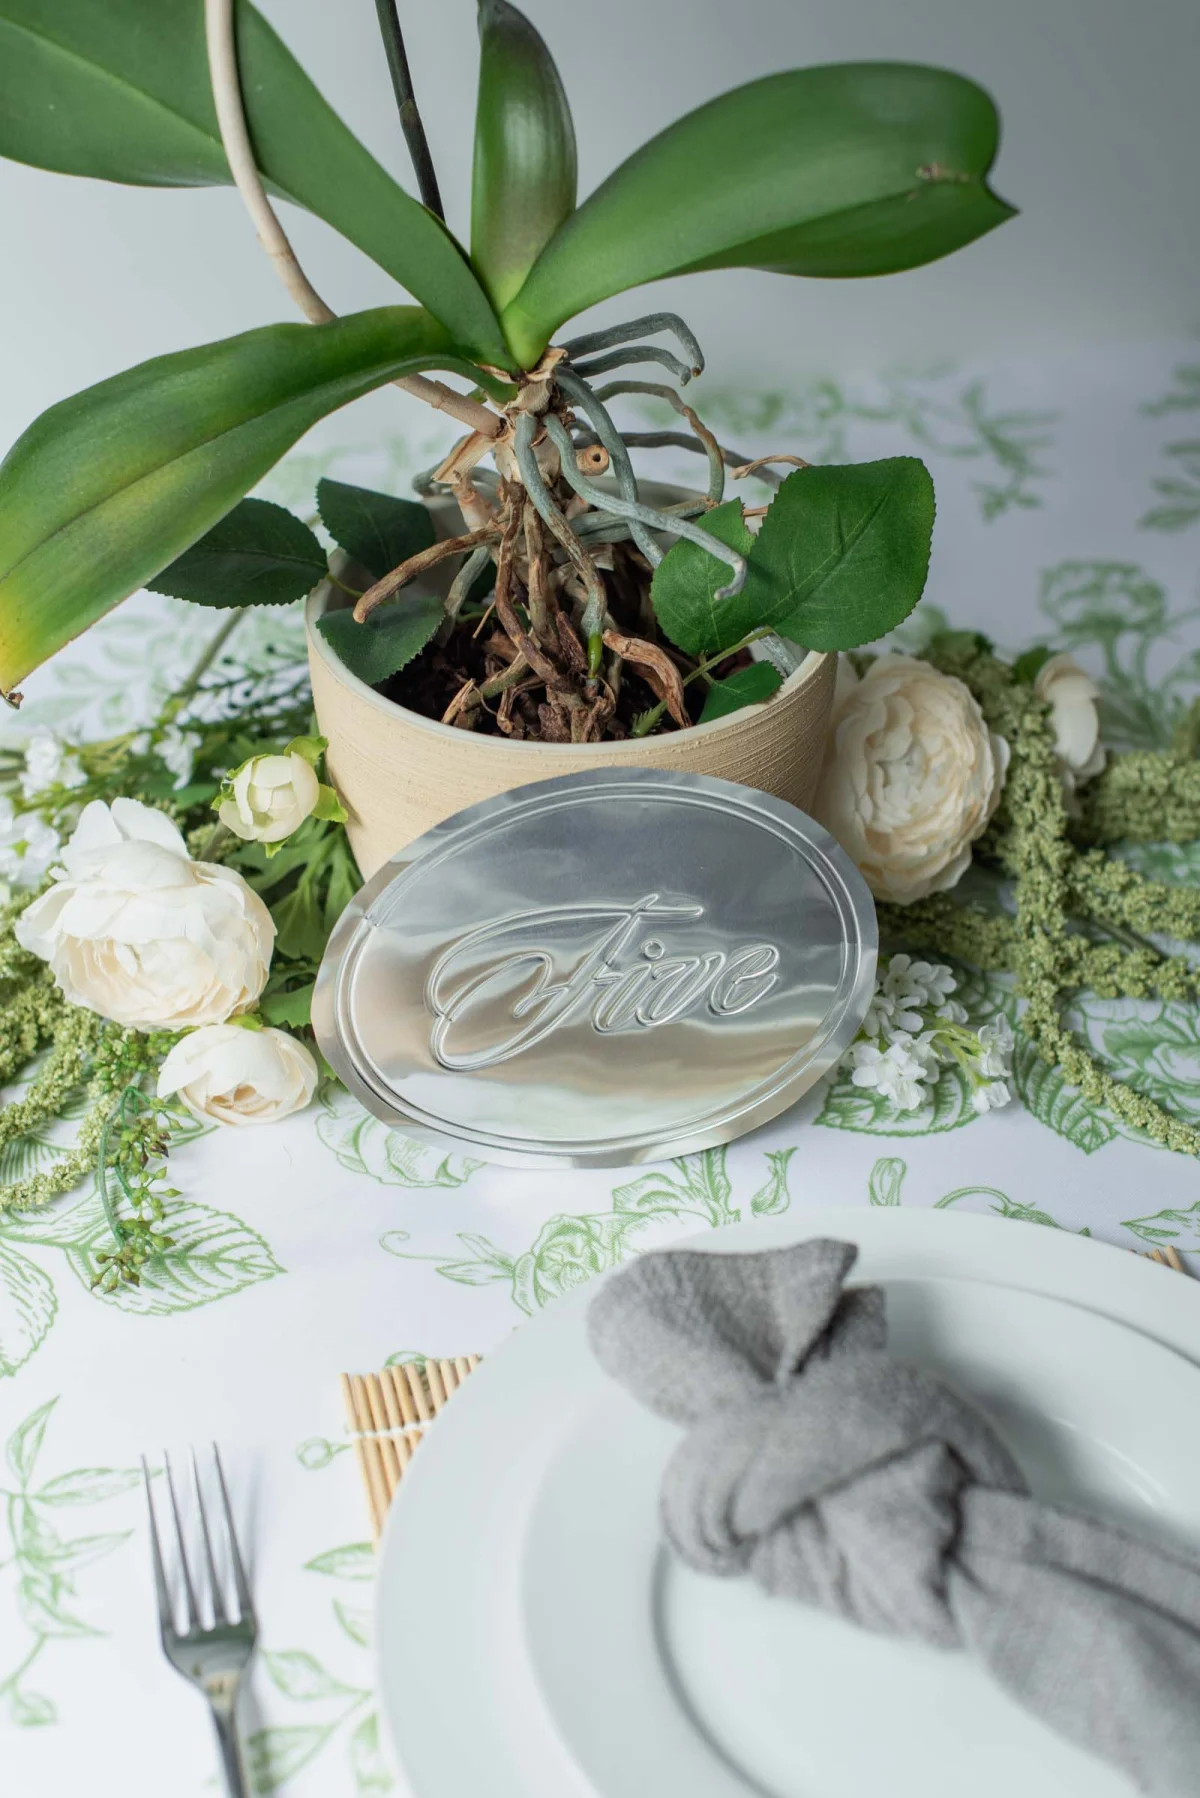
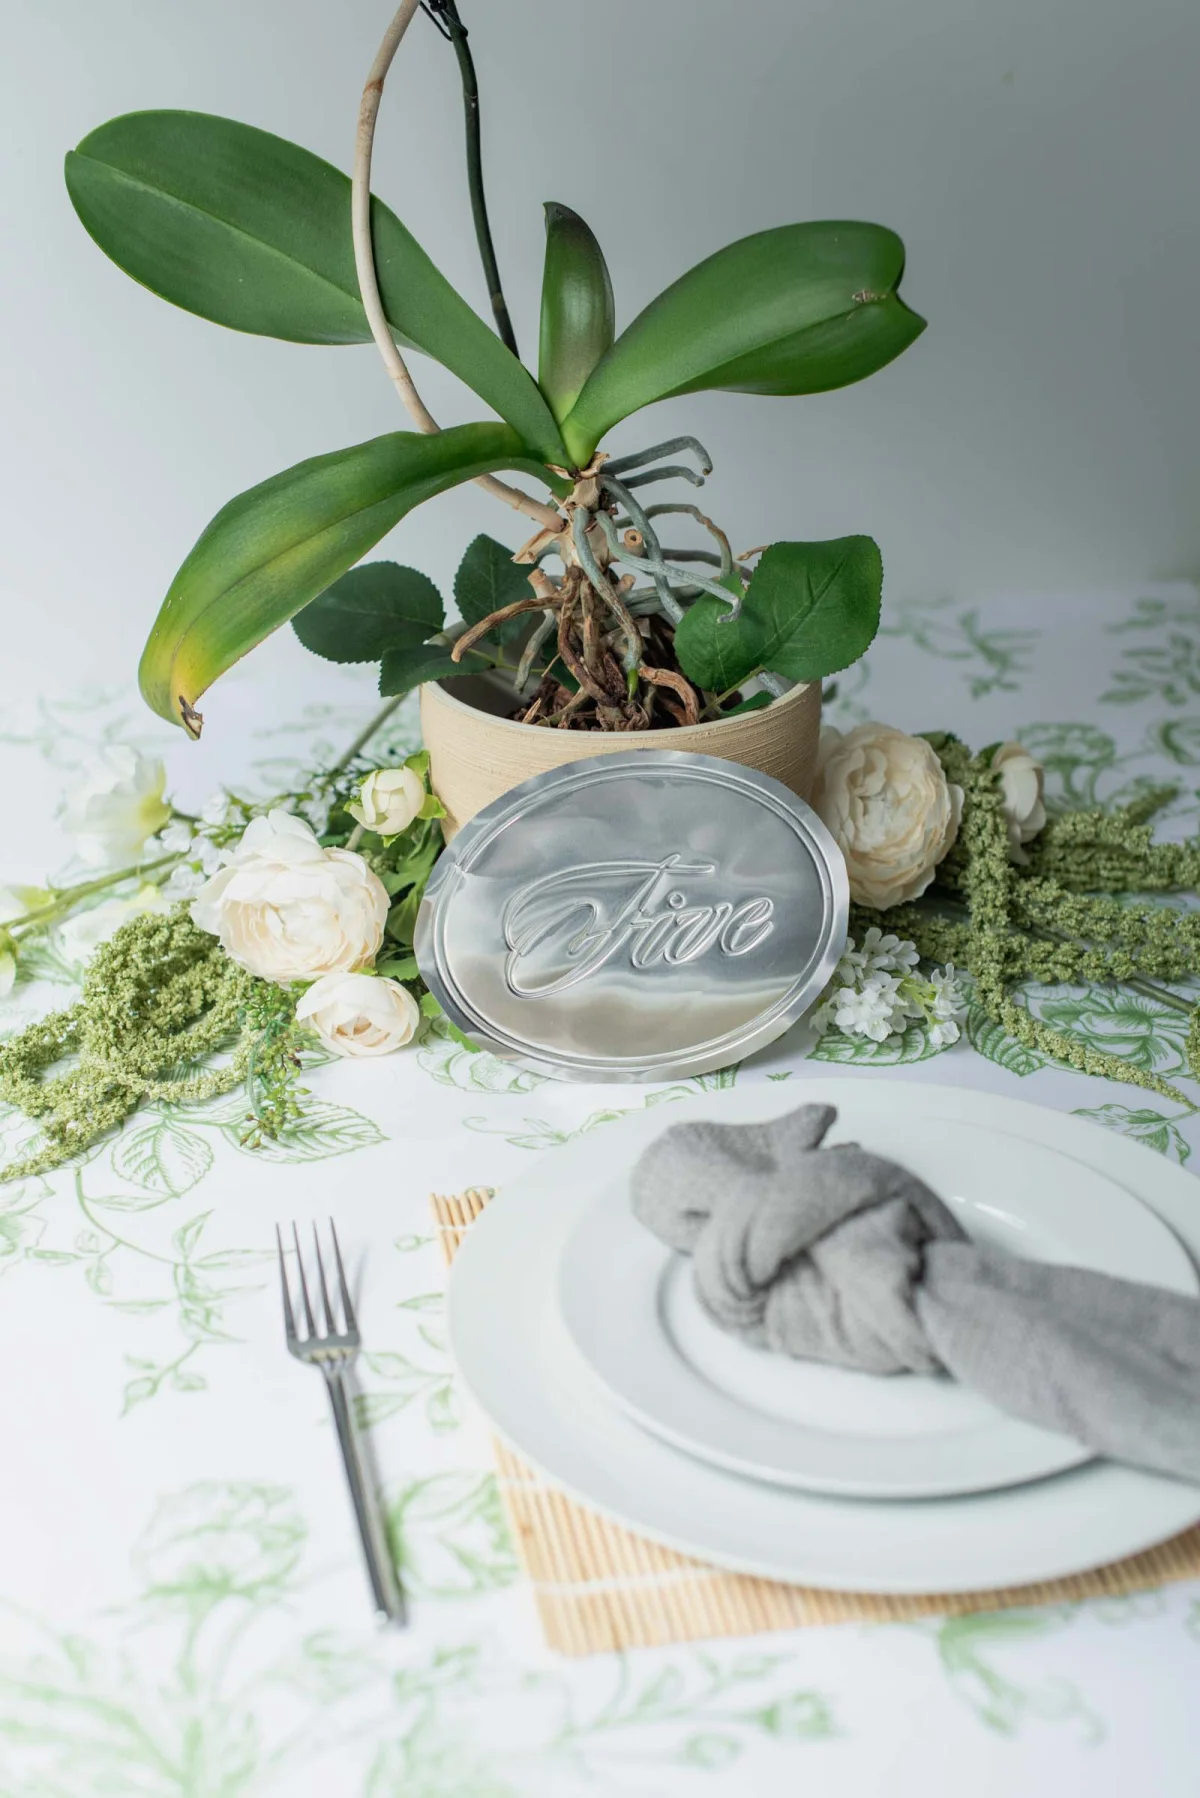
Say goodbye to vintage brass decor—the latest trend in weddings is the sleek allure of silver metallics. Today’s couples are gravitating toward modern, chic aesthetics that feature cool-toned metallics, and for those on a budget, creating DIY table numbers can elevate this contemporary appeal without breaking the bank.
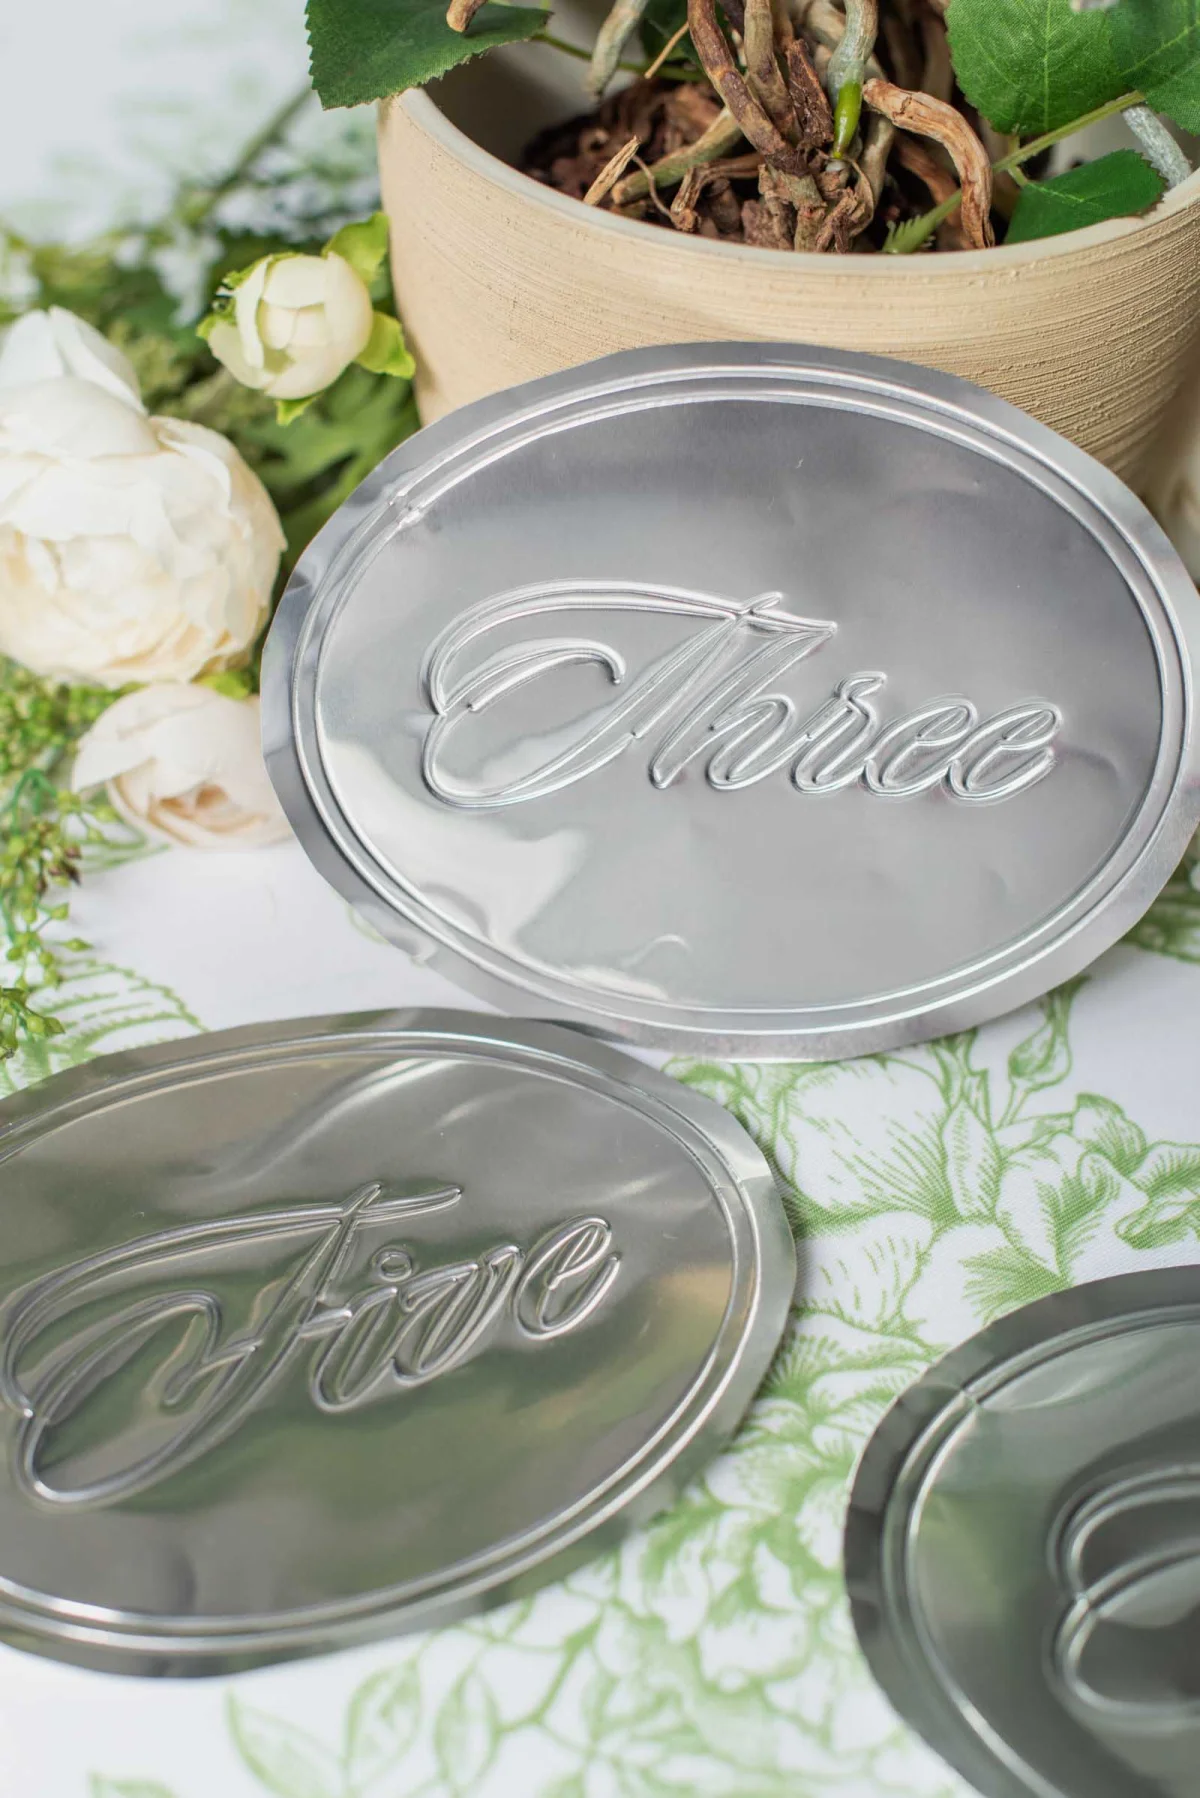
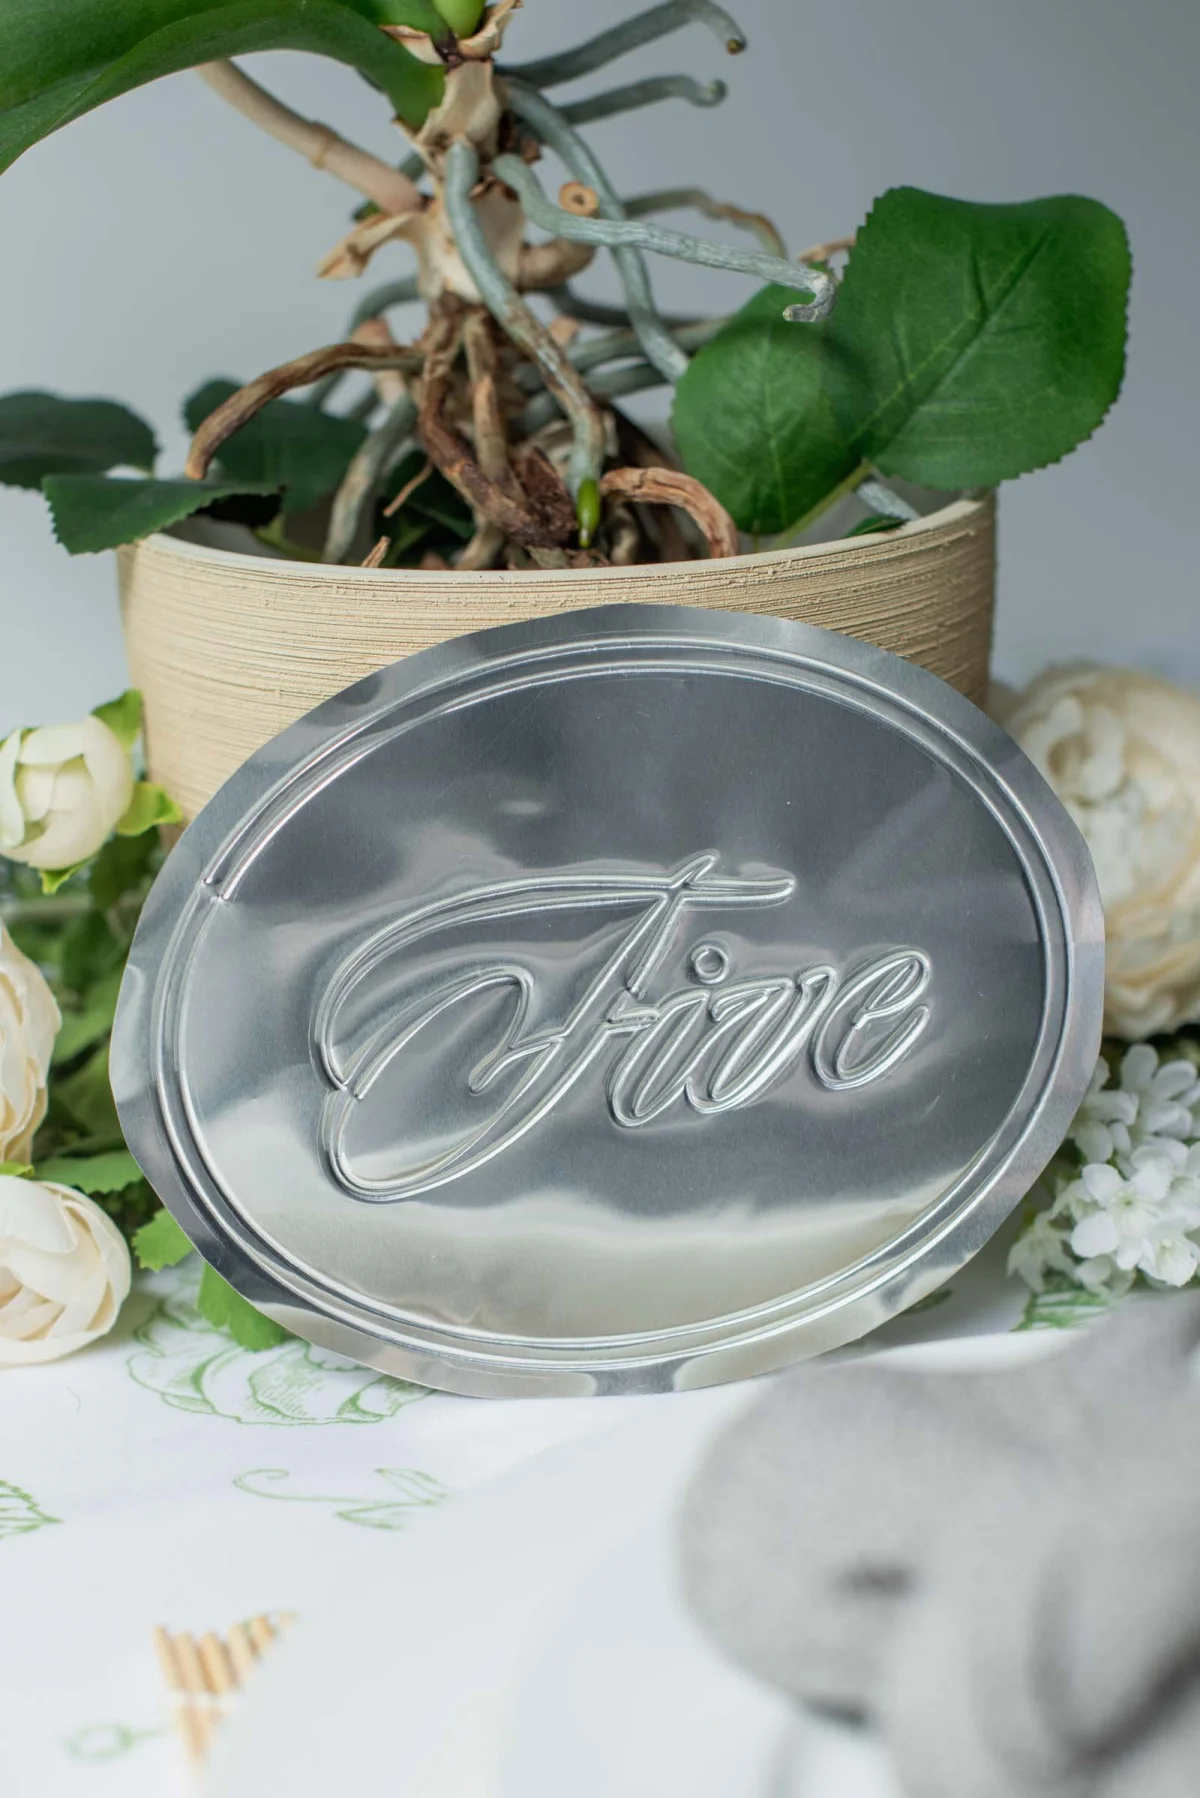
If you're on the hunt for a sophisticated yet easy-to-make wedding detail, this guide walks you through crafting stunning silver wedding table numbers with the help of a Cricut Maker. The technique we'll employ is called debossing, and the result combines the elegance of vintage silver platters with modern wedding style. Don’t worry if your crafting experience is minimal; we’ll break it down into simple steps.
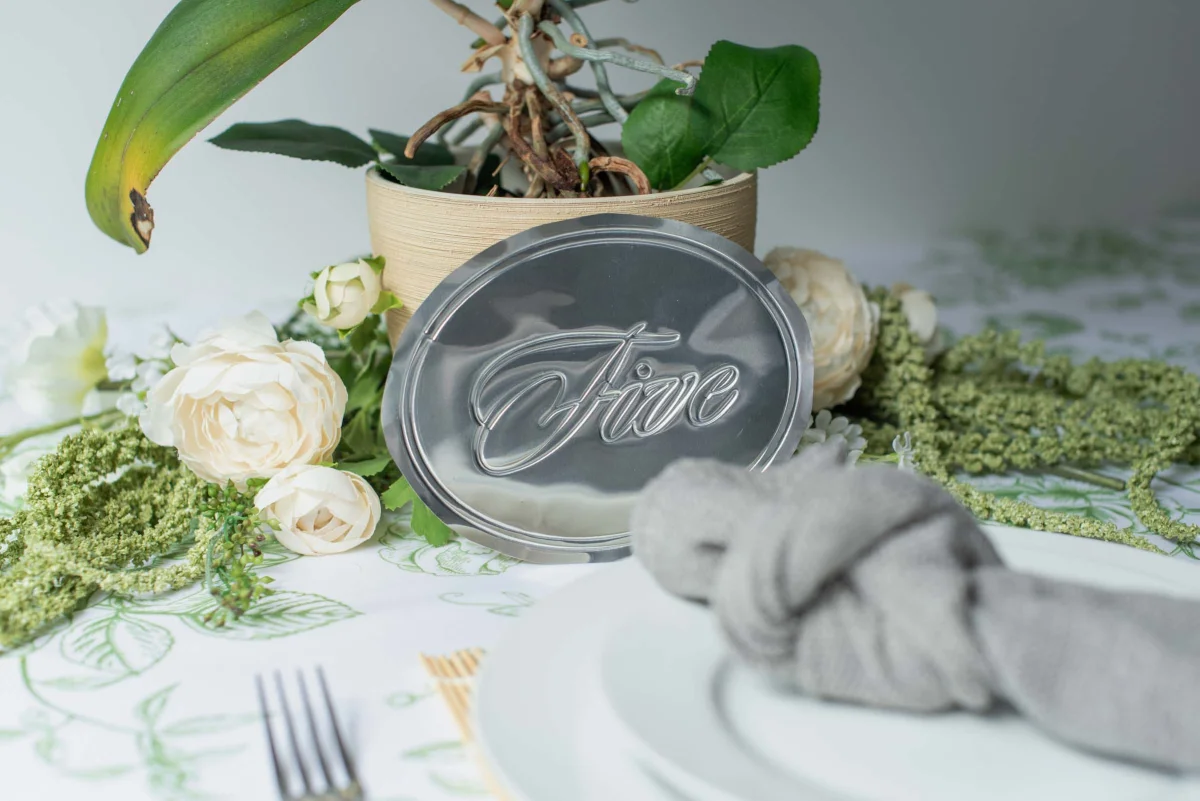
ECO & CHIC: For couples aiming for a sustainable wedding, this project is particularly appealing. The silver embossing foil is composed mainly of pure aluminum, making these table numbers fully recyclable after your event!
The Essentials of Embossing and Debossing with Cricut
While embossed details have long been adored in wedding decor, debossing offers a stunning alternative with subtle elegance. Many often confuse the two, but understanding the difference is crucial:
- Embossing: This process raises your design, creating a three-dimensional effect by pressing the material from the back.
- Debossing: Conversely, this technique creates a recessed impression by pressing the design into the front of the material.
Why Debossing Is Ideal for Your DIY Table Numbers
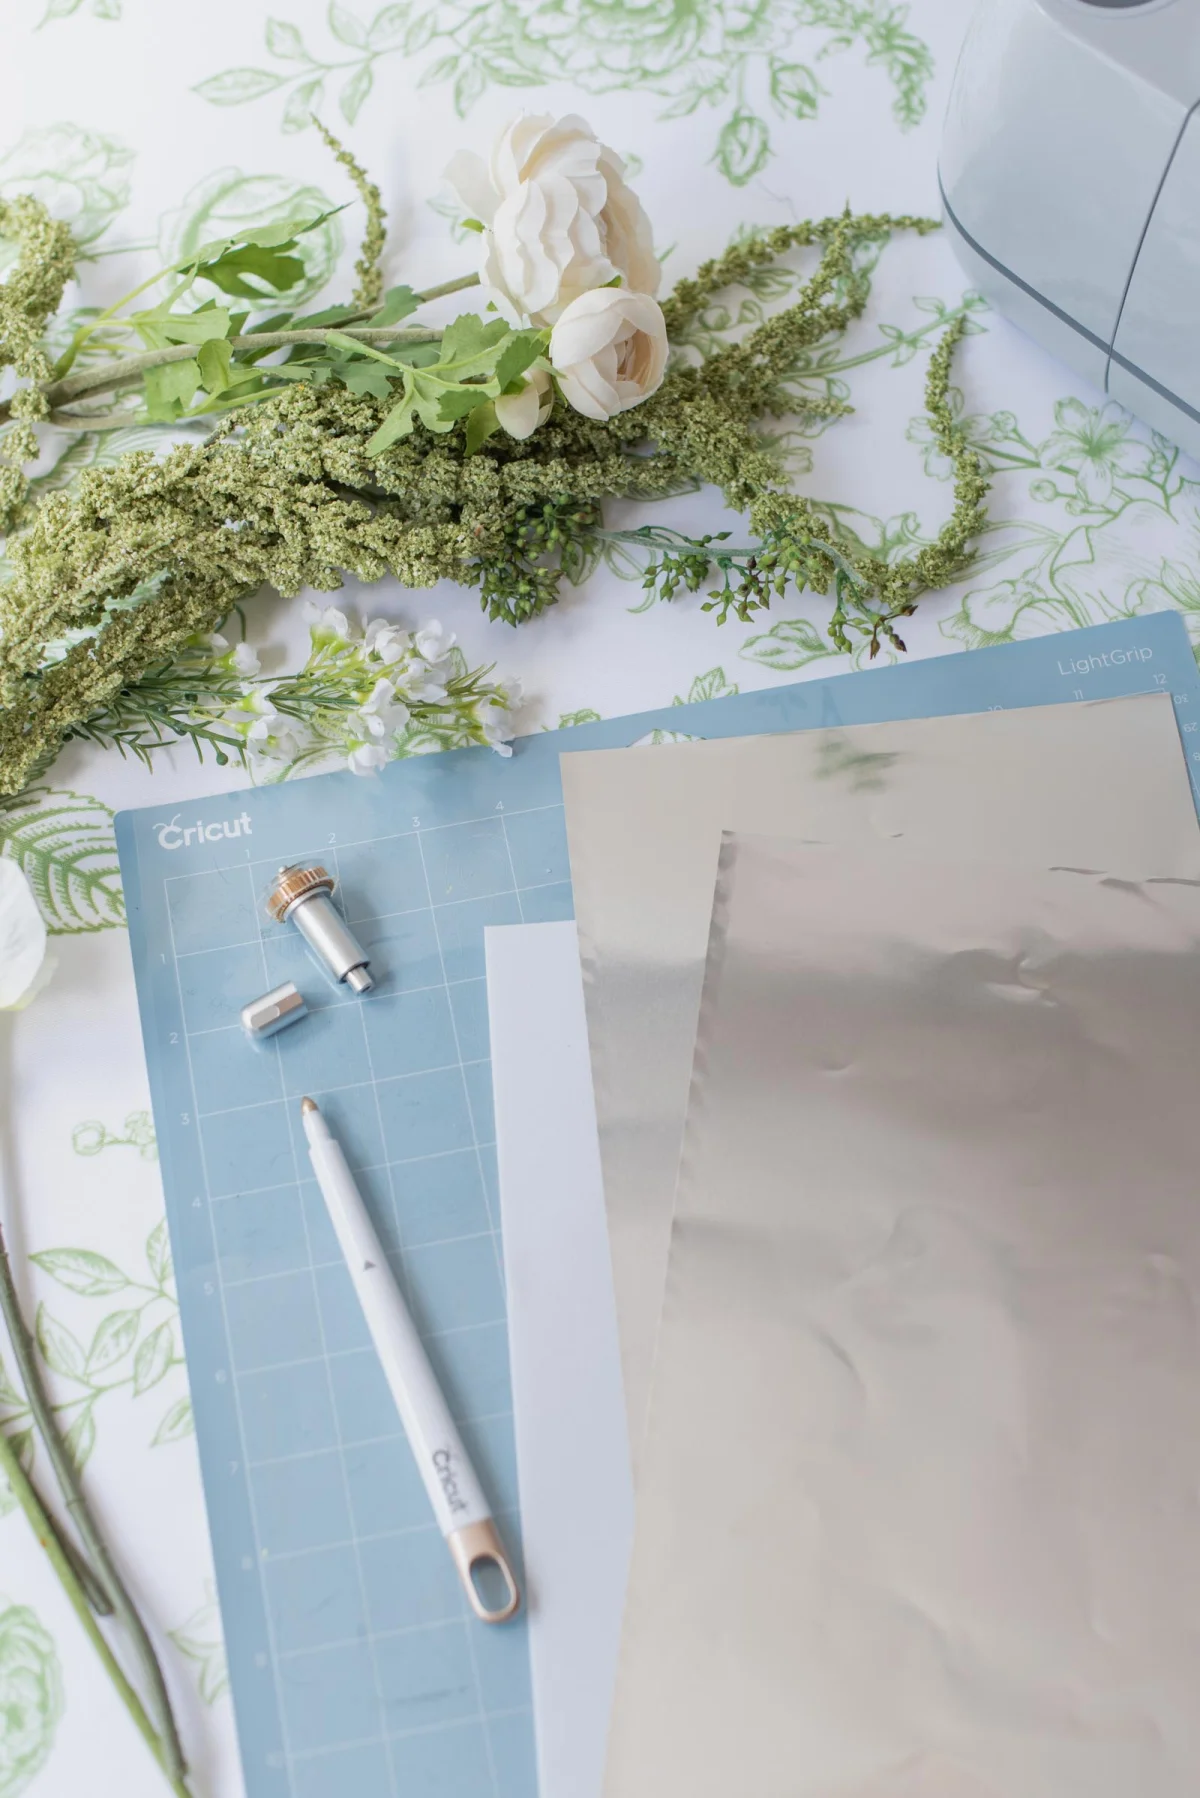
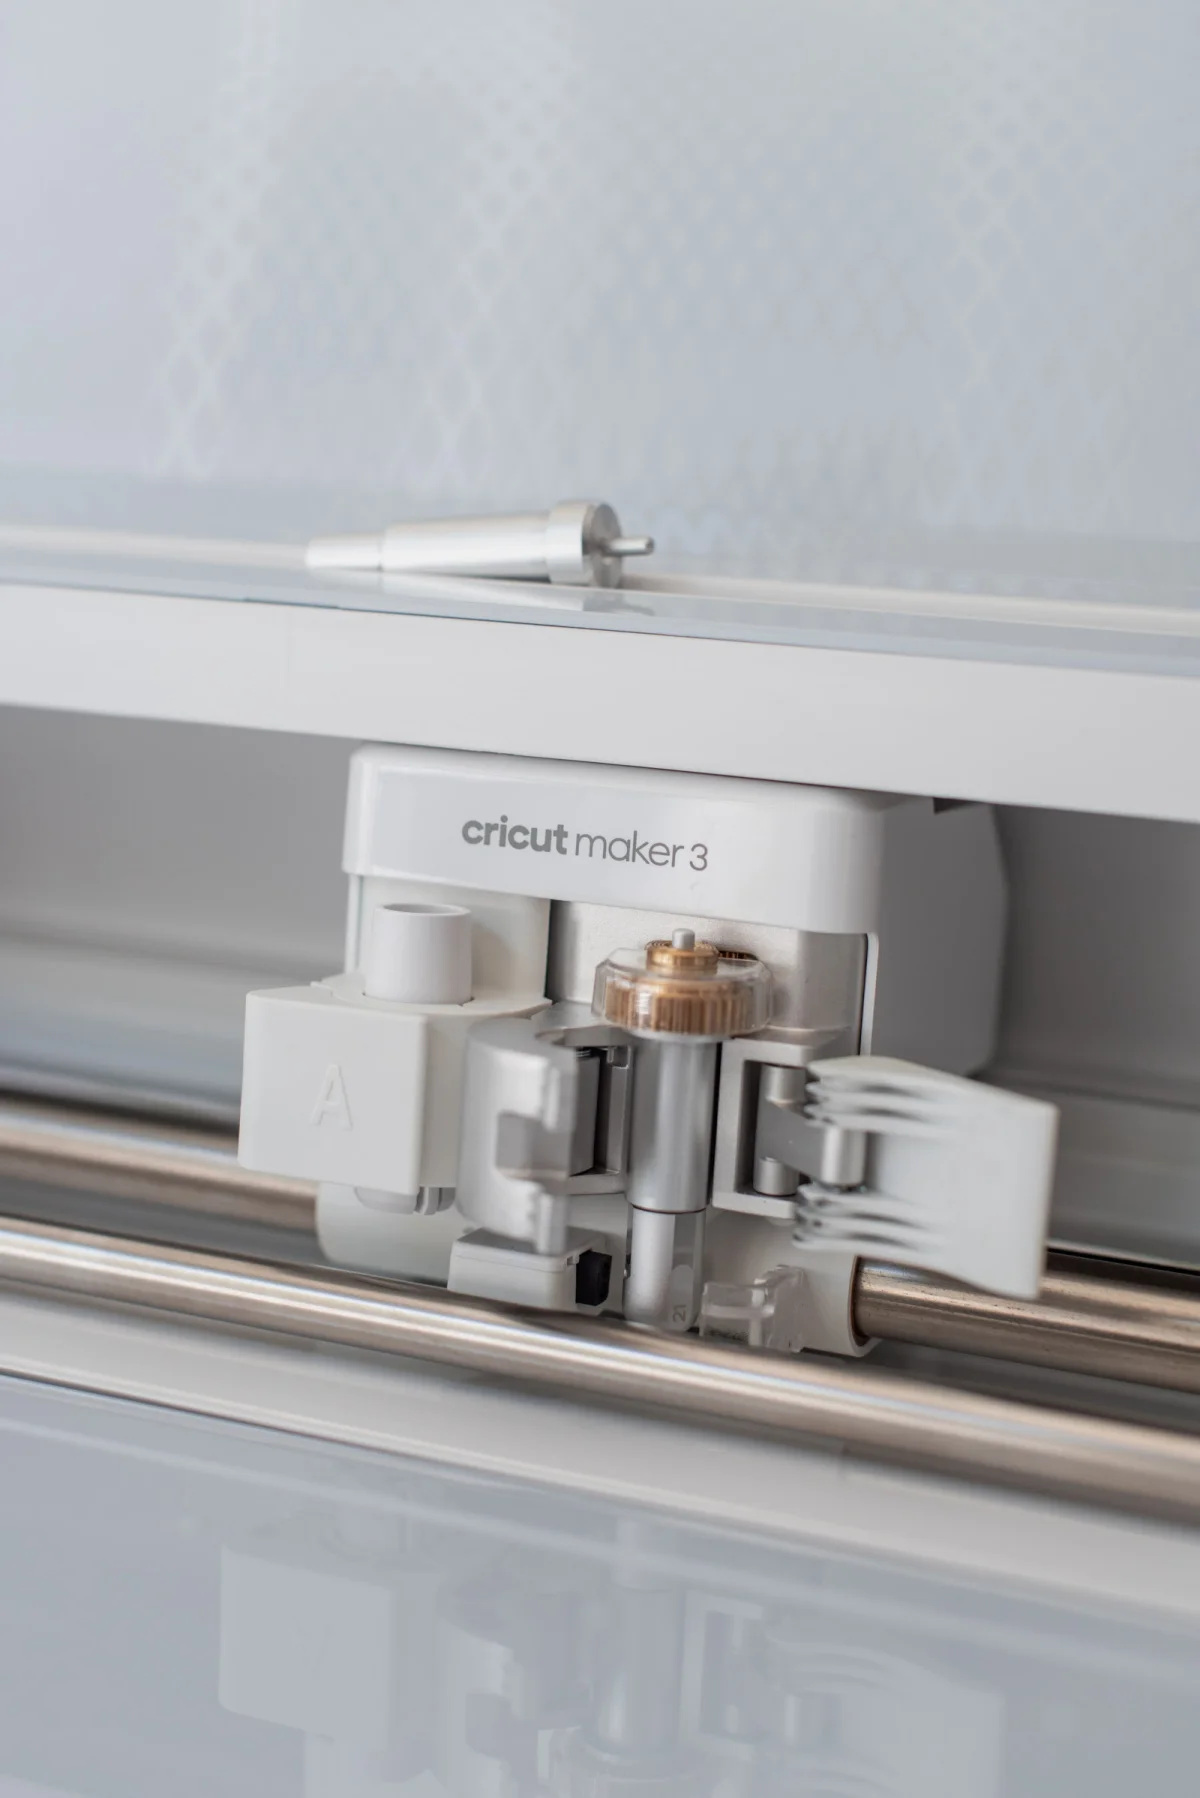
Traditionally, embossing required manual die-cutting tools. However, a Cricut Maker allows for a unique debossing process using a specialized Debossing Tip, specifically the Fine Debossing Tip #21 paired with the QuickSwap housing unit.
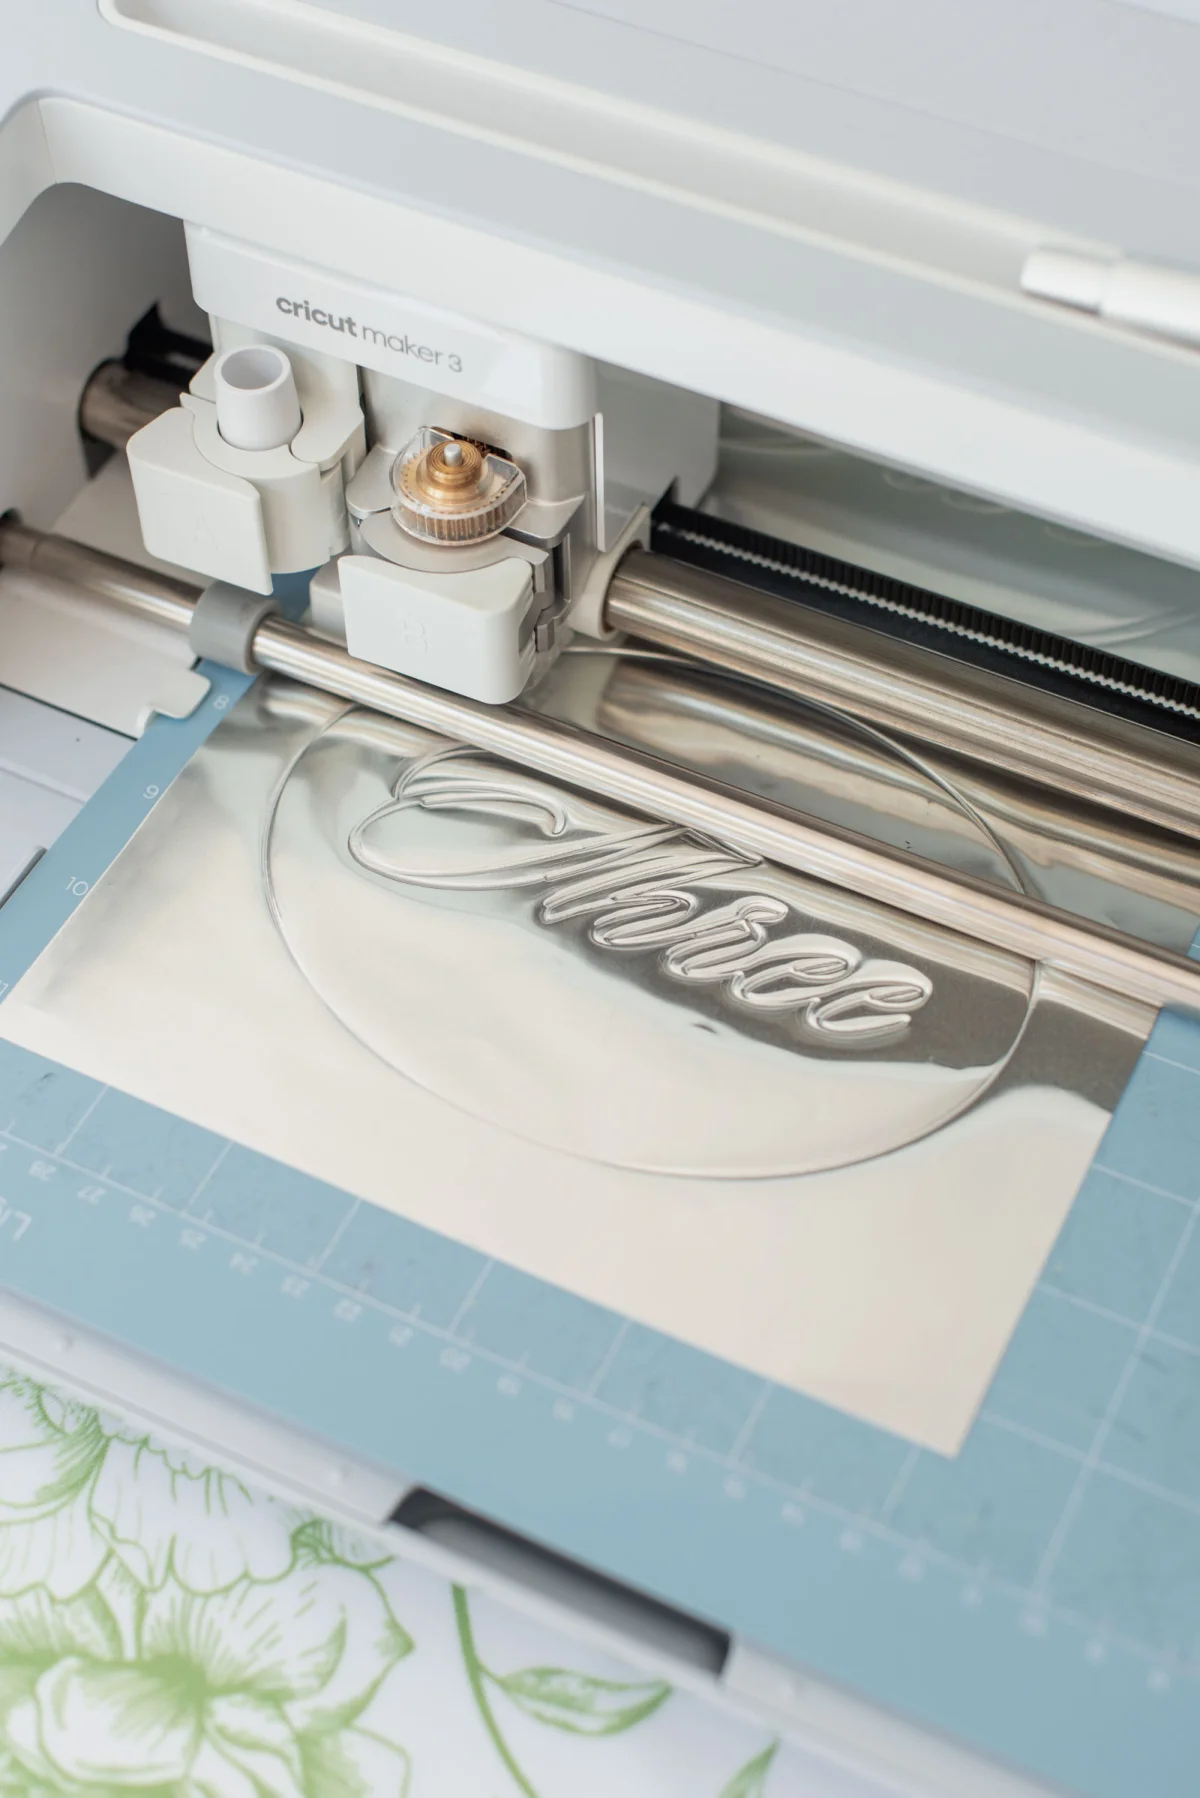
This tutorial focuses on debossing foil metal sheets, crafting sophisticated recessed designs. You can even achieve an embossed effect by mirroring your designs when you're preparing them in the Cricut software before pressing them onto the foil. This versatility ensures a tailored finish that can fit your aesthetic preferences.
Instructions for Making Debossed Wedding Table Numbers
Skill Level: Beginner
Supplies You'll Need
- Cricut Maker cutting machine
- Fine-point blade
- Debossing tip + QuickSwap housing unit
- LightGrip cutting mat (preferably used)
- Embossing foil metal sheets (0.07mm thickness)
- Washi tape or painter's tape
- Brayer
- Craft foam sheet (optional)
- Scoring stylus (optional)
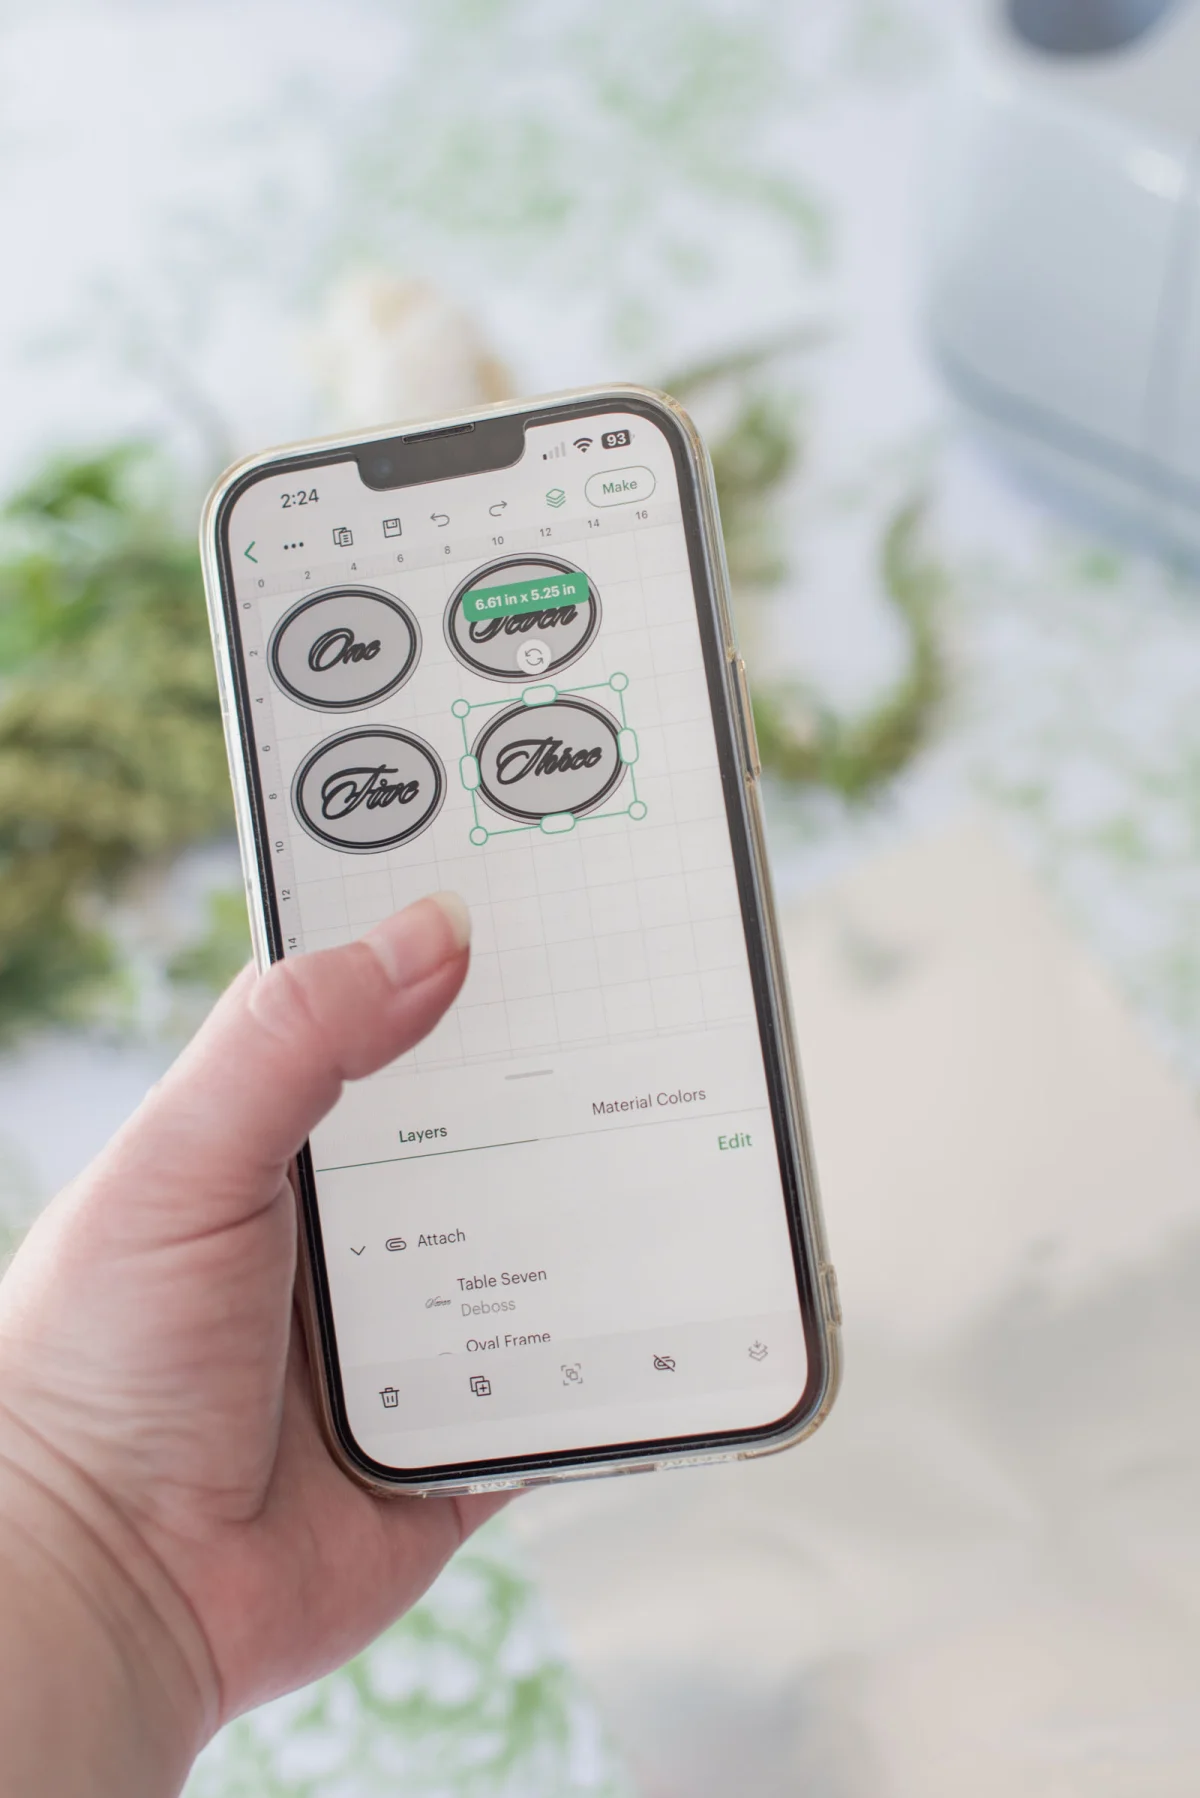
- Access the Oval Table Numbers Cricut Design Space project
Design Notes: The templates utilize images from Cricut’s contributing artists, necessitating a Cricut Access subscription or individual purchases of the images. You can customize your numbers by using your own font or images if preferred.
Choosing the Right Material Setting
While preparing in Design Space, select Foil Poster Board as your material option for accurate cutting results.
Compatible Cricut Machines
• Cricut Maker family only
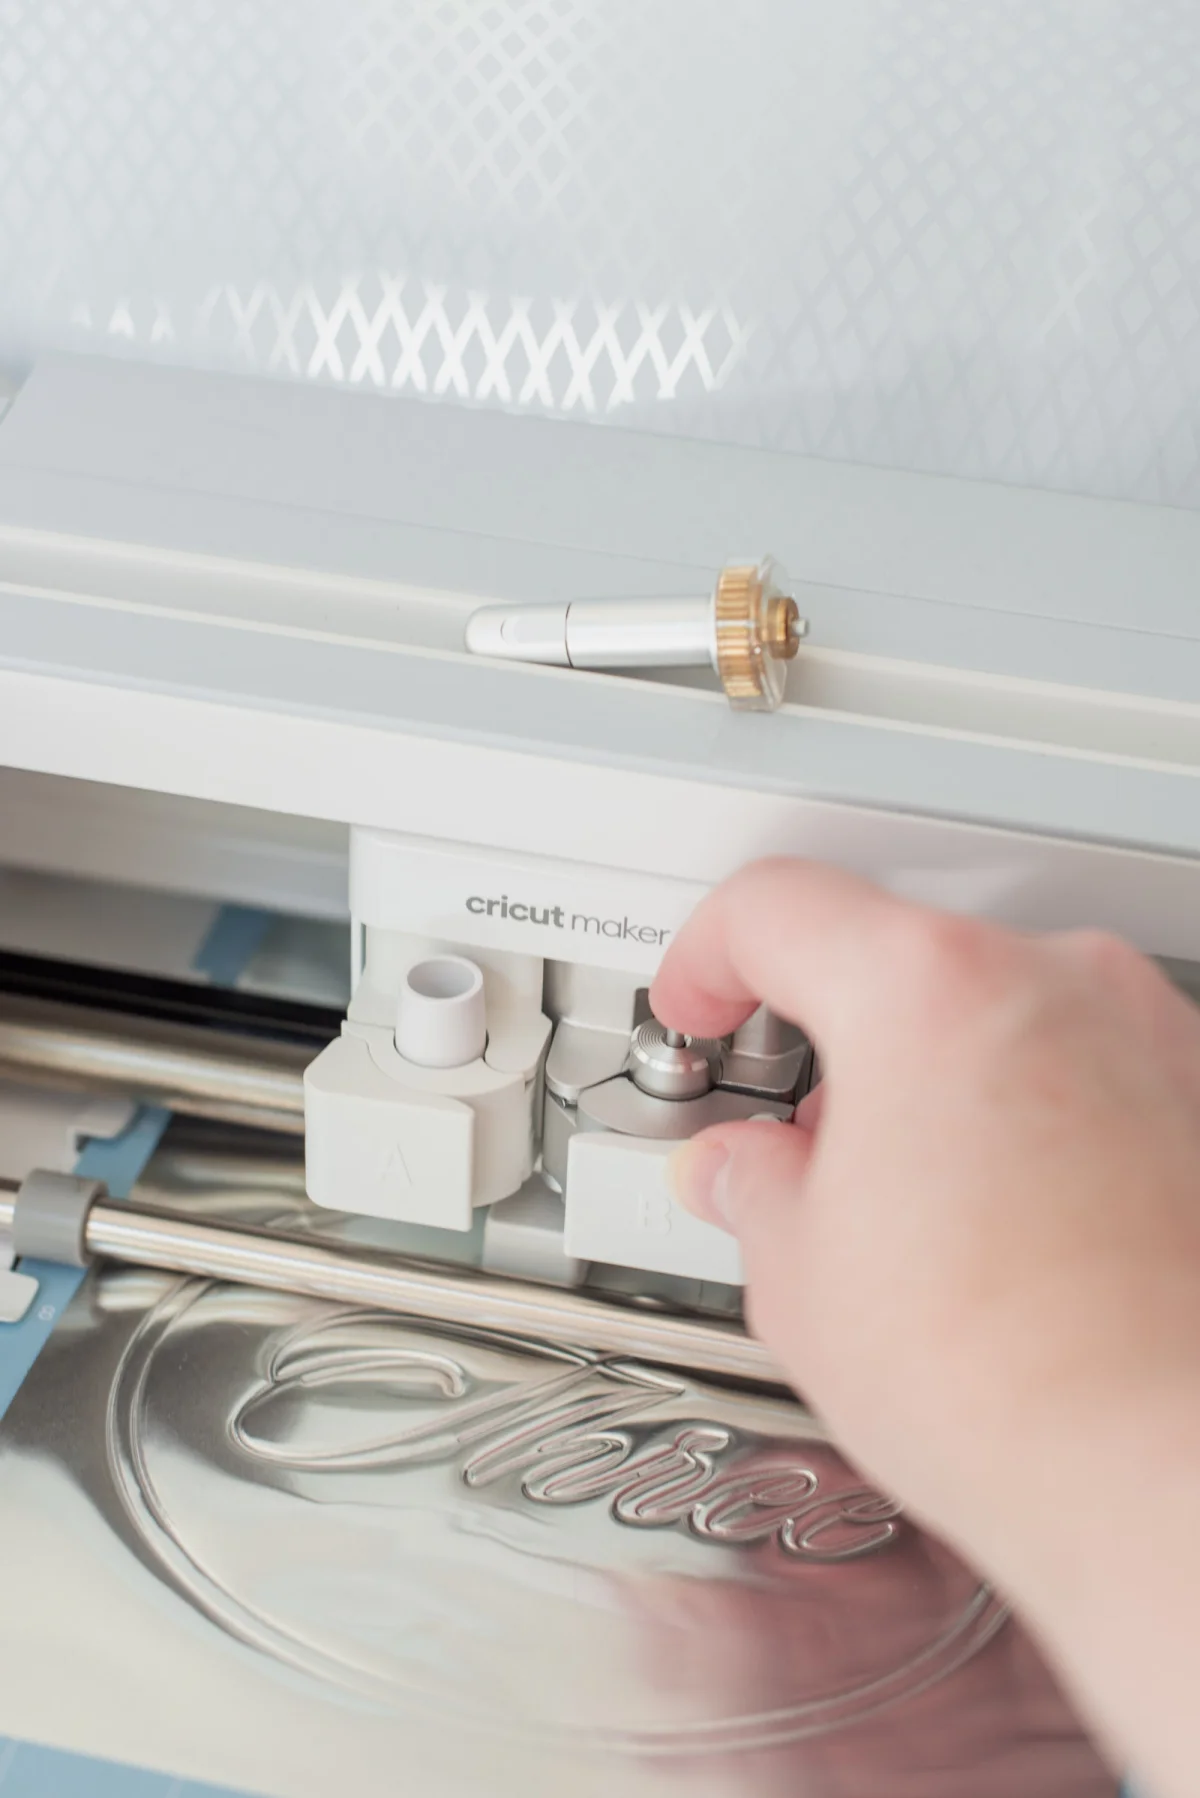
Editor's Note: Due to the QuickSwap debossing tool, this tutorial is specifically designed for the Cricut Maker. Other models can explore using the foil transfer tool or scoring stylus, although the results may differ slightly from our method.
Step-by-Step Instructions
1. Prepare Your Workspace: Gather all materials, and open Cricut Design Space. If using our pre-made project, simply click “Customize” to start editing your table numbers.
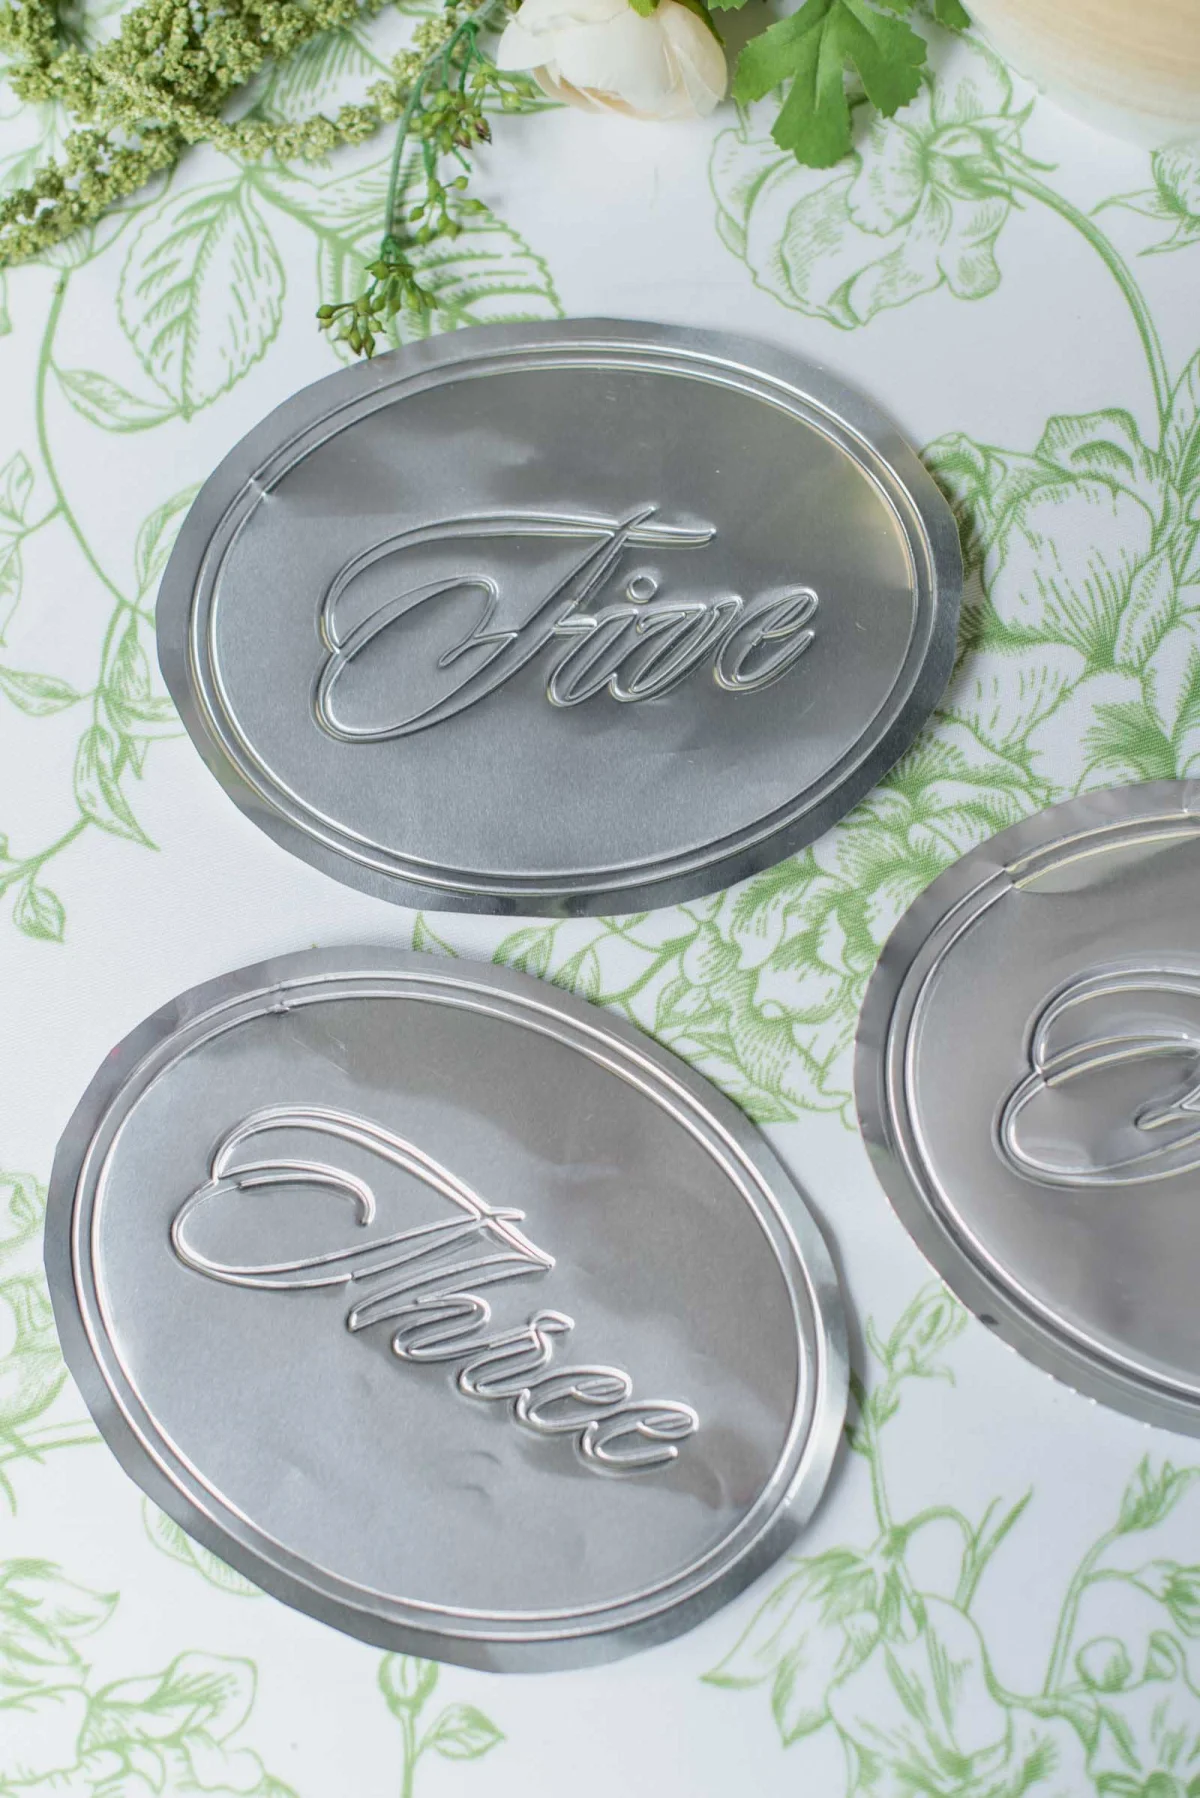
2. Resize and Add Your Desired Numbers: Our table numbers measure around 6 x 5 inches, making them visible for guests while also stylish. Duplicate the existing numbers in the Layers panel or create new ones as needed for your table layouts using the attached group setup.
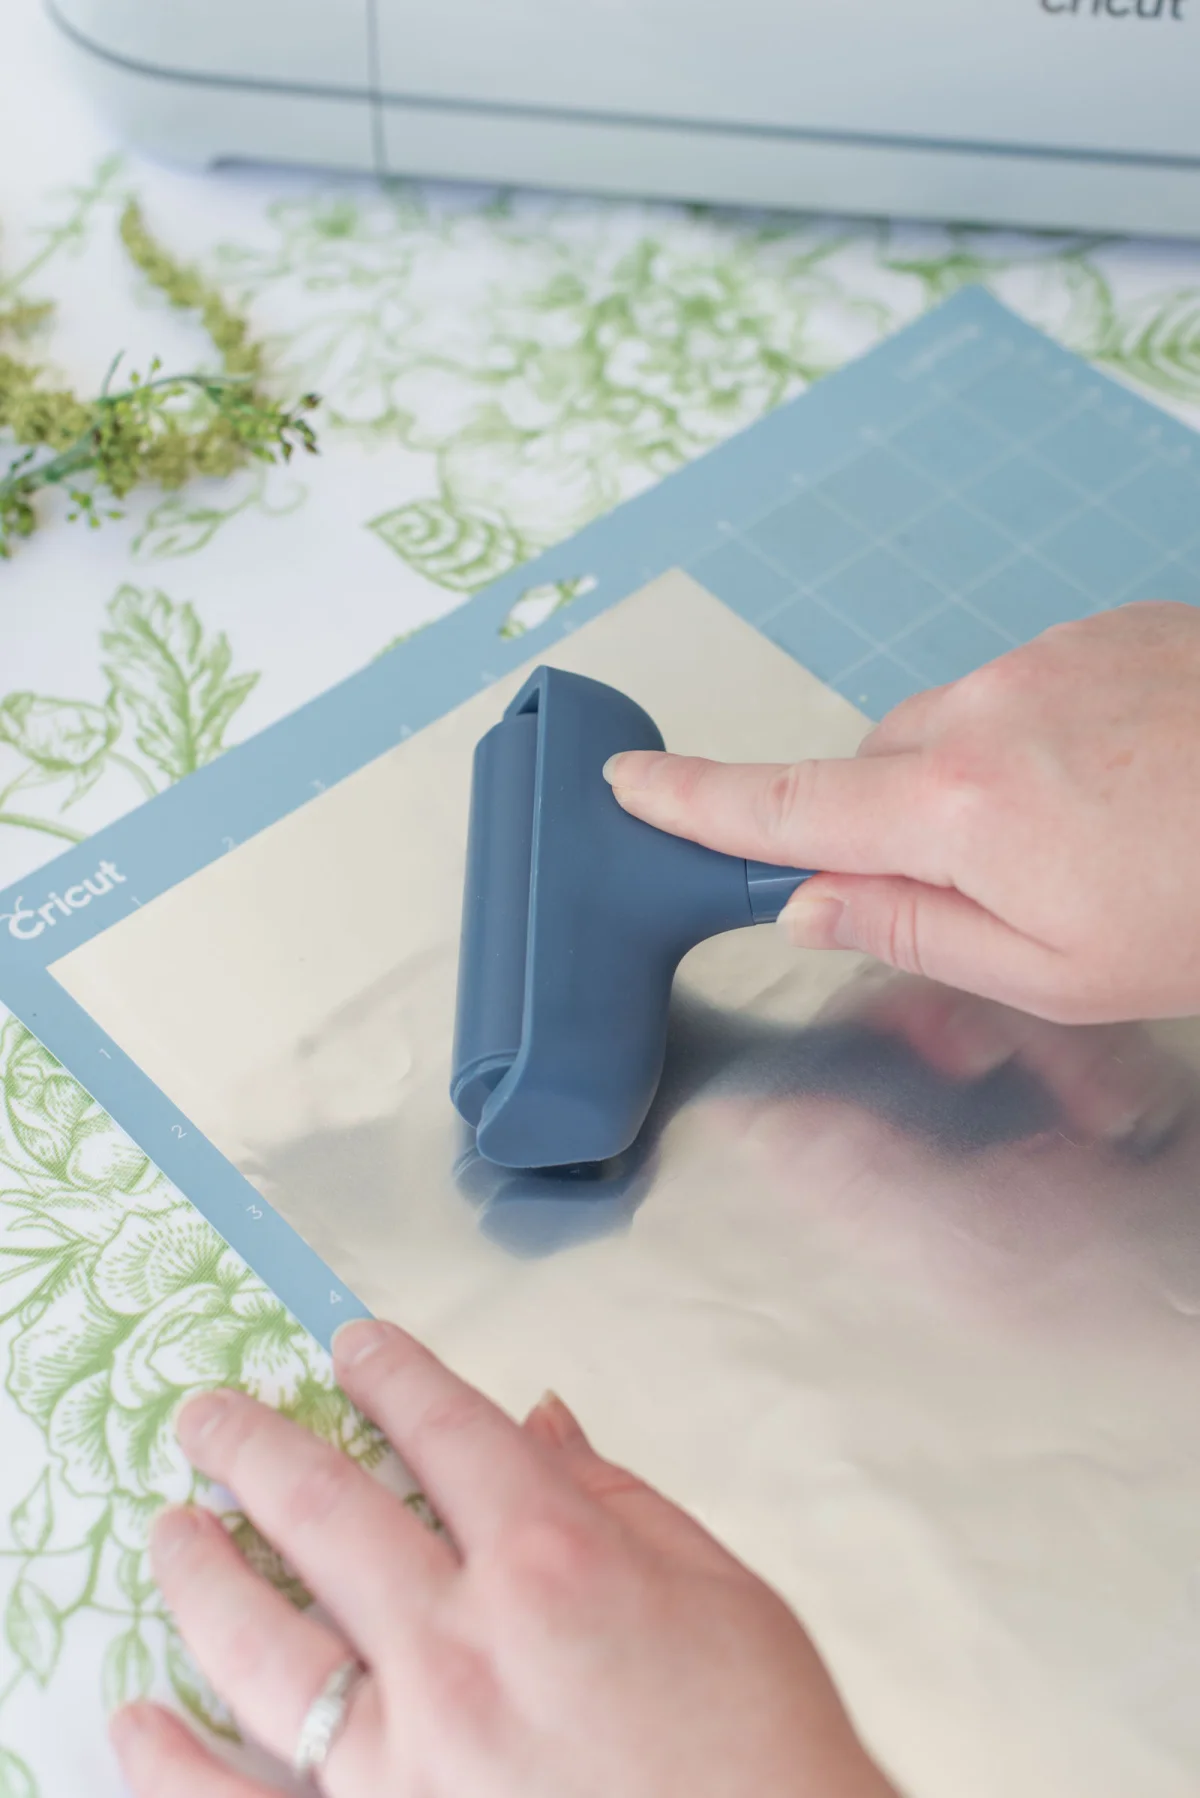
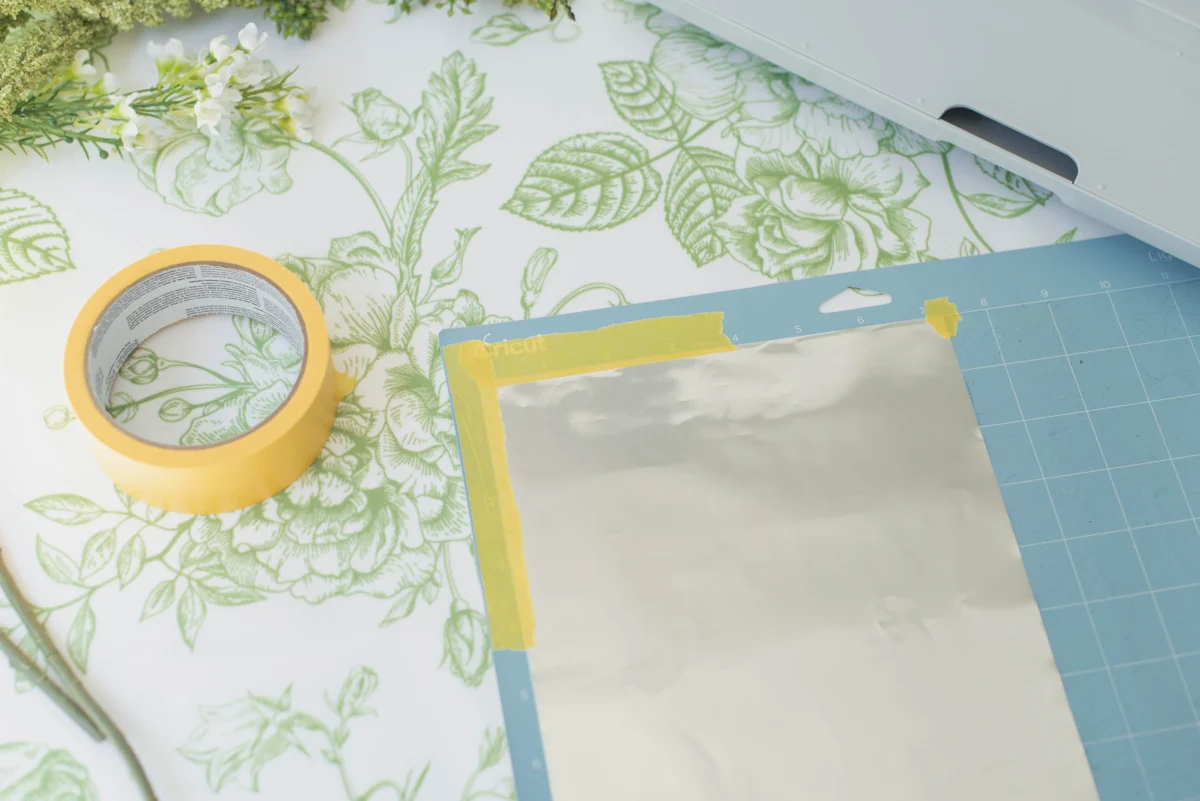
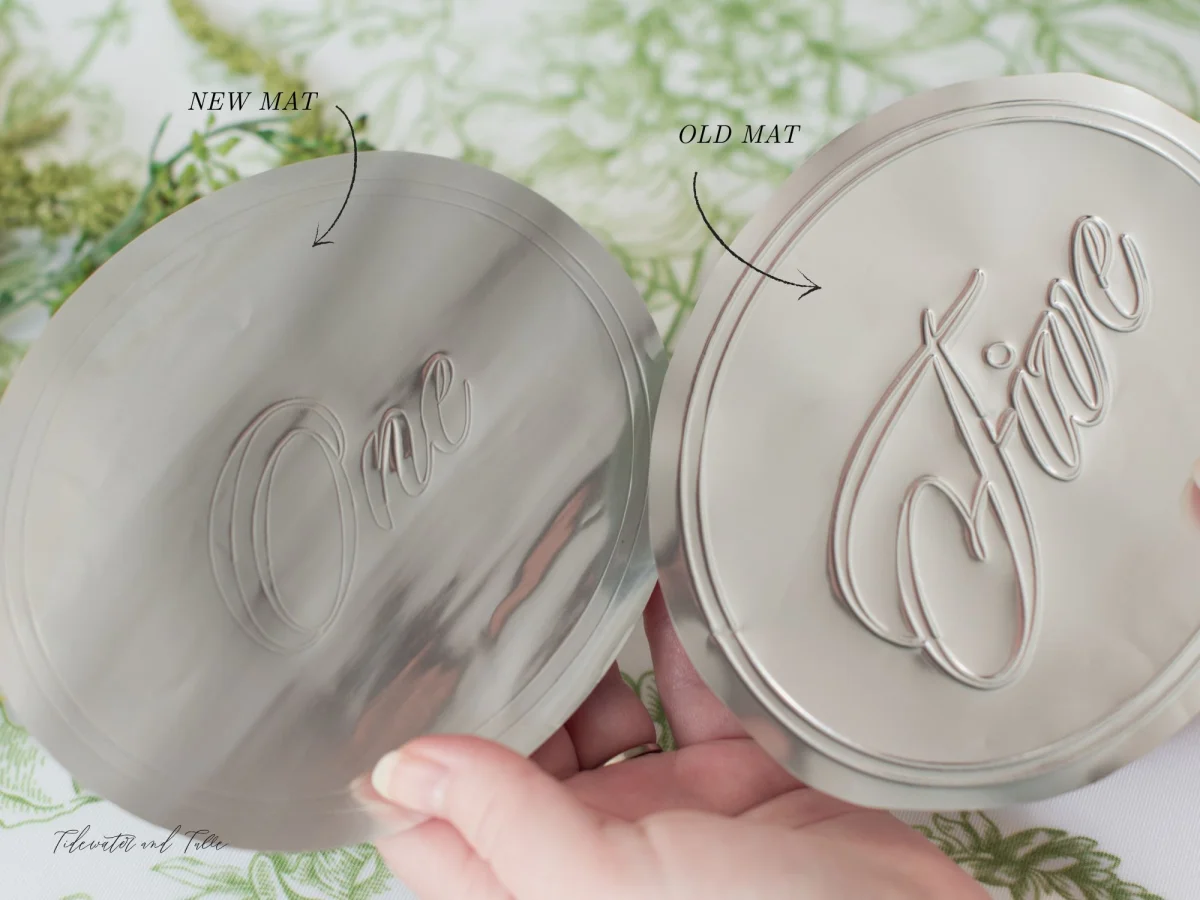
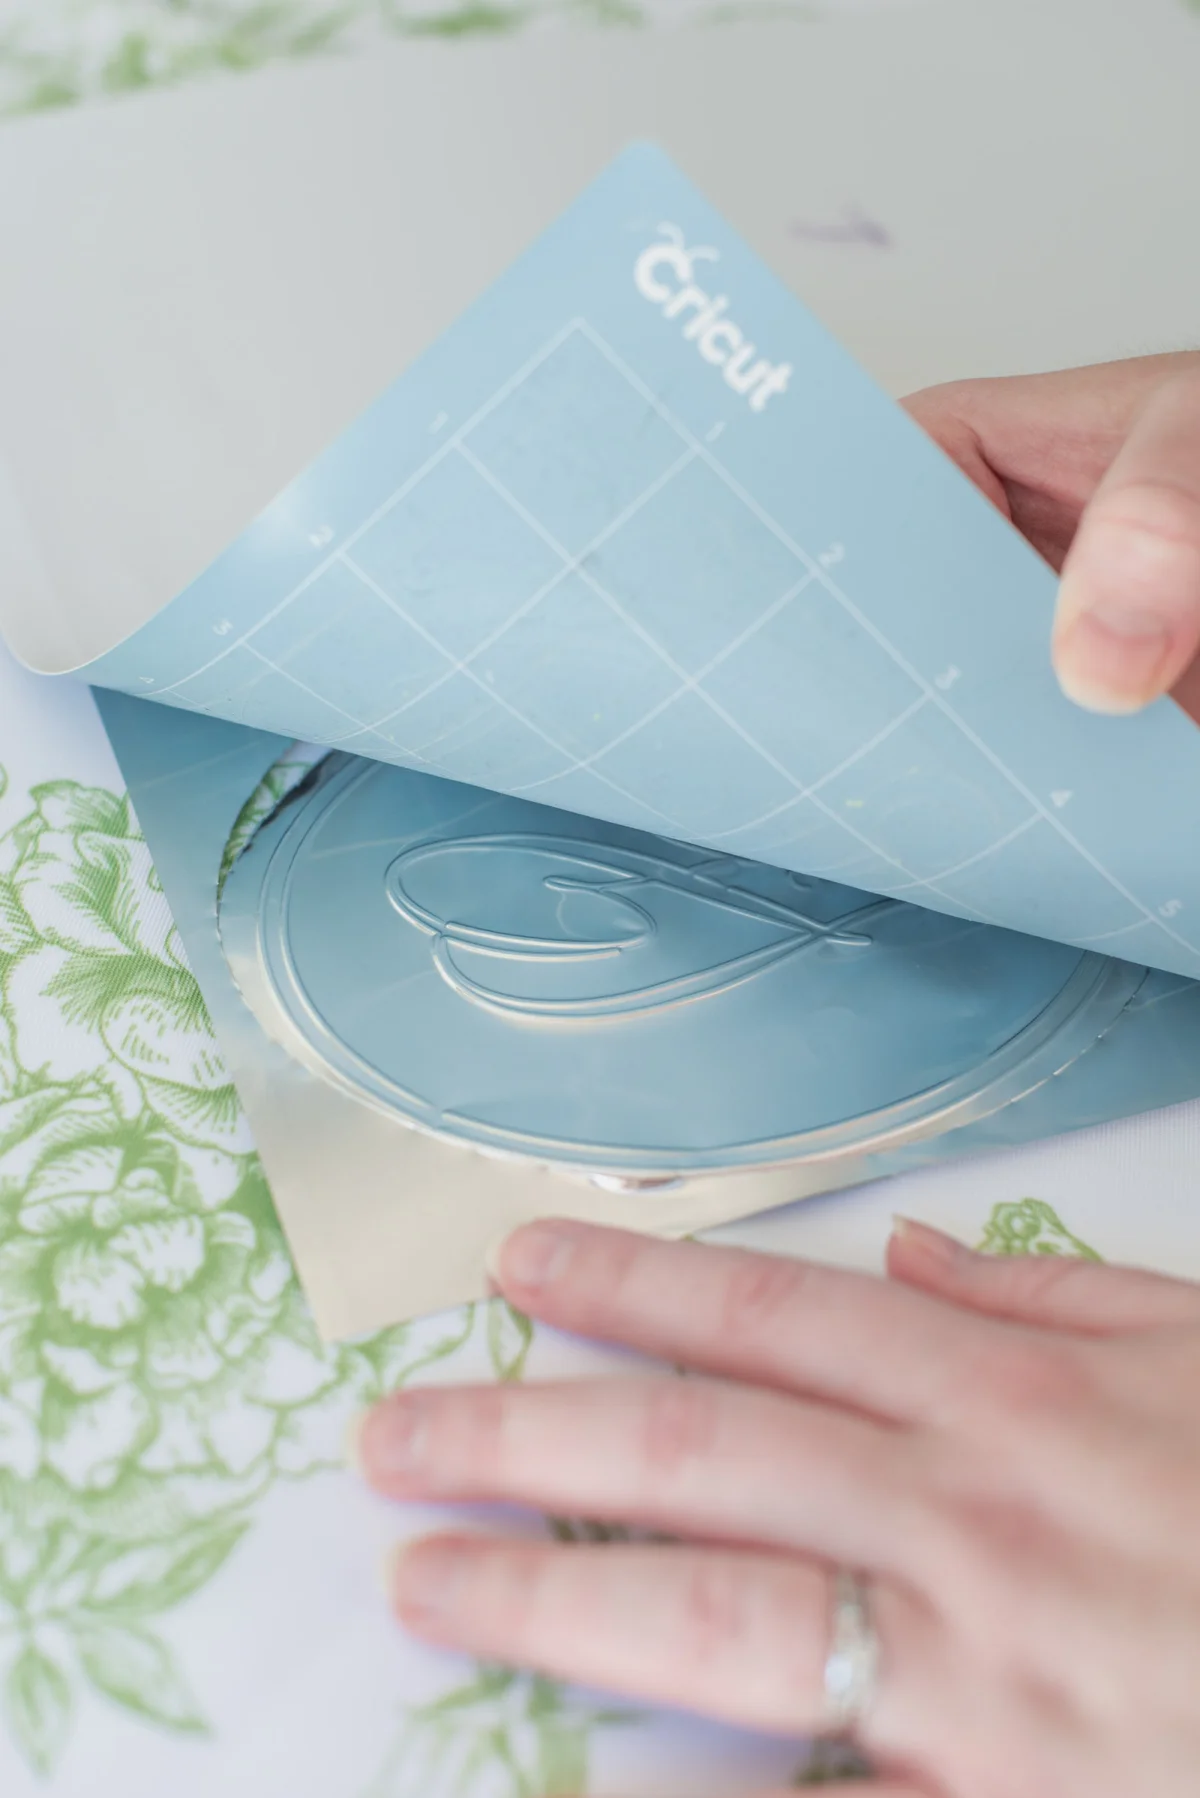
3. Set Up Your Cutting Mat: Secure the foil sheet to your LightGrip mat. Use a brayer for adherence, and apply washi or painter's tape to the edges if using a slightly used mat. A new mat may cling too tightly, resulting in difficulties peeling away the foil.
4. Start Debossing and Cutting: After loading the debossing tool into your Cricut Maker, your machine will handle debossing first, followed by a prompt to switch to the fine-point blade for cutting. Click “Go” and let the machine work its magic!
5. Remove the Foil: To detach the foil sheet, flip the mat over and gently peel it away. Take care to keep the foil flat to avoid curling, and use the brayer to smooth any bent sections.
6. Repeat as Needed: Continue crafting until all necessary table numbers are complete, storing them flat for display on the big day.
7. Optional Touch-Up Steps: You can use a scoring stylus to trace back over the debossed lines for more pronounced effects. Use smooth, steady strokes to add dimension while avoiding pressure that may puncture the foil.
Expert Tips for Manual Embossing
- Use long, steady strokes instead of quick, sketch-like motions.
- Trace outside the debossed lines for bolder effects.
- Always use a foam sheet for easier embossing.
- Maintain even pressure for consistent impressions.
Frequently Asked Questions: Debossing with Your Cricut
Can I Use Aluminum Foil for This Project?
Household aluminum foil is not recommended, as it’s too thin and easily damages. Opt for thicker craft embossing foil for better results.
Can I Use Cardstock with a Metallic Finish?
While metallic cardstock works with the debossing tool, it won’t allow for additional hand-embossing due to its thickness.
Can I Deboss with a Cricut Explore Machine?
Unfortunately, the Debossing Tip is incompatible with other models. However, you can explore using a scoring stylus or foil transfer tool for a similar effect.

Written by
Chelsea Barton
Founder & Wedding DIY Expert
A passionate advocate for creative wedding planning, Chelsea has been helping couples craft their perfect celebrations since 2009, with features in top publications!
Photography Credits
All tutorial images and videos by Chelsea Barton.
Note: Some links may be affiliated. Purchasing through these helps support our site.