In lane Planning & Budget
Create Your Beautiful DIY Mirror Wedding Sign with Cricut: A Step-by-Step Guide
Description
Learn how to craft stunning DIY mirror wedding signs with a Cricut, including materials, a detailed tutorial, and tips for personalization.

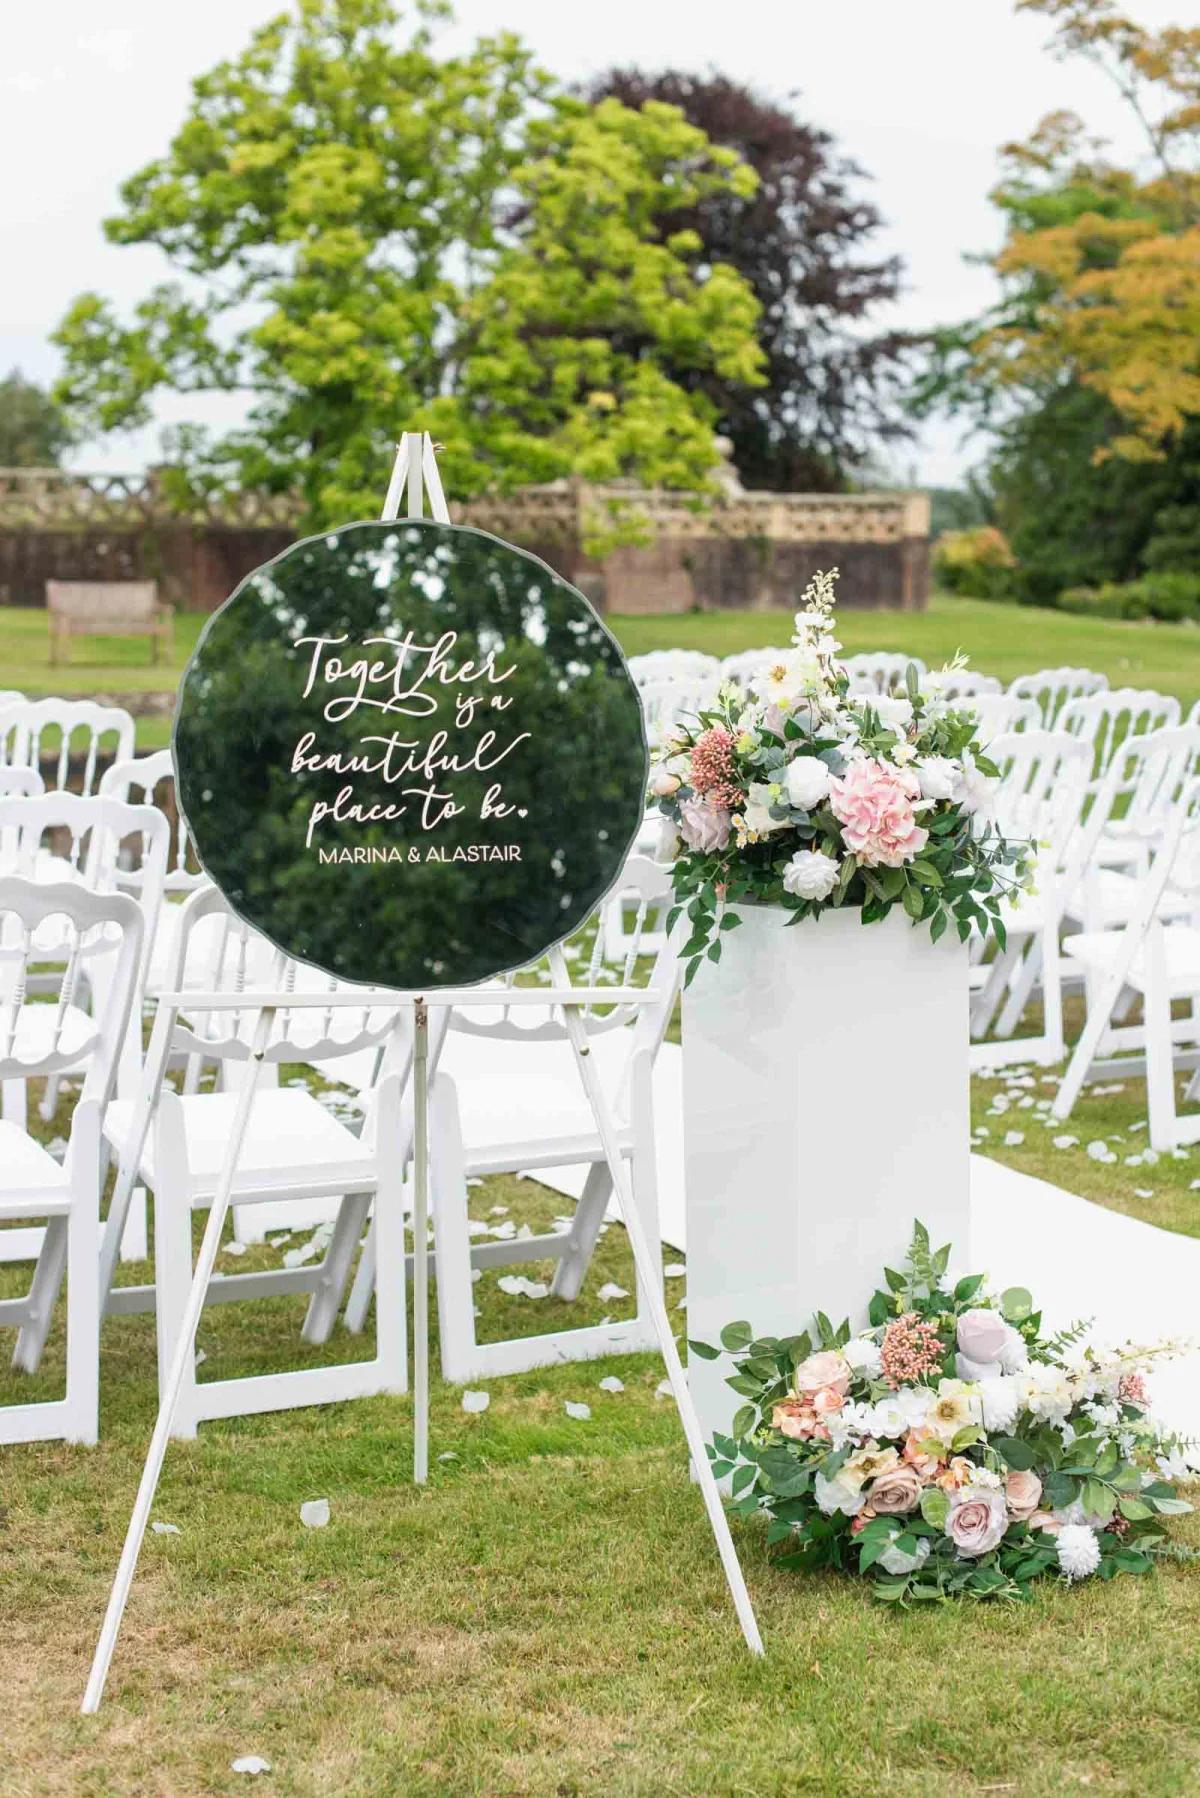
Mirror wedding signs have become a fashionable element of modern wedding decor, effortlessly blending elegance and practicality to suit a variety of themes. Whether your celebration has a vintage appeal or a fresh contemporary vibe, mirrors serve beautifully as welcome signs, seating charts, and ceremony markers, enhancing your wedding’s aesthetic at every turn.

One of the standout features of mirror wedding signs is their personal touch. With just a thrifted or secondhand mirror, adhesive vinyl, and a Cricut machine, you can create a meaningful piece that reflects your love story and overall wedding style. Plus, this approach is both environmentally friendly and budget-conscious, making it a popular choice among couples.
Today, we're thrilled to share an exclusive excerpt from Cricut Weddings, a new DIY book by Chelsea Barton, the editor-in-chief of Tidewater and Tulle. This book features 22 beginner-friendly Cricut projects for weddings and is a must-have for anyone interested in crafting their own wedding decor.
Why Choose Mirror Wedding Signs?
Mirror signs are favored for three main reasons: affordability, personalization potential, and eco-friendly adaptability. Embracing thrifted decor allows you to achieve a stylish look without the environmental impact of new furnishings. Choosing a secondhand mirror minimizes waste, supporting sustainability while adding unique character to your celebration.
What’s more, DIY mirror signs not only beautify your event but they can also be easily repurposed afterward. Simply peel off the vinyl post-wedding and the mirror can find new life in your home or be gifted to another couple seeking budget-friendly decor. This approach creates a win-win situation for your budget, aesthetic, and the planet!
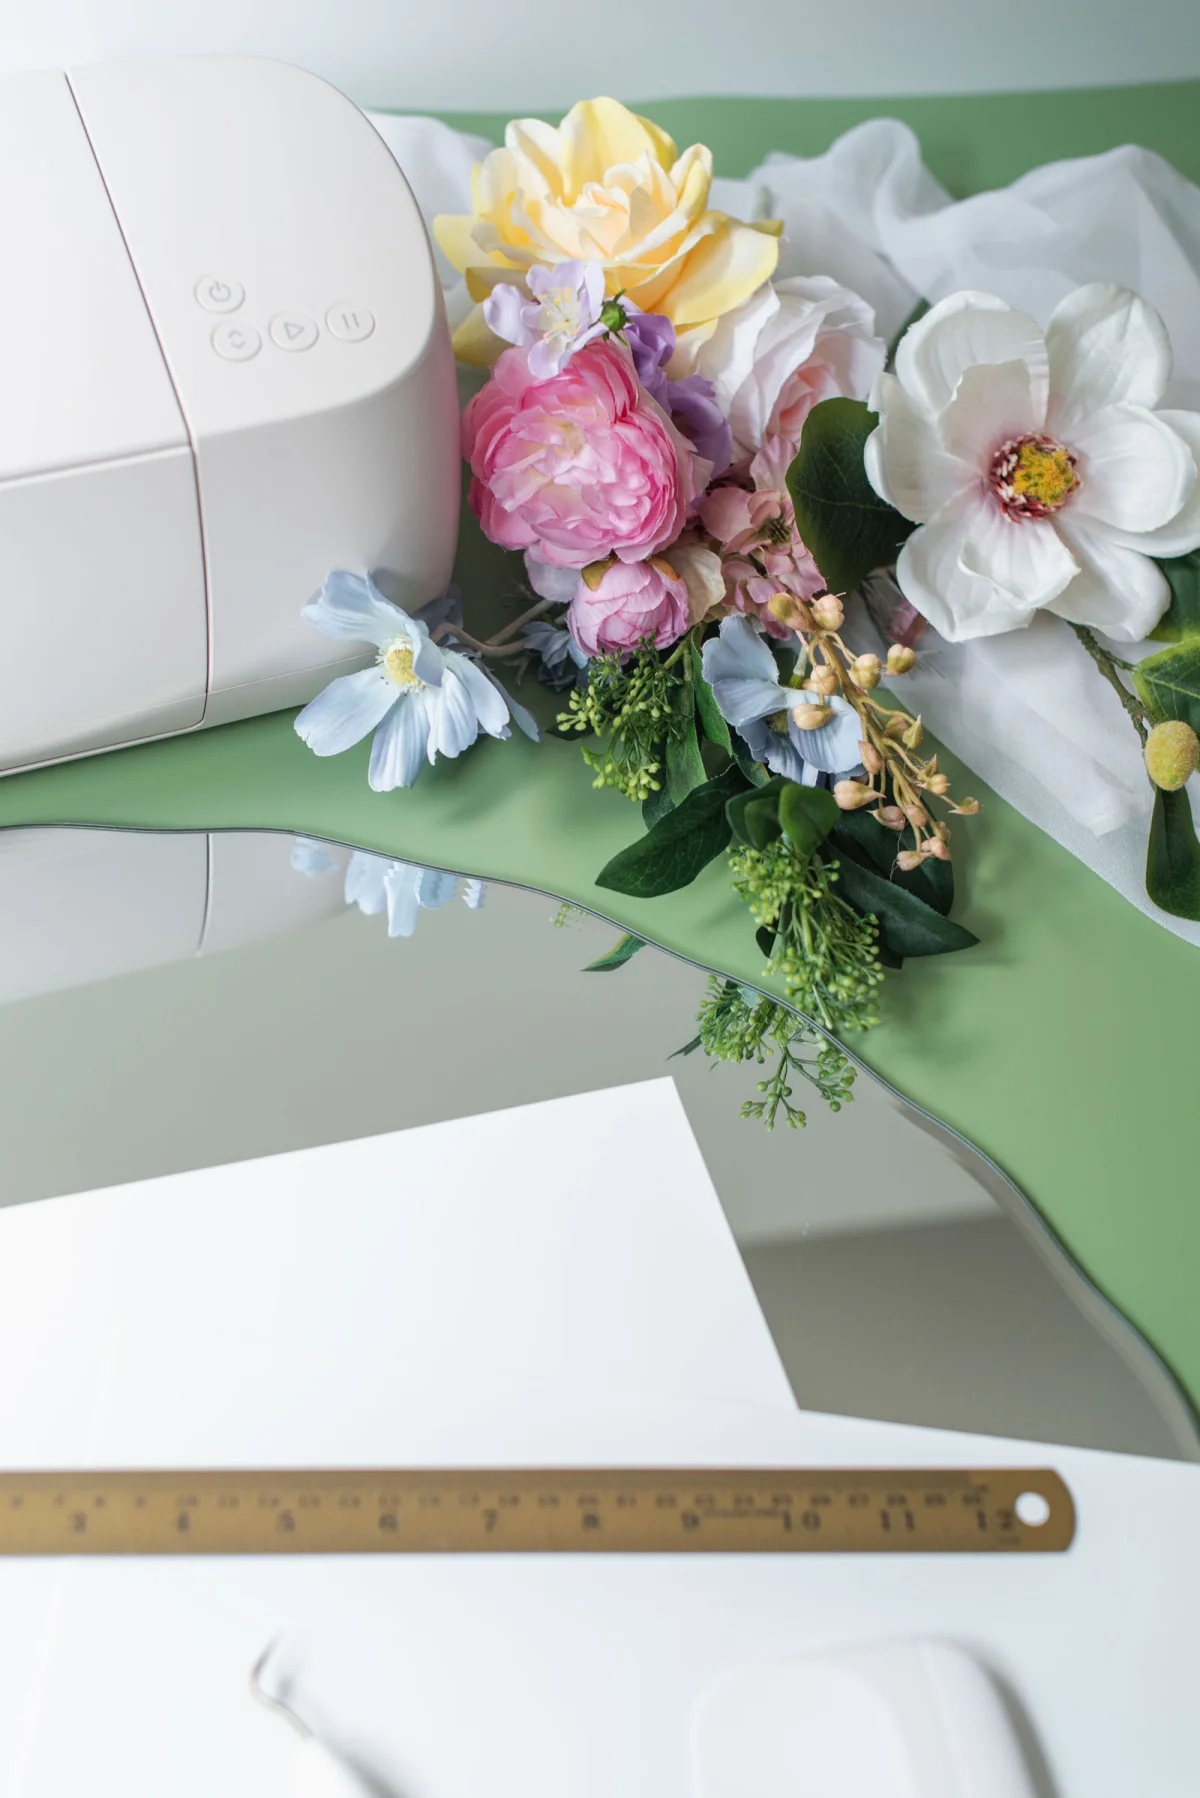
Essential Materials & Tools for Your Wedding Mirror Sign
- Cricut machine
- Your choice of welcome message or Cricut Weddings' mirror sign SVG file
- Fine-point blade and housing
- 12 × 24in (30.5 × 61cm) LightGrip or StandardGrip cutting mat
- Cricut Value Vinyl (or your choice of adhesive vinyl)
- Extra-large mirror
- Greaseproof baking paper
- Transfer tape roll
- Transparent tape (optional)
- Ruler or measuring tape
- Brayer
- Scissors
- Weeder
- Scraper
- A copy of Cricut Weddings, of course!
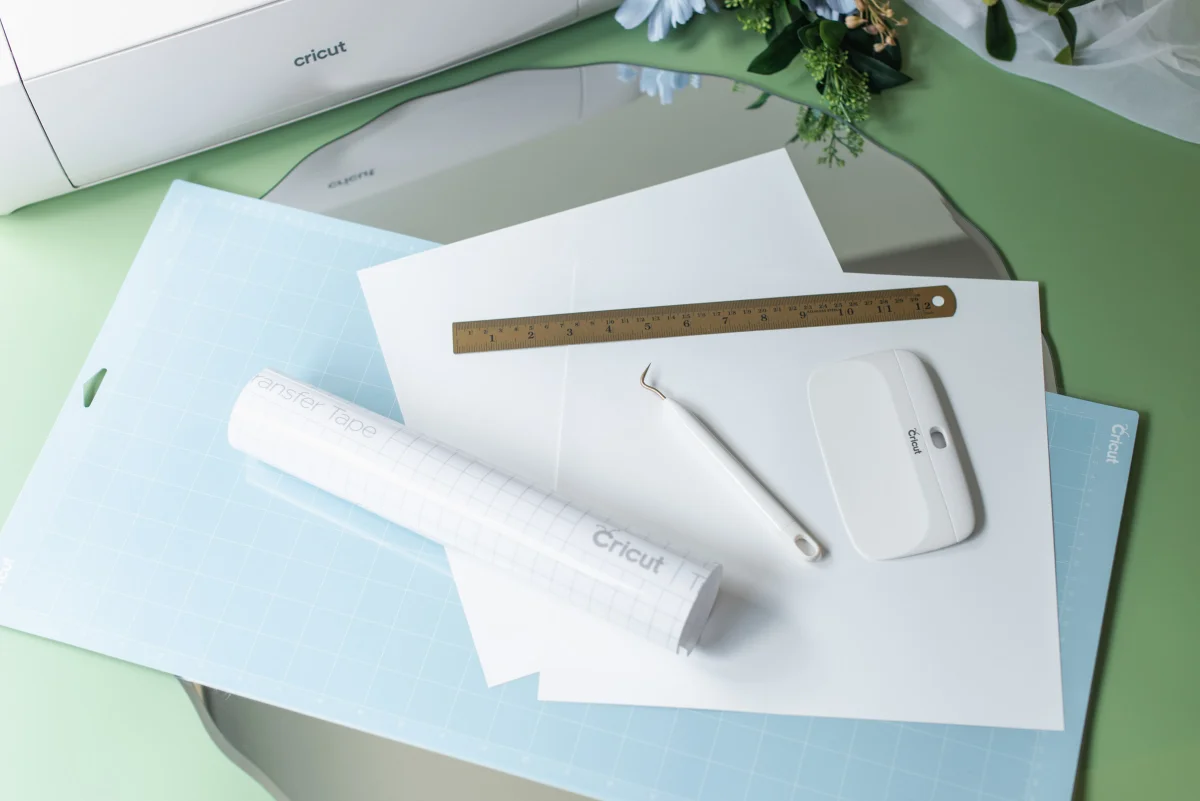
A Step-by-Step Guide to Creating Your DIY Mirror Wedding Sign
1Clean Your Mirror: Thoroughly clean your mirror to remove fingerprints and residue. Then, in Cricut Design Space, enter the lettering for your sign. An alternative is to download the exclusive SVG file (found on page 46 of the Cricut Weddings book) and upload it to Design Space.
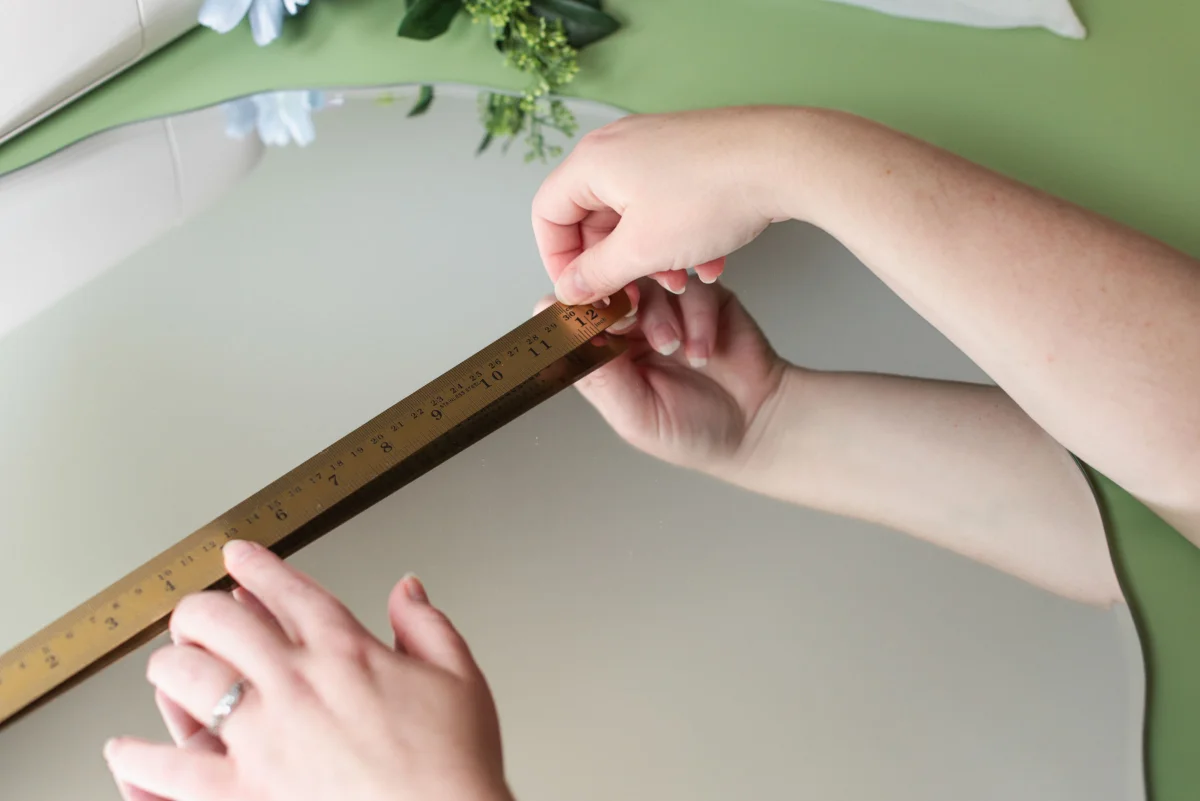
2Measure Your Design Area: Use a ruler or measuring tape to determine the area on the mirror where you plan to apply your design. In Design Space, resize your design accordingly. For a single piece of vinyl, aim for maximum sizes of 11.5 × 11.5in (29.2 × 29.2cm) or 11.5 × 23.5in (29.2 × 59.6cm) based on your cutting mat size. If cutting a design in two parts, each segment can occupy these dimensions.
✎ PRO TIP: If your mirror is larger and requires bigger dimensions, consider using Value Vinyl in rolls or Smart Vinyl for extended lengths. Additionally, you can utilize Design Space's Contour feature to cut word by word, giving you flexibility in your project.
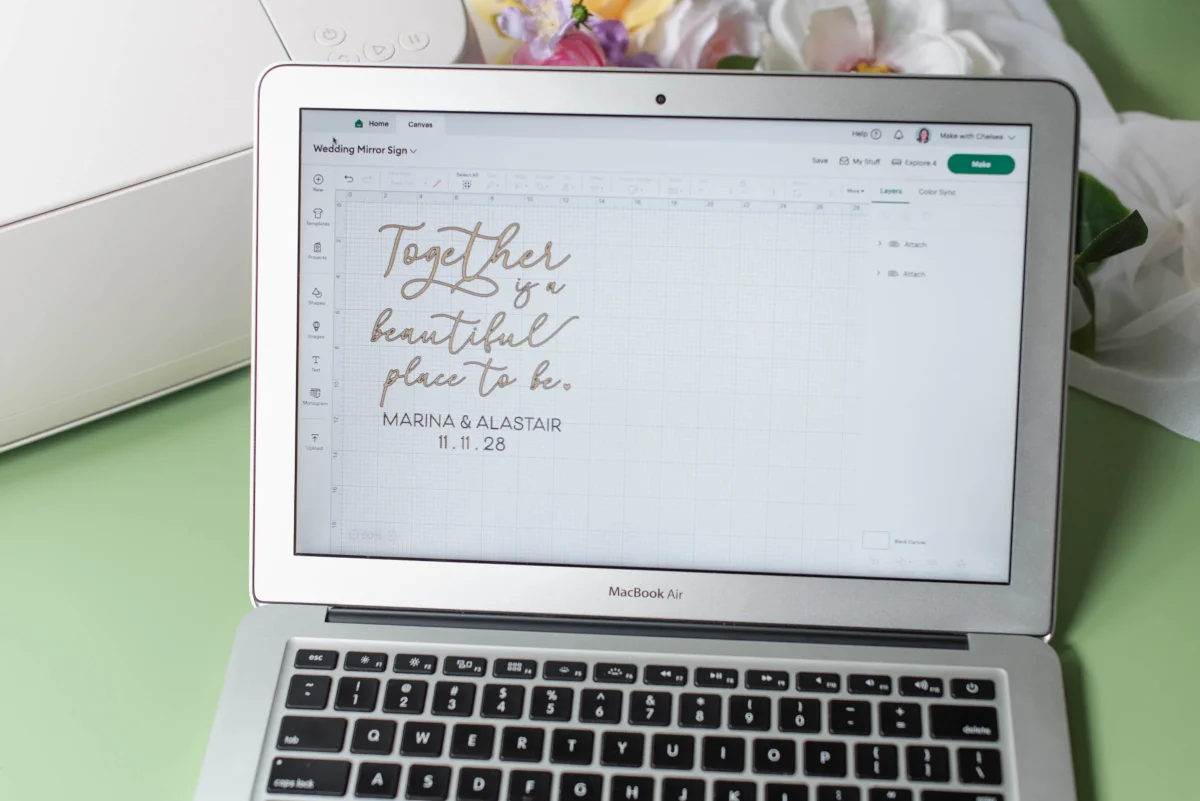
3Decide on Personalization: Customize your design with text boxes for names or dates by selecting Text in Design Space. Choose a font that matches your wedding's style. For balance, you may prefer non-cursive fonts. Adjust text size and spacing and align the layers as needed.
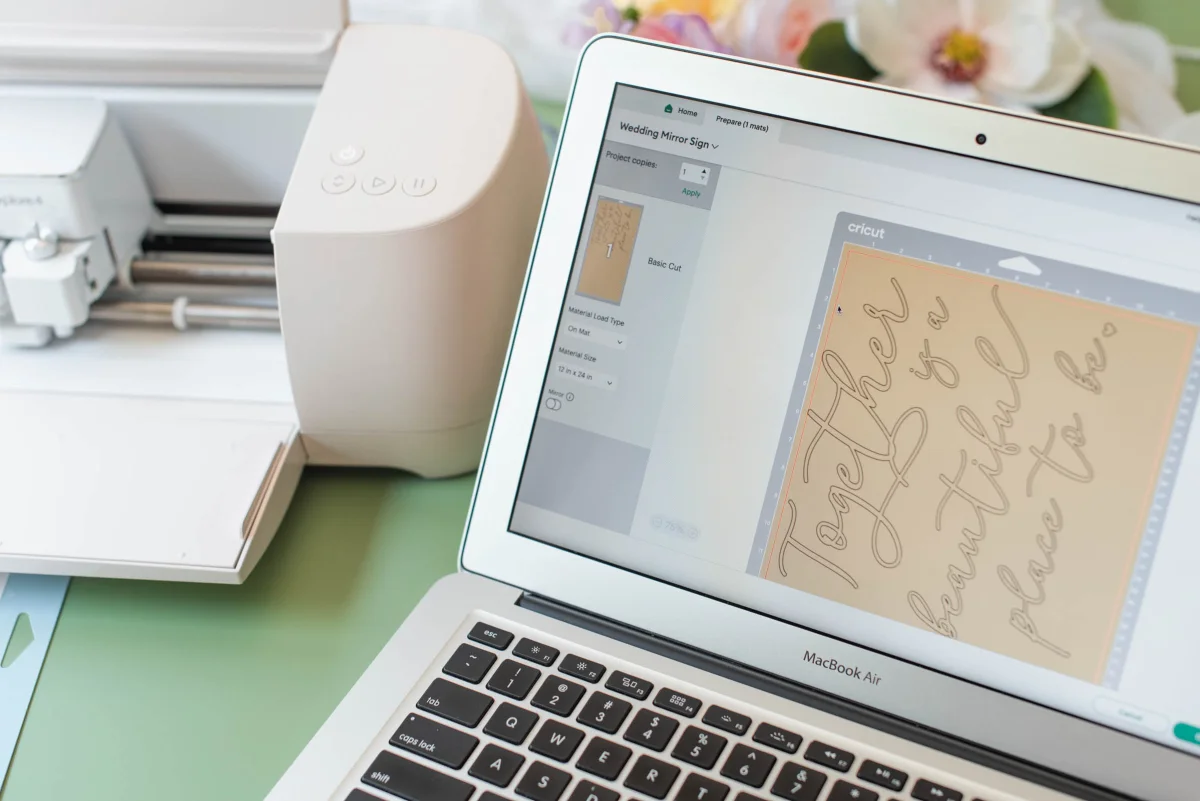
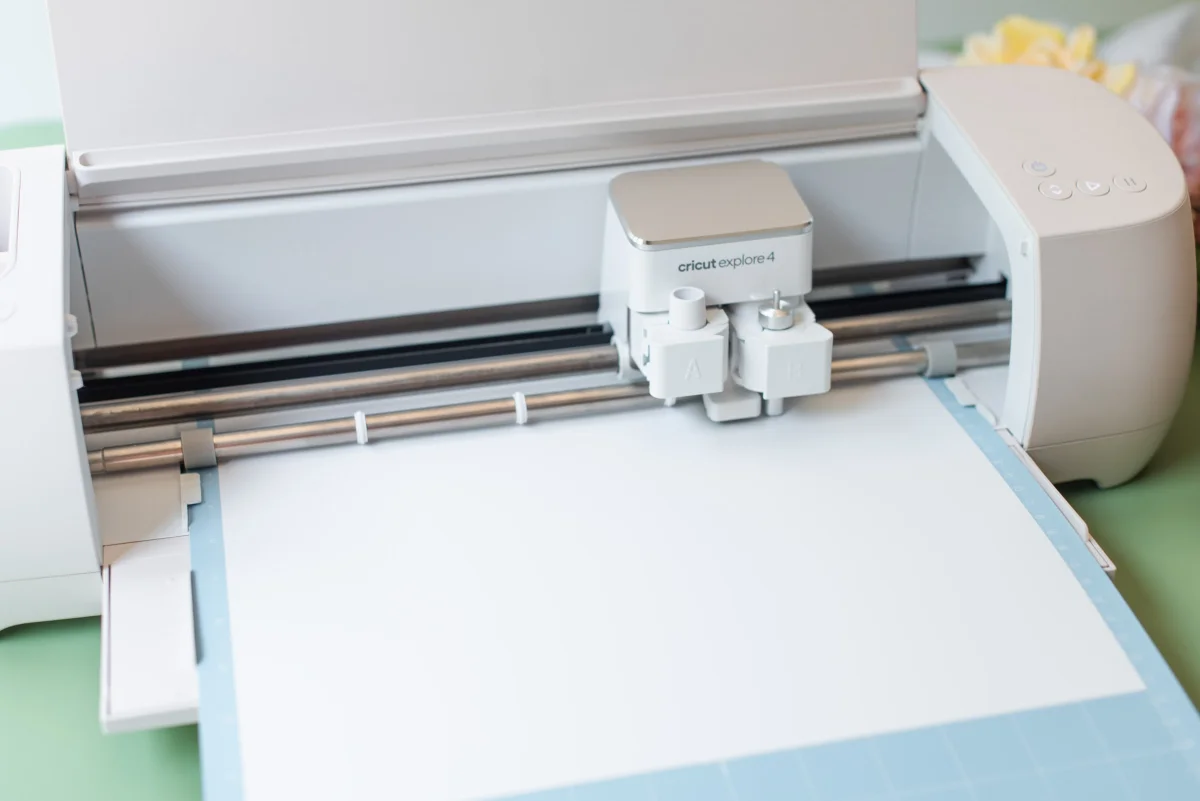
4Prepare for Cutting: In Design Space, select Make to access the Prepare screen. Adjust your vinyl to size and place it, translucent side down, onto the cutting mat. Utilize a brayer to assure adherence. Ensure the design is correctly positioned in relation to the vinyl on your cutting mat before proceeding to cut.
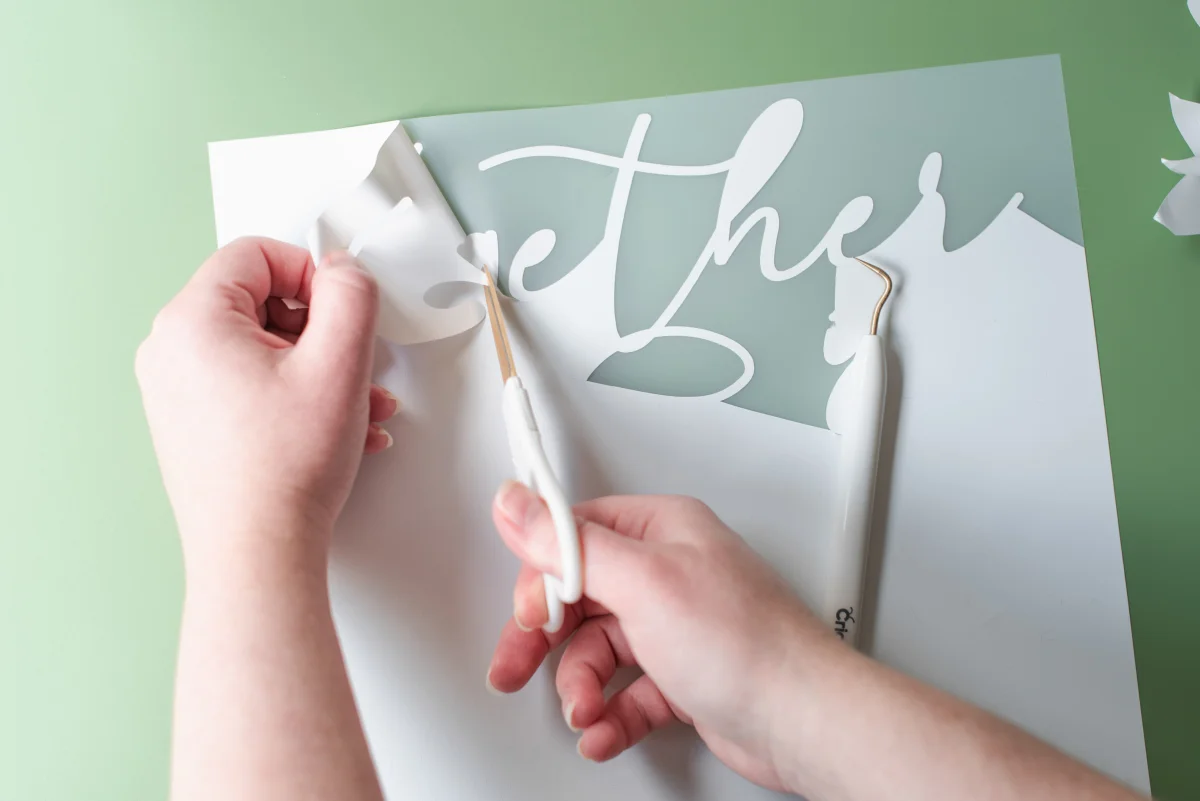
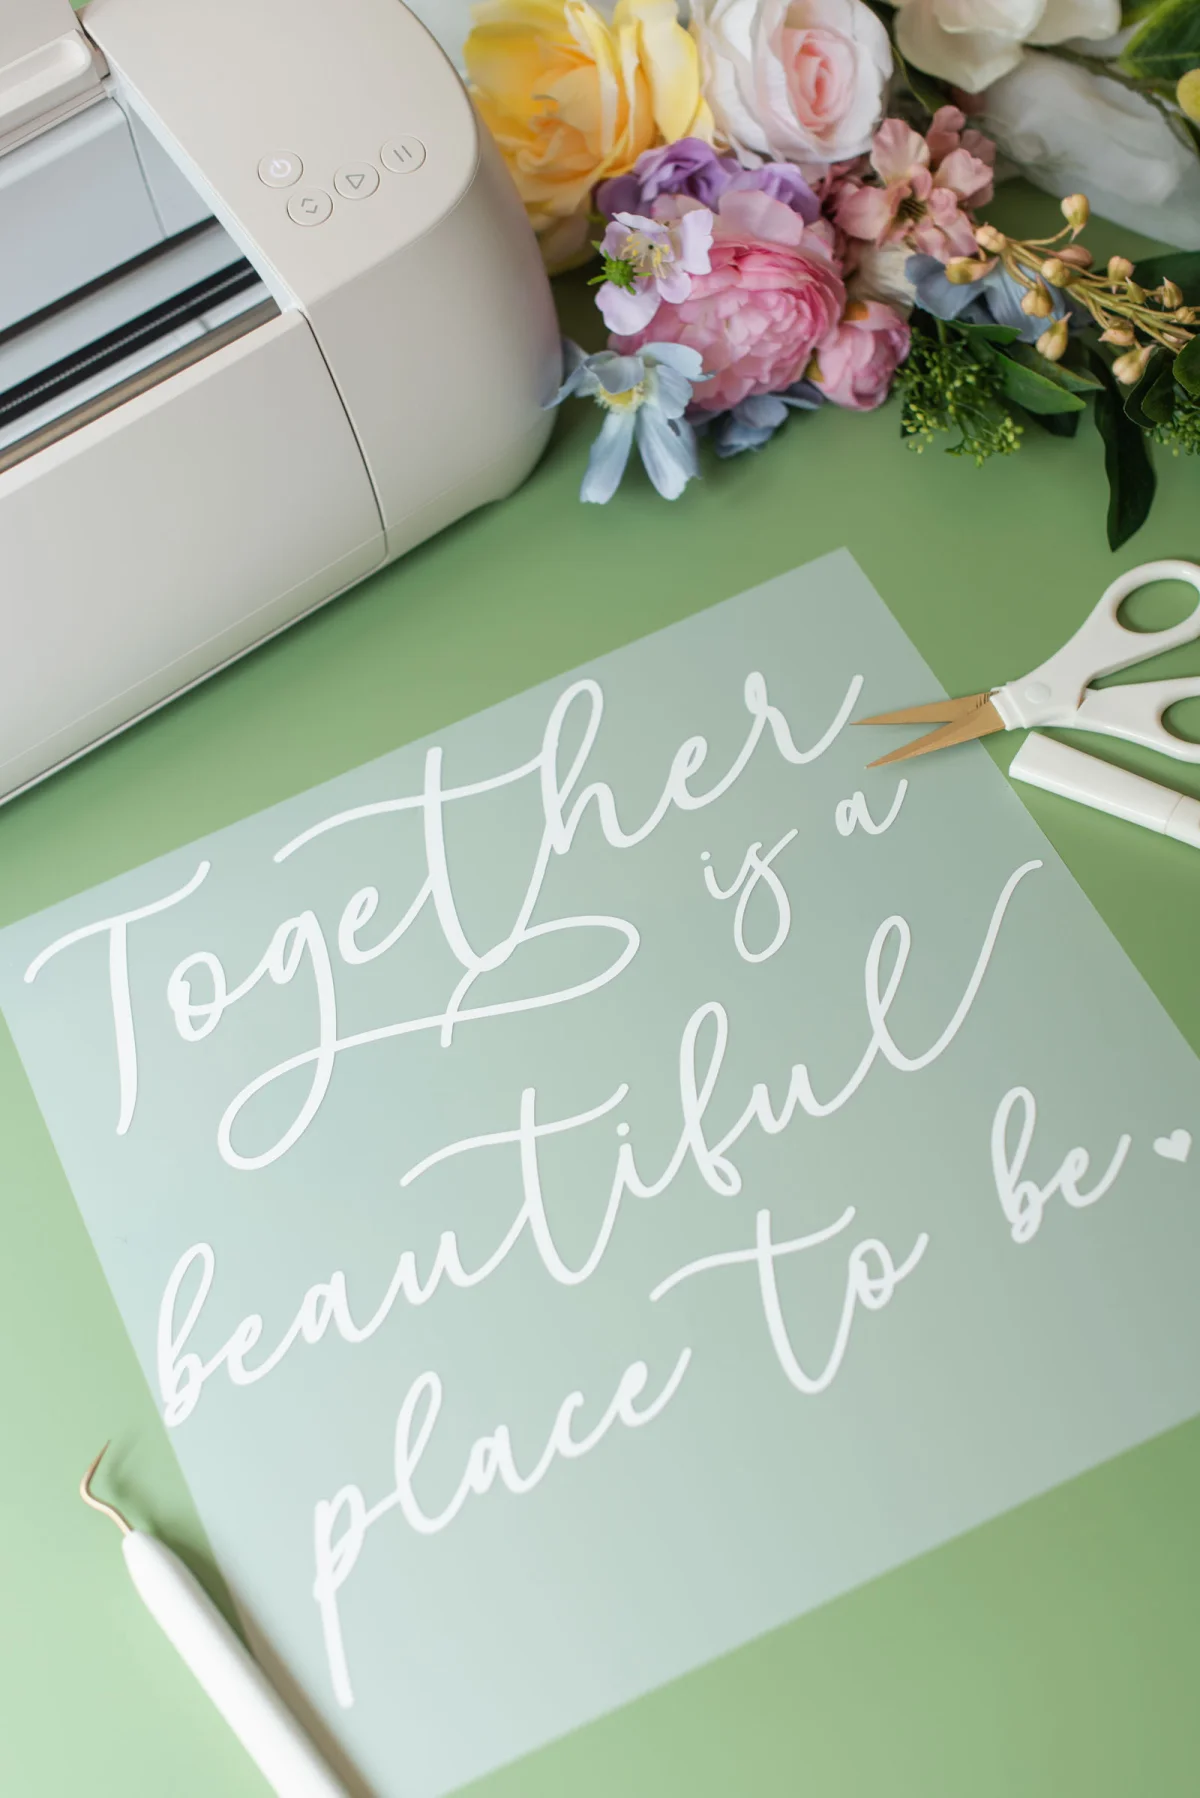
5Cut and Weed: After the cutting is complete, carefully detach the vinyl from the cutting mat. If cutting in multiple sections, repeat the previous steps as necessary. Use a weeder tool to eliminate any unwanted vinyl, leaving only your designed elements on the carrier sheet.

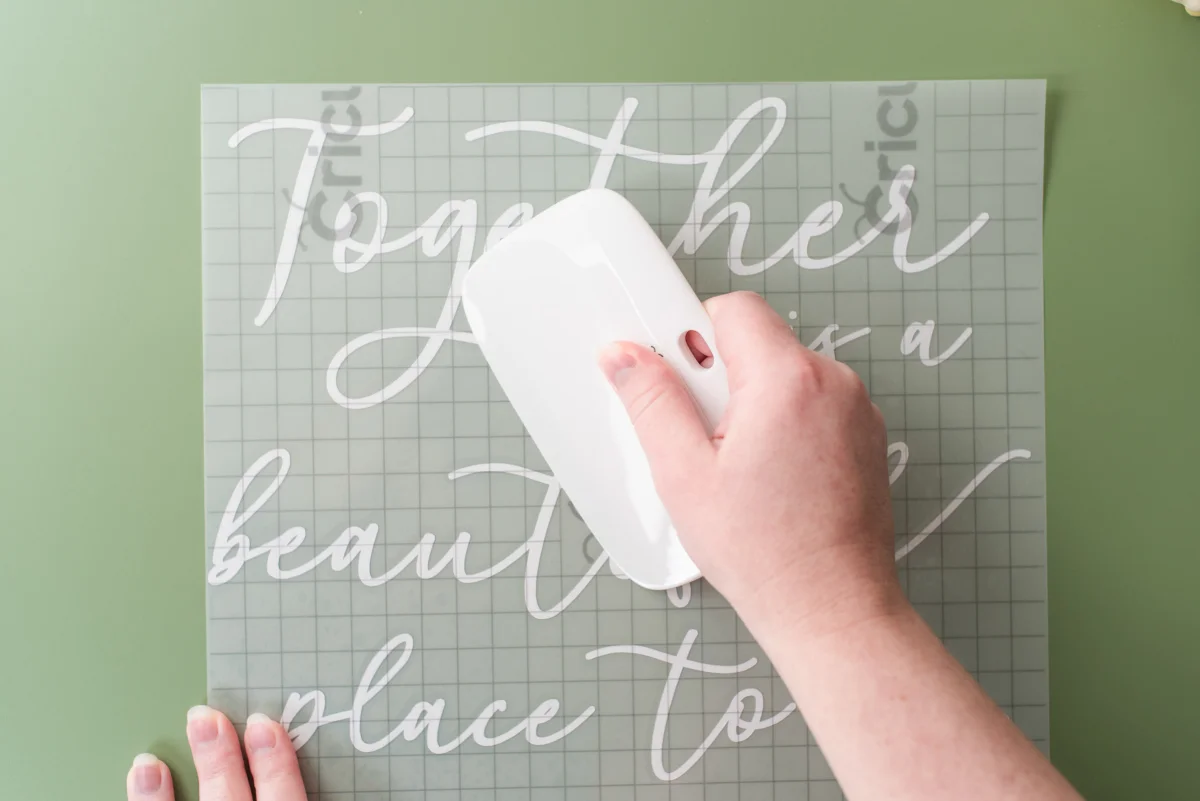
6Apply the Transfer Tape: If your design consists of two parts, position the pieces to match the Canvas screen and secure them together using transparent tape. Carefully trim your transfer tape slightly larger than your design, then adhere it to the vinyl, making sure to align everything correctly.
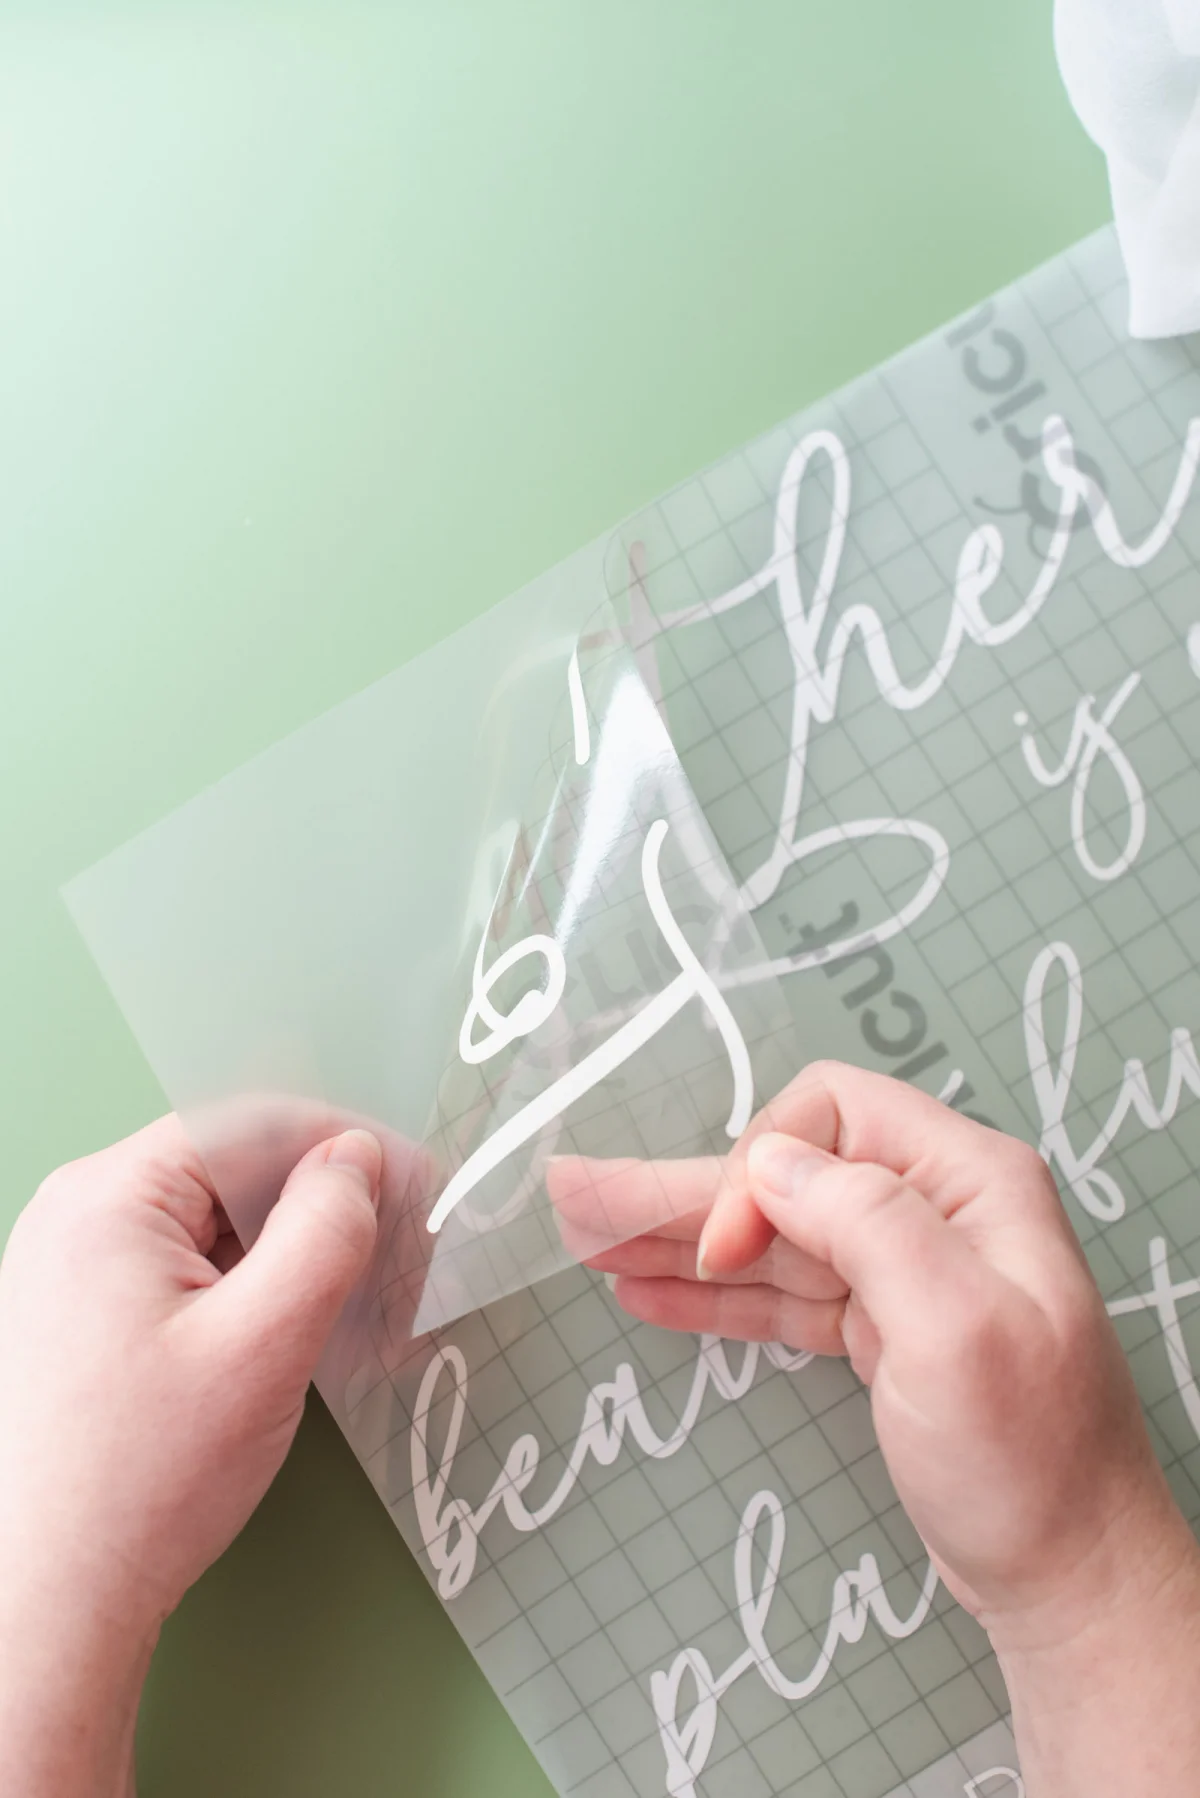
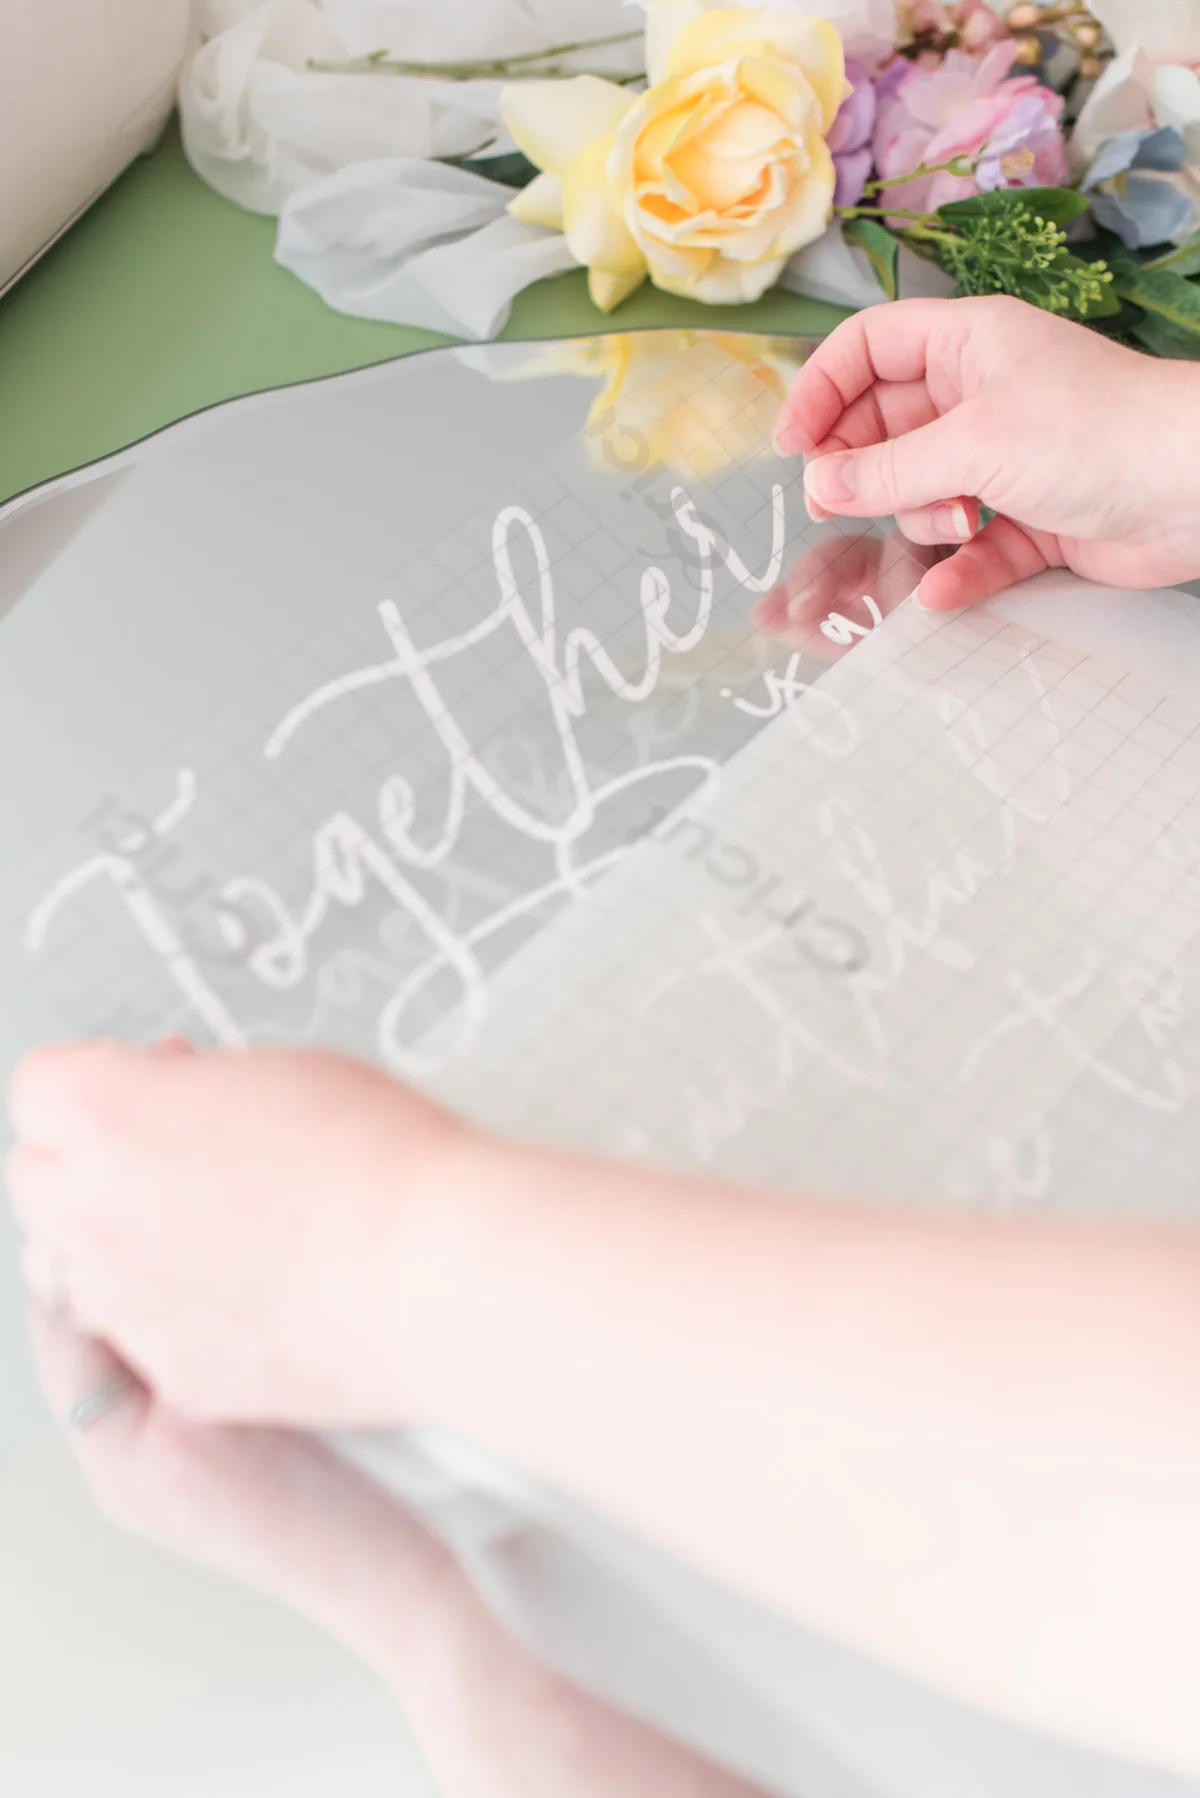
7Utilize the Greaseproof Paper Trick: Given the size of the design, actual placement might prove tricky. Cut a piece of greaseproof paper larger than your design and position the vinyl on it with the transfer sheet above. This allows for slight adjustments during placement.
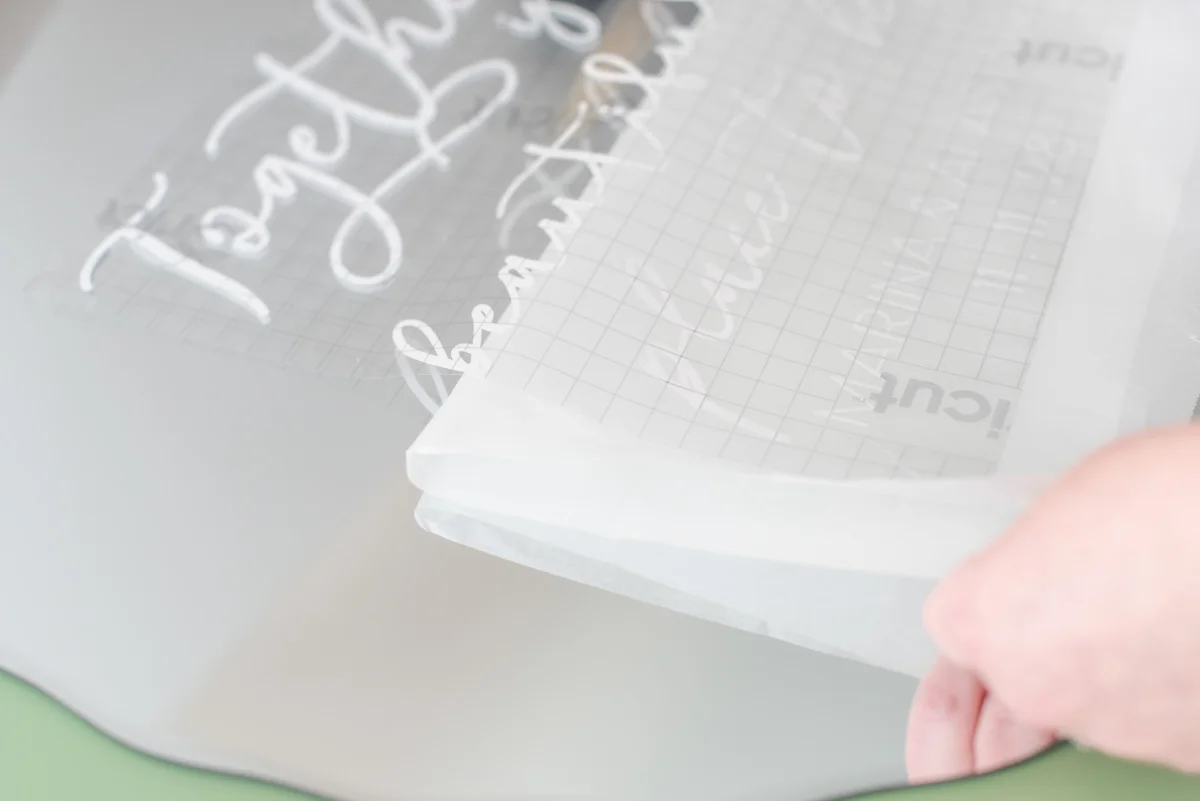
8Window it onto Your Mirror: Begin by folding the upper edge of the greaseproof paper so only a small strip of the sticky transfer tape is showing. Position it on your mirror, adjusting as necessary. Slowly peel back the greaseproof paper without exposing the vinyl to ensure the proper alignment.
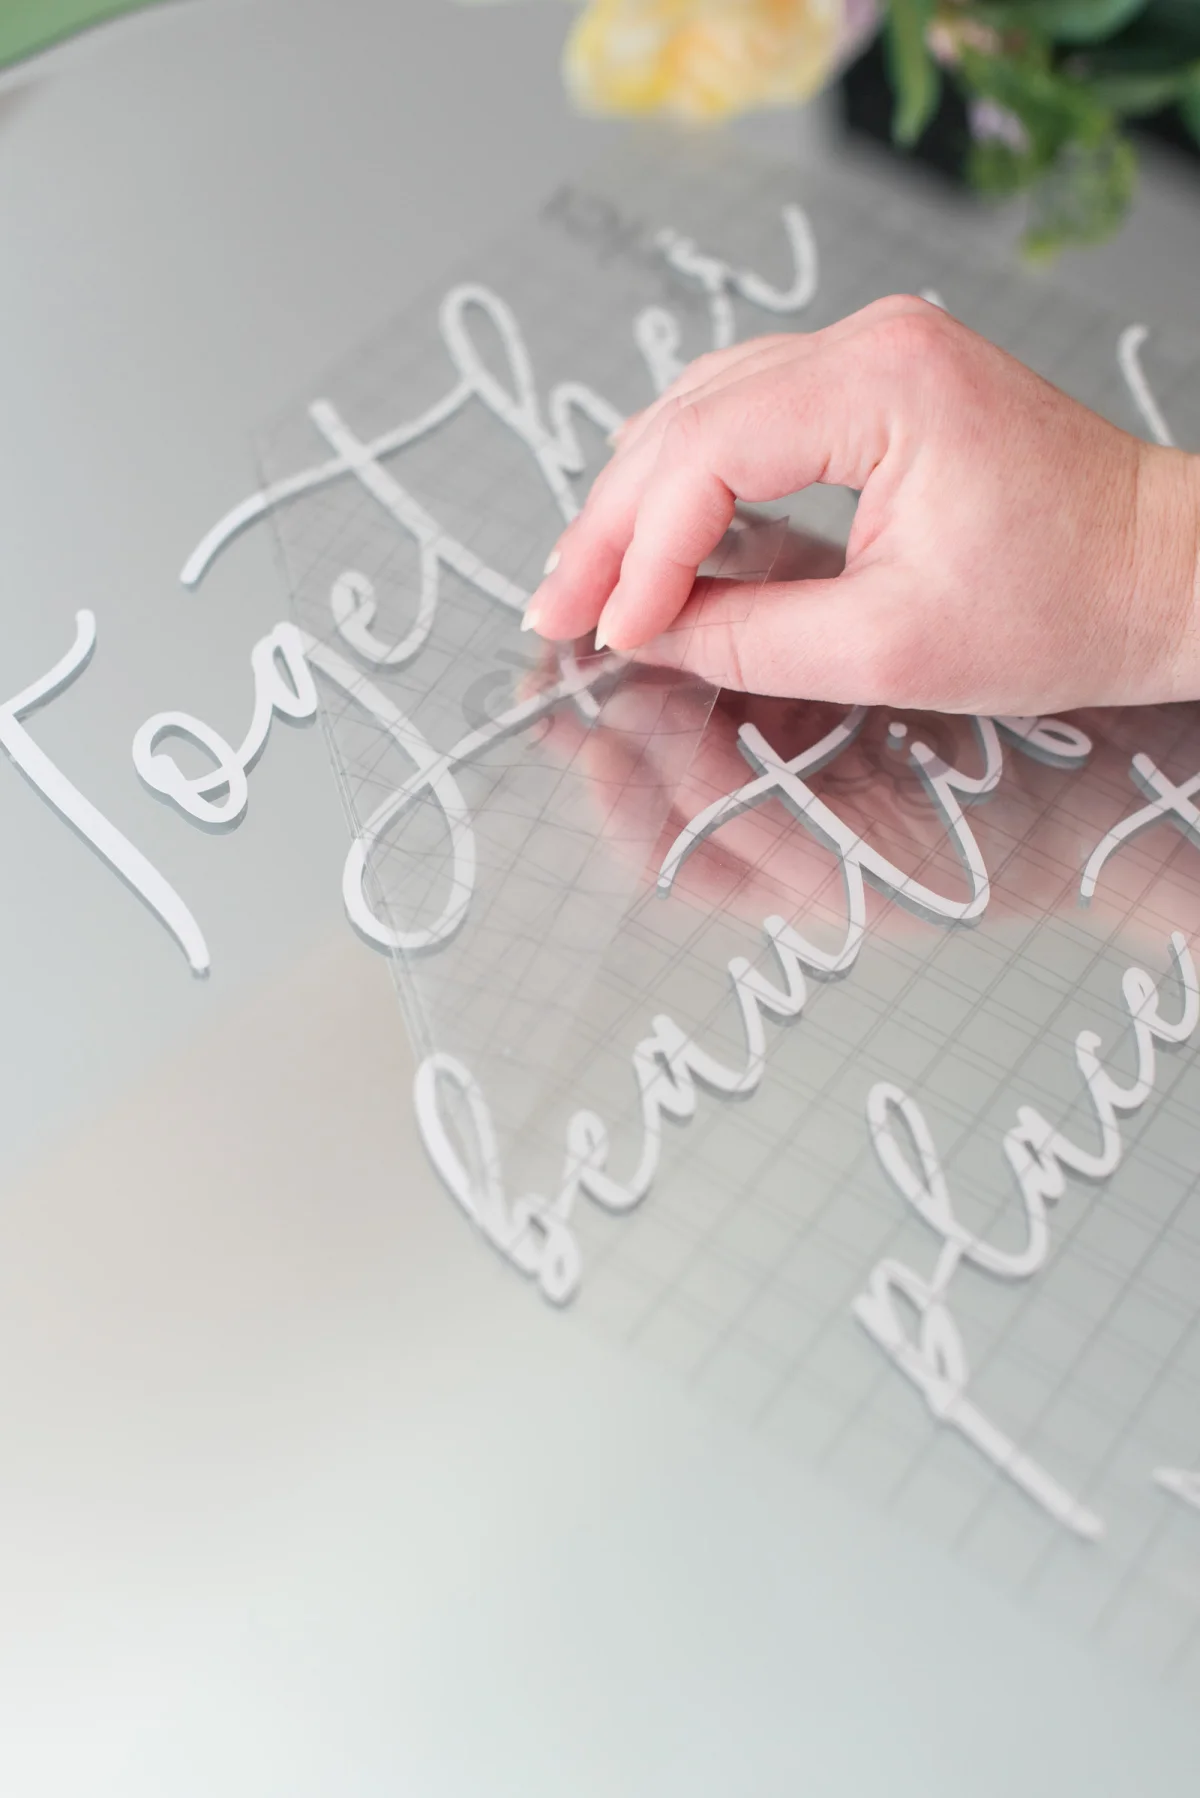
9Finalize the Application: When satisfied with the placement, gradually peel away the remaining greaseproof paper, allowing the transfer tape and vinyl to adhere to the mirror. If any air bubbles appear, use your scraper tool and a little finesse to smooth them out. On your wedding day, display your mirror on an easel, decorating it with florals that complement your wedding theme.
✎ PRO TIP: After your wedding, easily remove the lettering from the mirror, giving it renewed purpose as home decor! The SVG can also be reused for other pre-wedding events like signage, favors, and T-shirts.

Frequently Asked Questions About Mirror Wedding Signs
Which Type of Vinyl Should I Use?
Both permanent and removable vinyl options can work effectively for wedding mirrors. For temporary signage, either type will suffice. However, if your sign will be outdoors and exposed to inclement weather, opt for permanent vinyl to ensure durability.
✎ PRO TIP: Should you wish to reuse or sell the mirror later, rest assured that even permanent vinyl can be removed with care. Rubbing alcohol or Goo Gone can help eliminate any leftover sticky residue.
Can I Create a Large Mirror Sign with Cricut Joy?
Yes! While the Cricut Joy has narrower cutting capabilities, its strength lies in cutting long designs using Smart Vinyl. Crafting large wedding signage might take a bit longer, so consider cutting text line by line or word by word for greater control during application.
How Can I Prevent Bubbles When Applying Vinyl to Glass?
Given the non-porous nature of mirror glass, trapped air can lead to bubbles during application. To minimize this, apply the vinyl slowly rather than dropping it down all at once. Start with one edge and gradually press down, utilizing the greaseproof paper method for added ease. For stubborn bubbles, carefully manipulate them outward with a scraper tool, and if needed, experiment with a needle for those tiny air pockets.
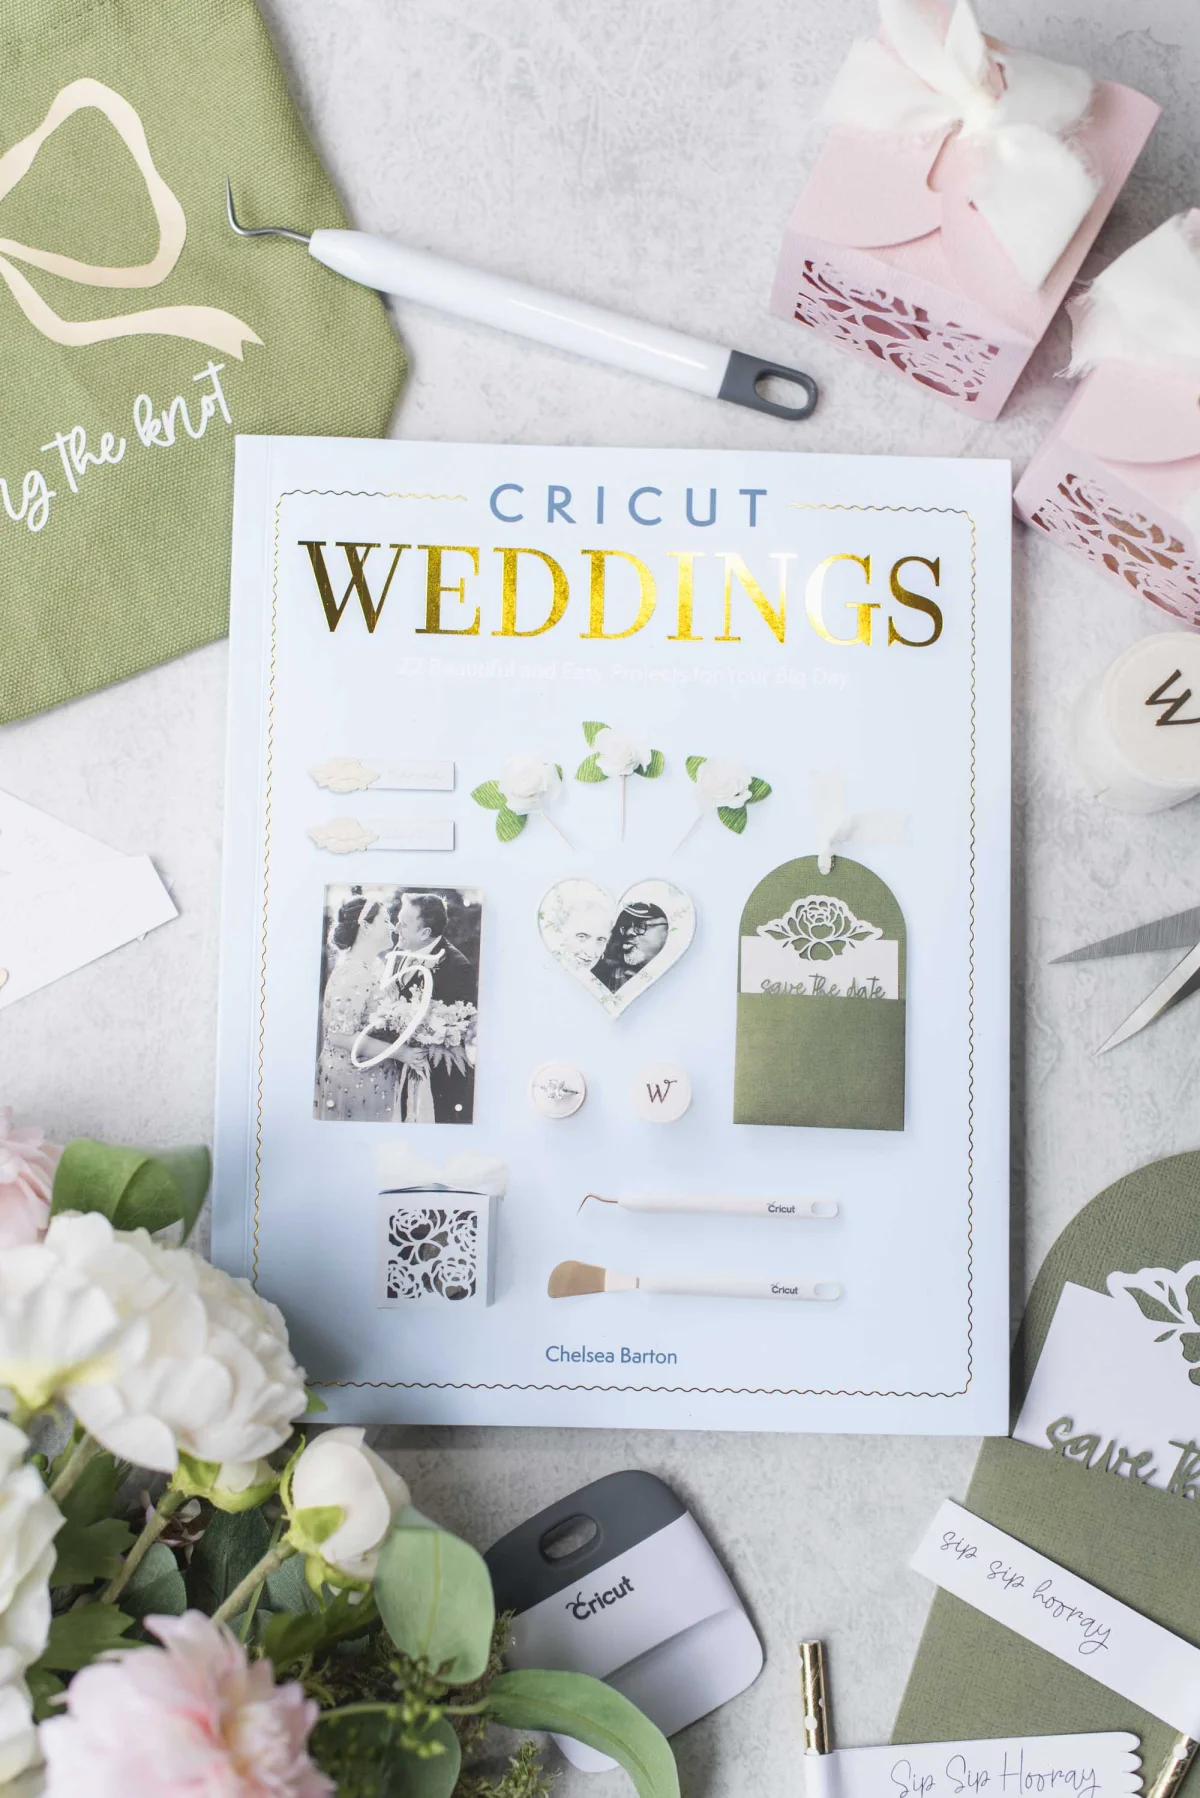
About the Cricut Weddings Book
Cricut Weddings by Chelsea Barton serves as a comprehensive guide tailored to couples aiming for beautiful wedding decor without the stress. The book features 22 step-by-step project ideas and is available at book retailers worldwide.
Key content includes:
• Practical timelines
• Detailed insights into Cricut machines and materials
• Beginner-friendly techniques
• Joyful approaches to wedding projects
If you’re contemplating using a Cricut for your wedding, Cricut Weddings will help you prioritize which projects are worth your time. Purchase your copy today for a head start on your Cricut wedding decor journey. For more details, visit the Cricut Weddings website.
VENDOR CREDITS
Photography: Chelsea Barton from Cricut Weddings | Venue & Chairs: Buxted Park Hotel | Florals: The Floral Hire | Venue Styling: Ambience Venue Styling Kent West
Editor's Note: Some links may be affiliate-based, meaning we earn a small commission from purchases made through these links. Read our full affiliate disclosure policy.