In lane Bridal Fashion & Beauty
Transforming Store-Bought Cakes with a DIY Cricut Stencil for Your Engagement Celebration
Description
Elevate your engagement party cake with a simple DIY Cricut acetate stencil. Personalize your dessert effortlessly while keeping the focus on fun and creativity.

A meaningful celebration deserves a cake that reflects your personal touch, but crafting a stunning dessert doesn't have to involve complex baking techniques. For your engagement party, consider transforming a straightforward store-bought cake into an eye-catching centerpiece with just a bit of creativity and a Cricut machine.
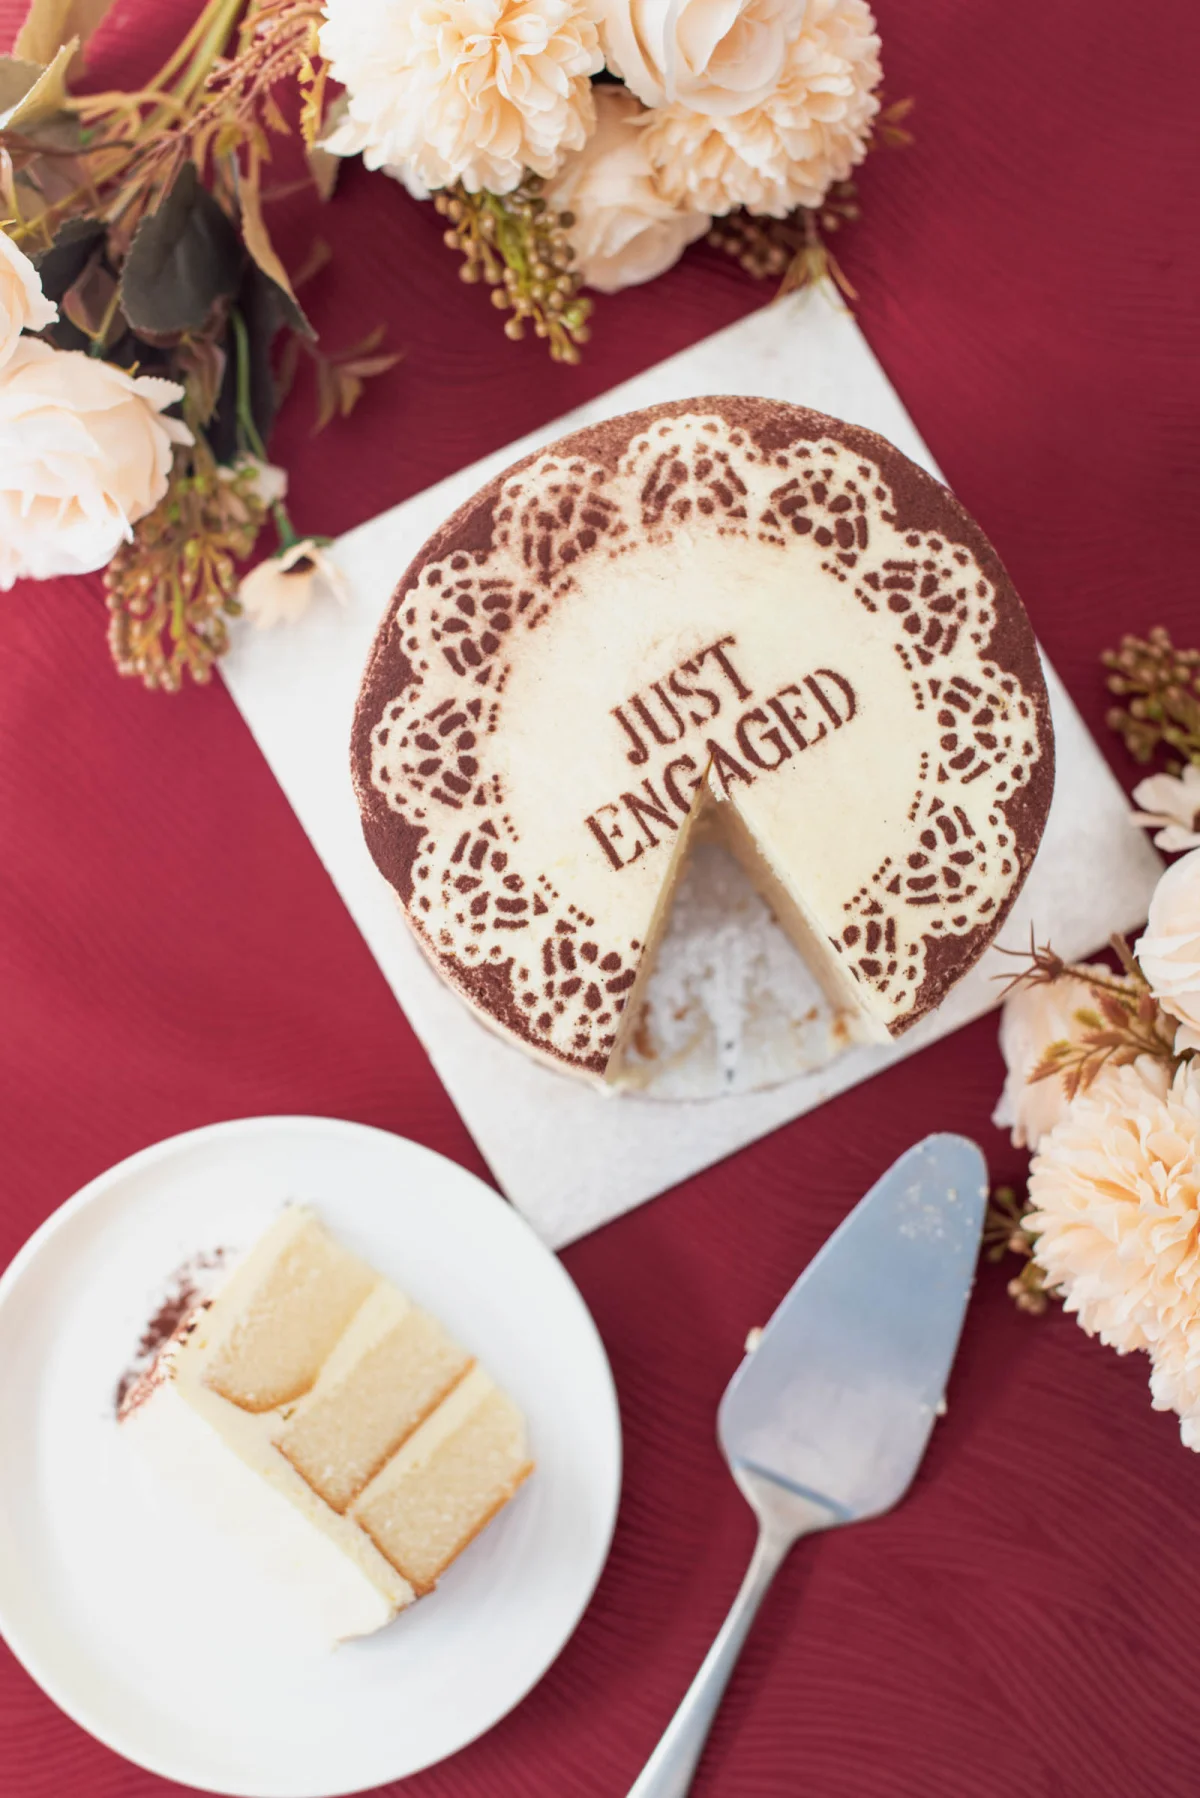
This DIY project draws inspiration from the popular tiramisu cake trend and the wedding industry’s obsession with lace motifs. Using your Cricut, you can create a delicate acetate cake stencil that allows you to decorate even a plain frosted cake with simply a dusting of cocoa powder. The outcome? A chic, personalized engagement cake that seems custom-crafted, while requiring minimal advanced cake decorating abilities.
This beginner-friendly tutorial will guide you through the process of creating a reusable Cricut cake stencil with acetate. You'll discover how to cut the stencil on your Cricut and apply cocoa powder for a striking lace-inspired finish. Let’s get started!
Simple Ways to Enhance a Store-Bought Cake for Your Engagement Party
You don't need to be a cake decorating expert to make a stunning engagement party cake! A DIY Cricut cake stencil crafted from acetate makes it easy to elevate an affordable grocery store cake into a magnificent showpiece using only cocoa powder, powdered sugar, or edible luster dust. For this guide, we’re working with cocoa powder!
To achieve the best results, start with a plainly frosted cake from your local supermarket bakery or your favorite neighborhood bake shop. Look for one with a smooth white buttercream surface and a flat top for seamless application of your Cricut acetate stencil. A 6-inch round cake typically serves well for small gatherings of fewer than 15 people, but you can easily resize your stencil in Cricut Design Space to accommodate any round cake size!
Considering dietary restrictions? Cocoa powder is vegan and gluten-free, making it a versatile option for your engagement cake! Simply find a local bakery or store that offers cakes fulfilling your dietary requirements. For anyone catering to food allergies or intolerances, always check for "may contain" labels and ensure proper preparation to avoid cross-contamination.
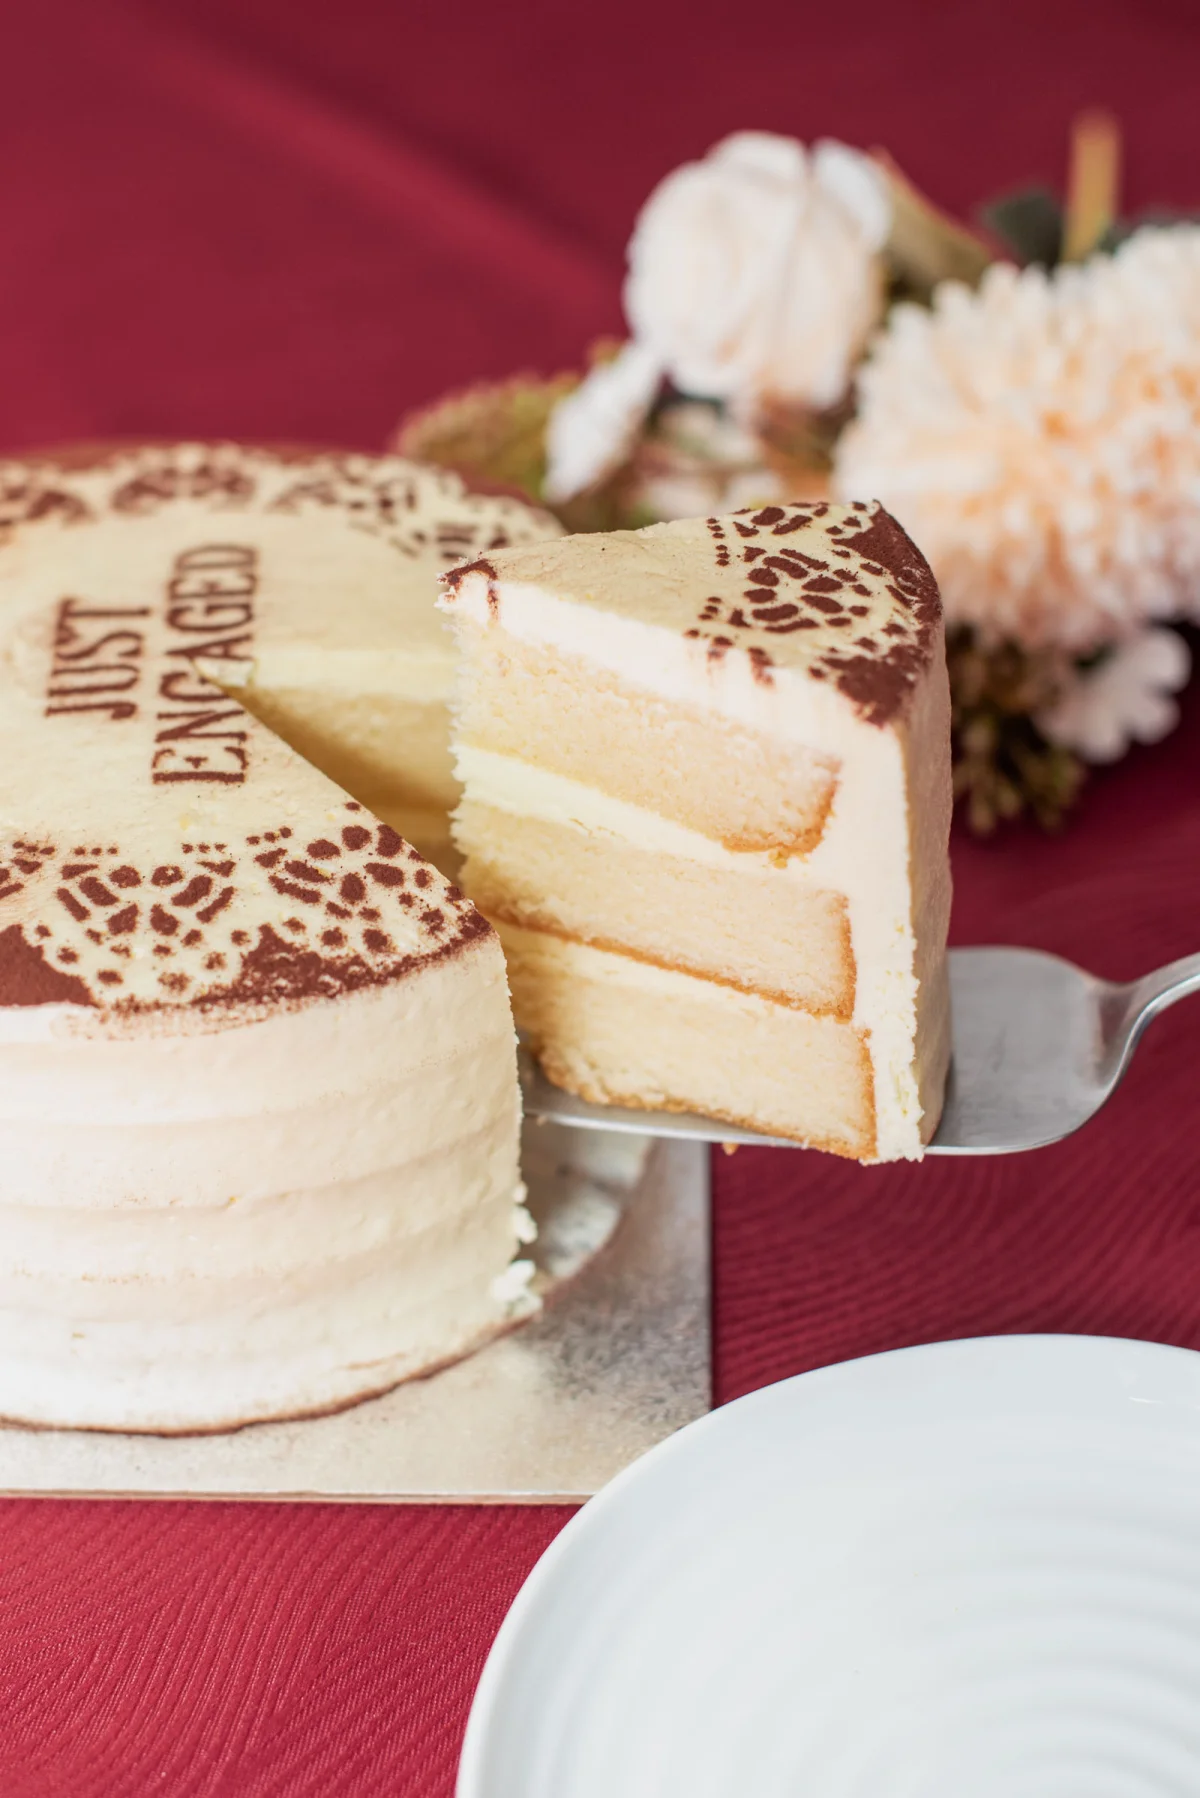
Creating an Acetate Cake Stencil with Your Cricut
Skill Level: Beginner
Necessary Supplies for Your Engagement Party Cake Stencil
- Cricut cutting machine
- Fine-point blade
- Acetate sheets (typically 12x12 sheets cut to fit your cutting mat)
- LightGrip cutting mat
- Weeding tool
- Scraper tool
- Plain frosted store-bought cake (we suggest a 6" round decorate-your-own vanilla cake from M&S)
- Unsweetened cocoa powder
- Fine mesh tea strainer
- Dish soap and water (to clean the acetate sheet prior to use)
- Paper towels
- Parchment or wax paper (optional)
- Our Just Engaged Cake Stencil Cricut Design Space project (consider bookmarking this project!)
Design Options: We utilized a lace doily image from Design Space and a free Cricut stencil font, which means you will need a Cricut Access subscription or the ability to purchase the doily image separately. Feel free to customize, redesign, or use your own images and fonts to personalize your stencil.
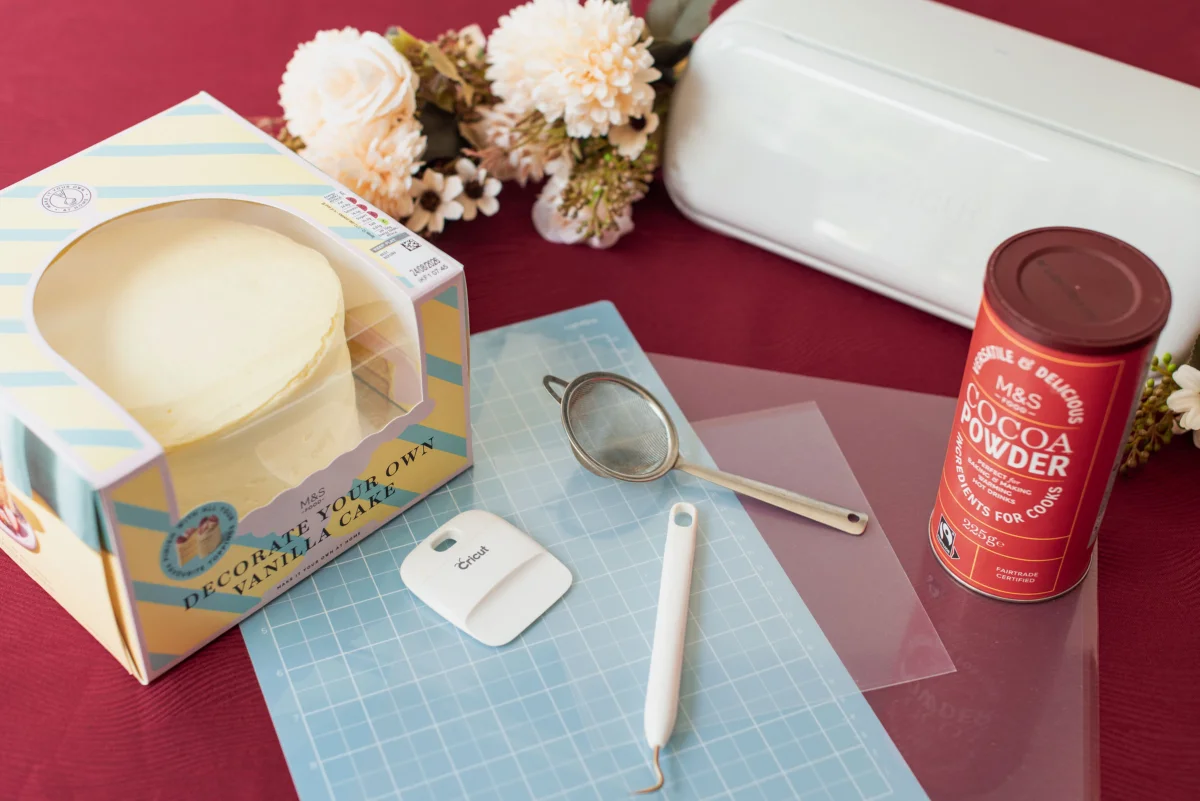
Optimal Base Material Settings for Cutting Cricut Acetate
For the best results with the Cricut brand acetate sheet, we found the ideal setting is Acetate.
Compatible Cricut Machines
Editor's Note: Our cake stencil measures 6" (15.2 cm) at its widest point. While it’s possible to cut this size stencil with an original Joy or Joy 2, you would need to resize to a maximum of 4.5" (11.4 cm) and adjust the design for better cutting results.
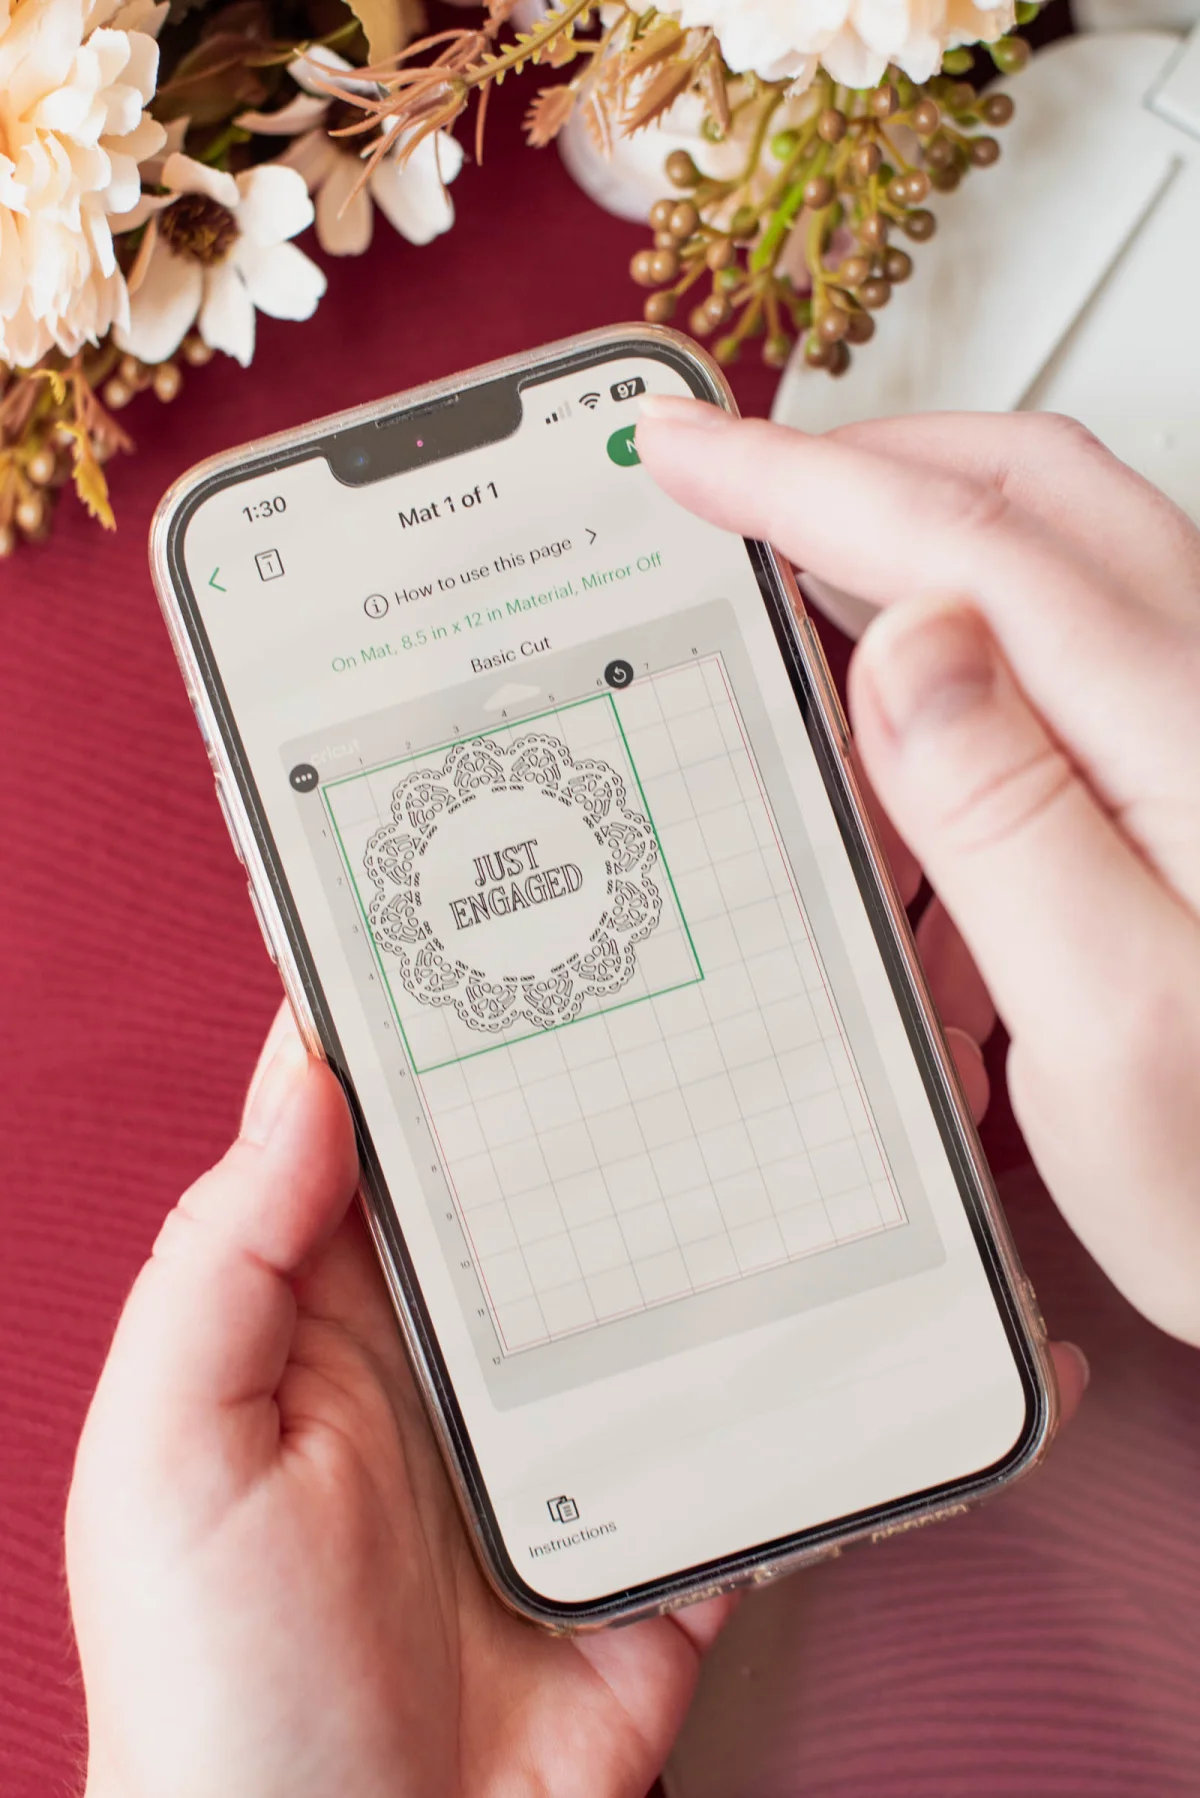
Step-by-Step Guide to Making an Acetate Cake Stencil
1Prepare your project. Gather all materials and have your computer, laptop, or mobile device ready to use Cricut Design Space. If you're using our pre-made Design Space project, you can simply click Customize or Make!
2Adjust size as needed. If desired, modify the size of your cake stencil. Our completed stencil is designed for a 6" round cake. Click Make when you're ready to proceed.
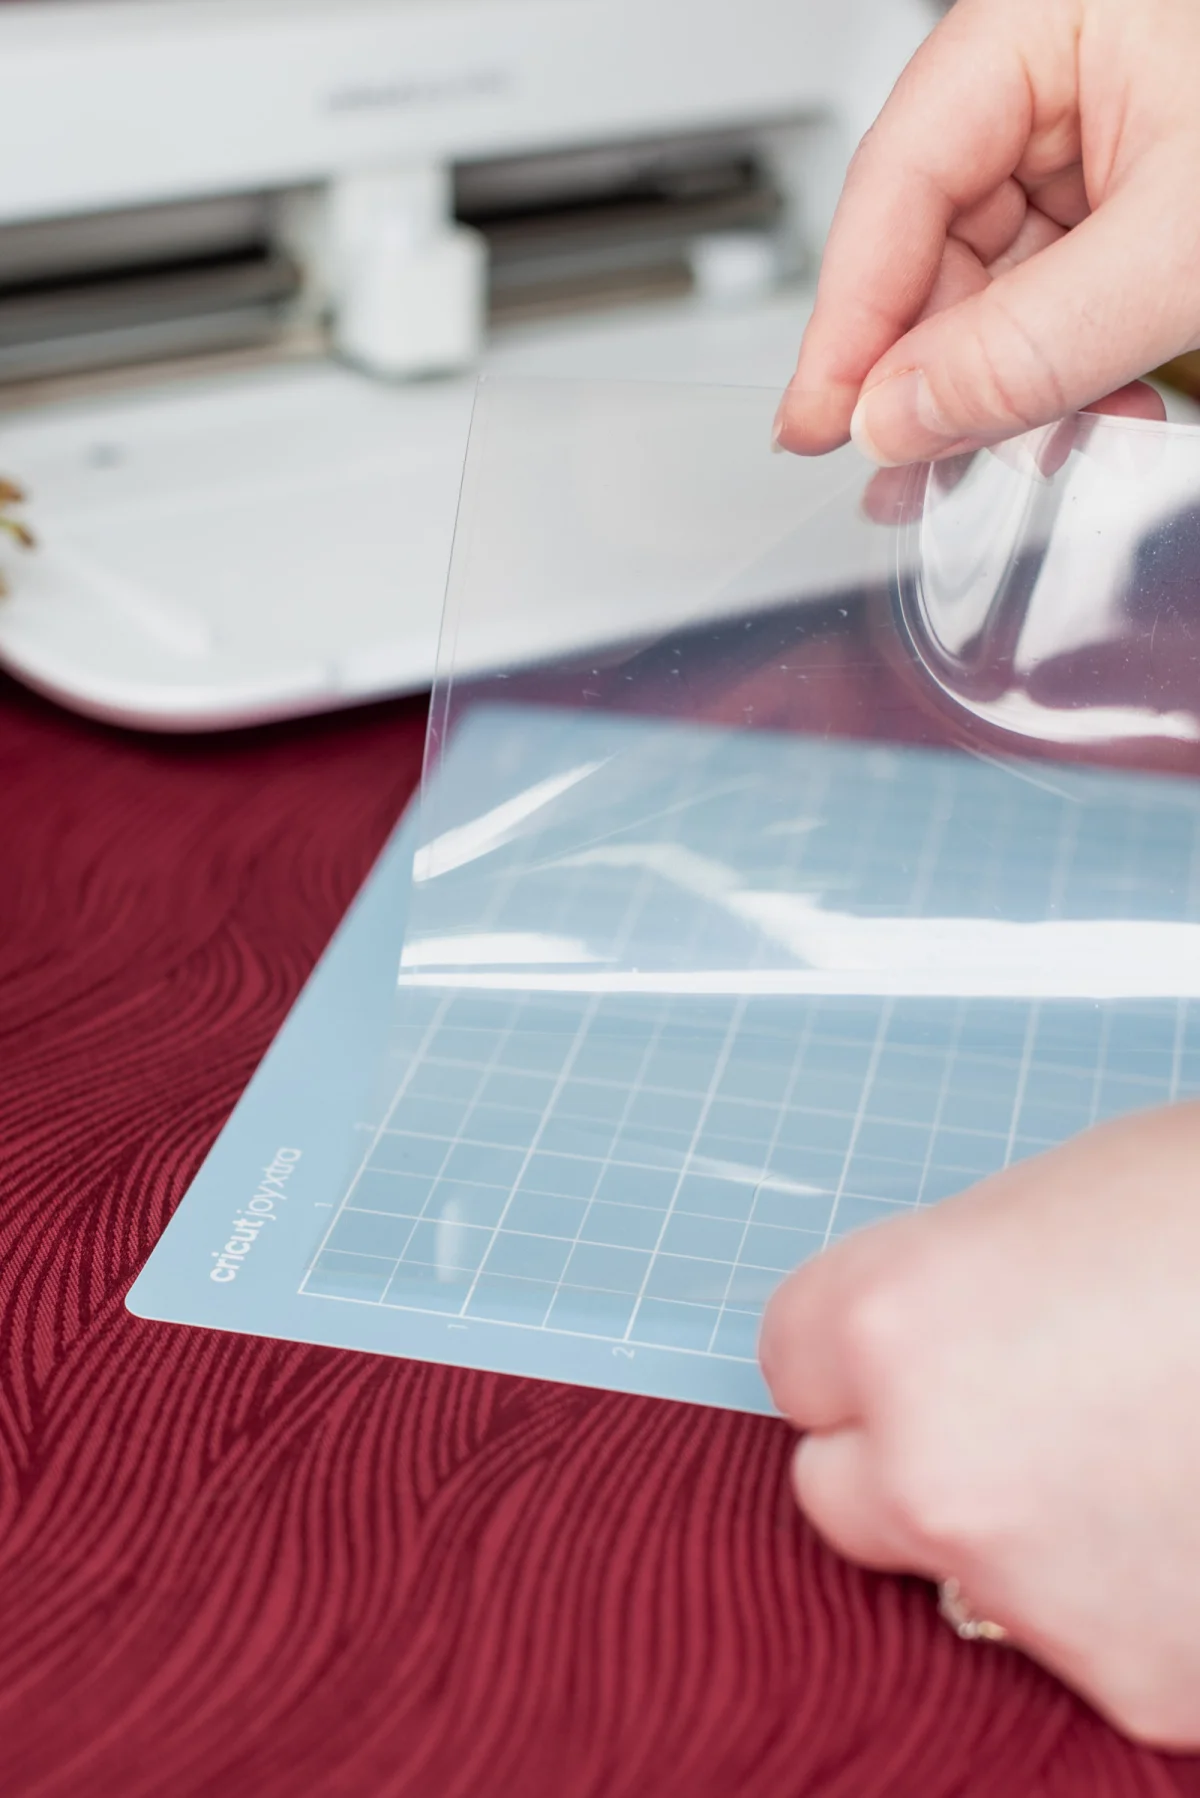
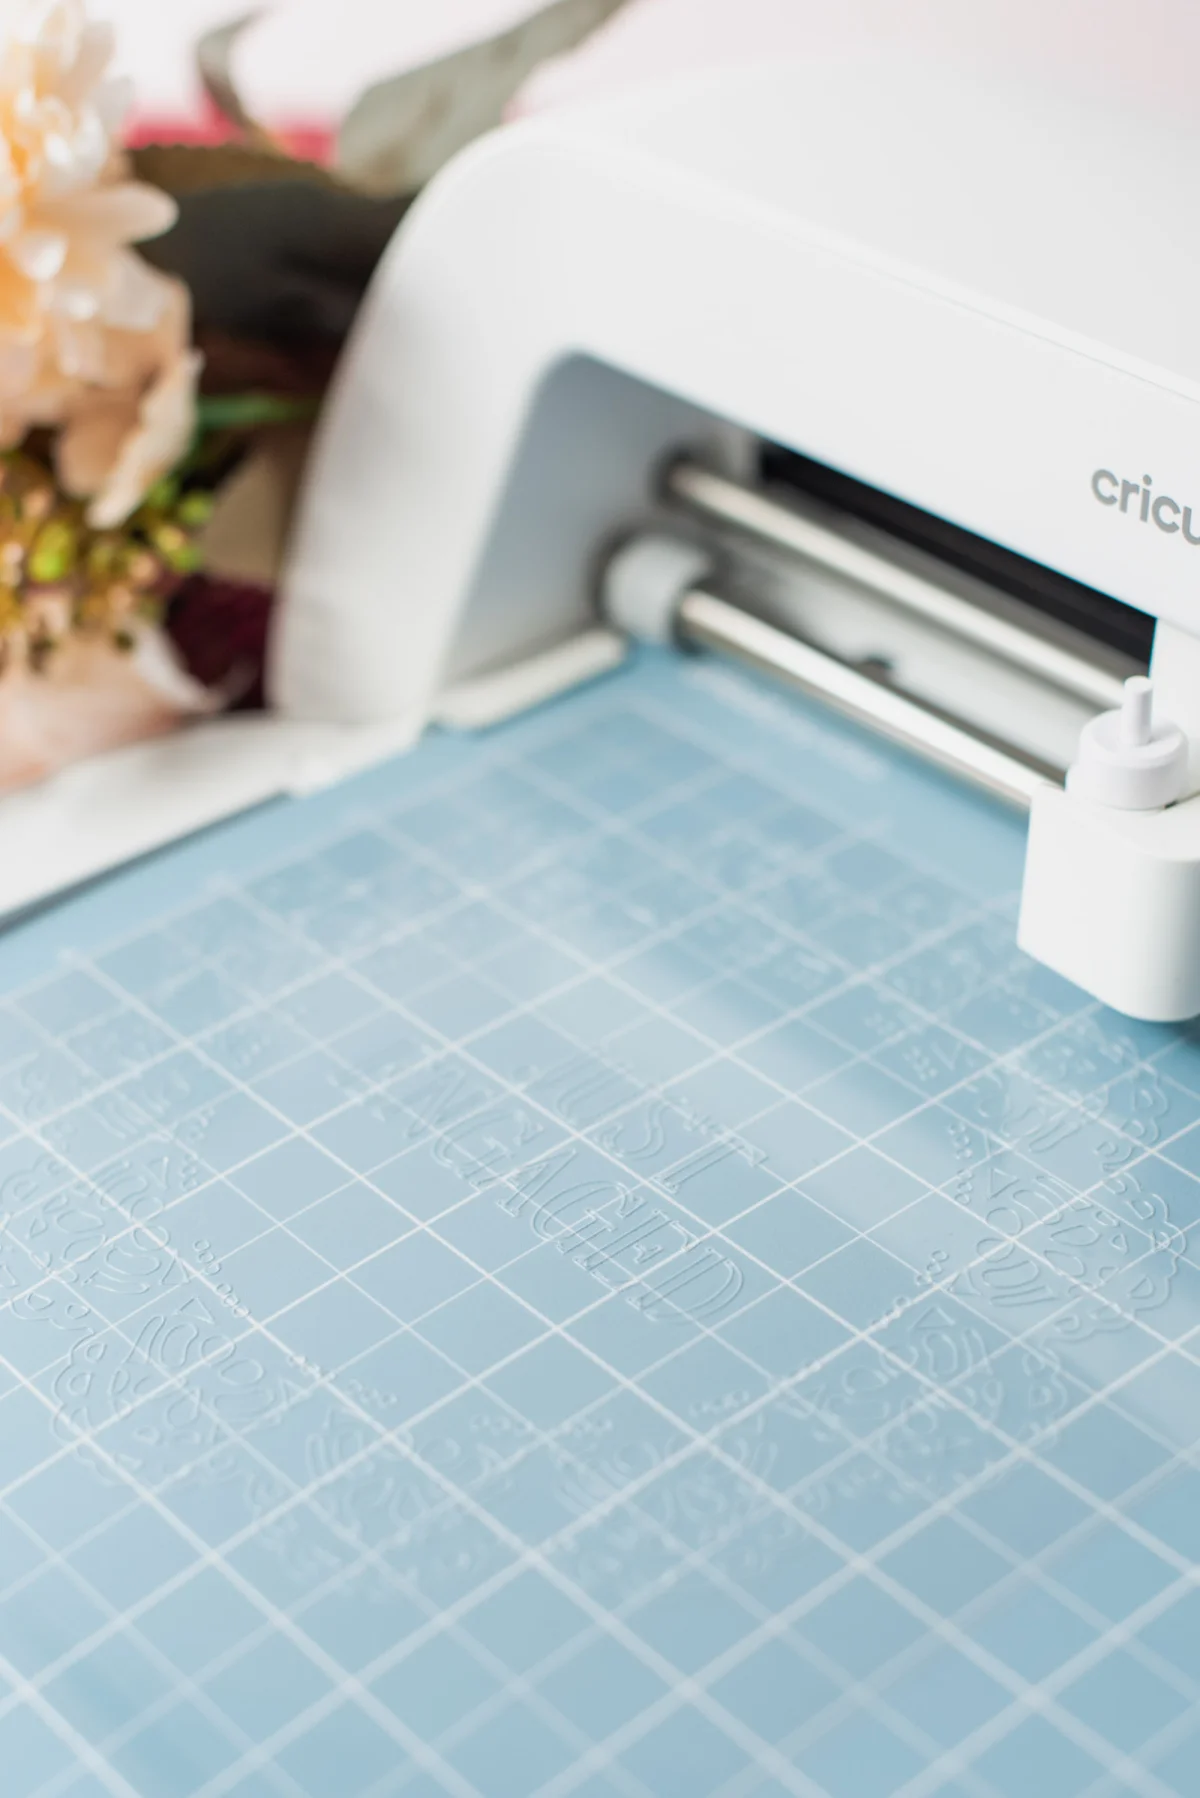
3Cut your stencil. Acetate comes with protective covers on both sides. For now, remove only the back protective layer. Lay the acetate sheet on your LightGrip mat (with the removed film side down on the mat), and select your Base Material so that the machine knows how deeply to cut—the ideal setting for best results is Acetate.
Material Alternatives: If acetate sheets aren’t available or you prefer a plastic-free option, cardstock can be used. However, for those new to this decorating method, it’s advisable to cut at least two cardstock stencils to practice before moving on to the actual cake. Achieving clear, confident dusting is key for a great design on your cake!
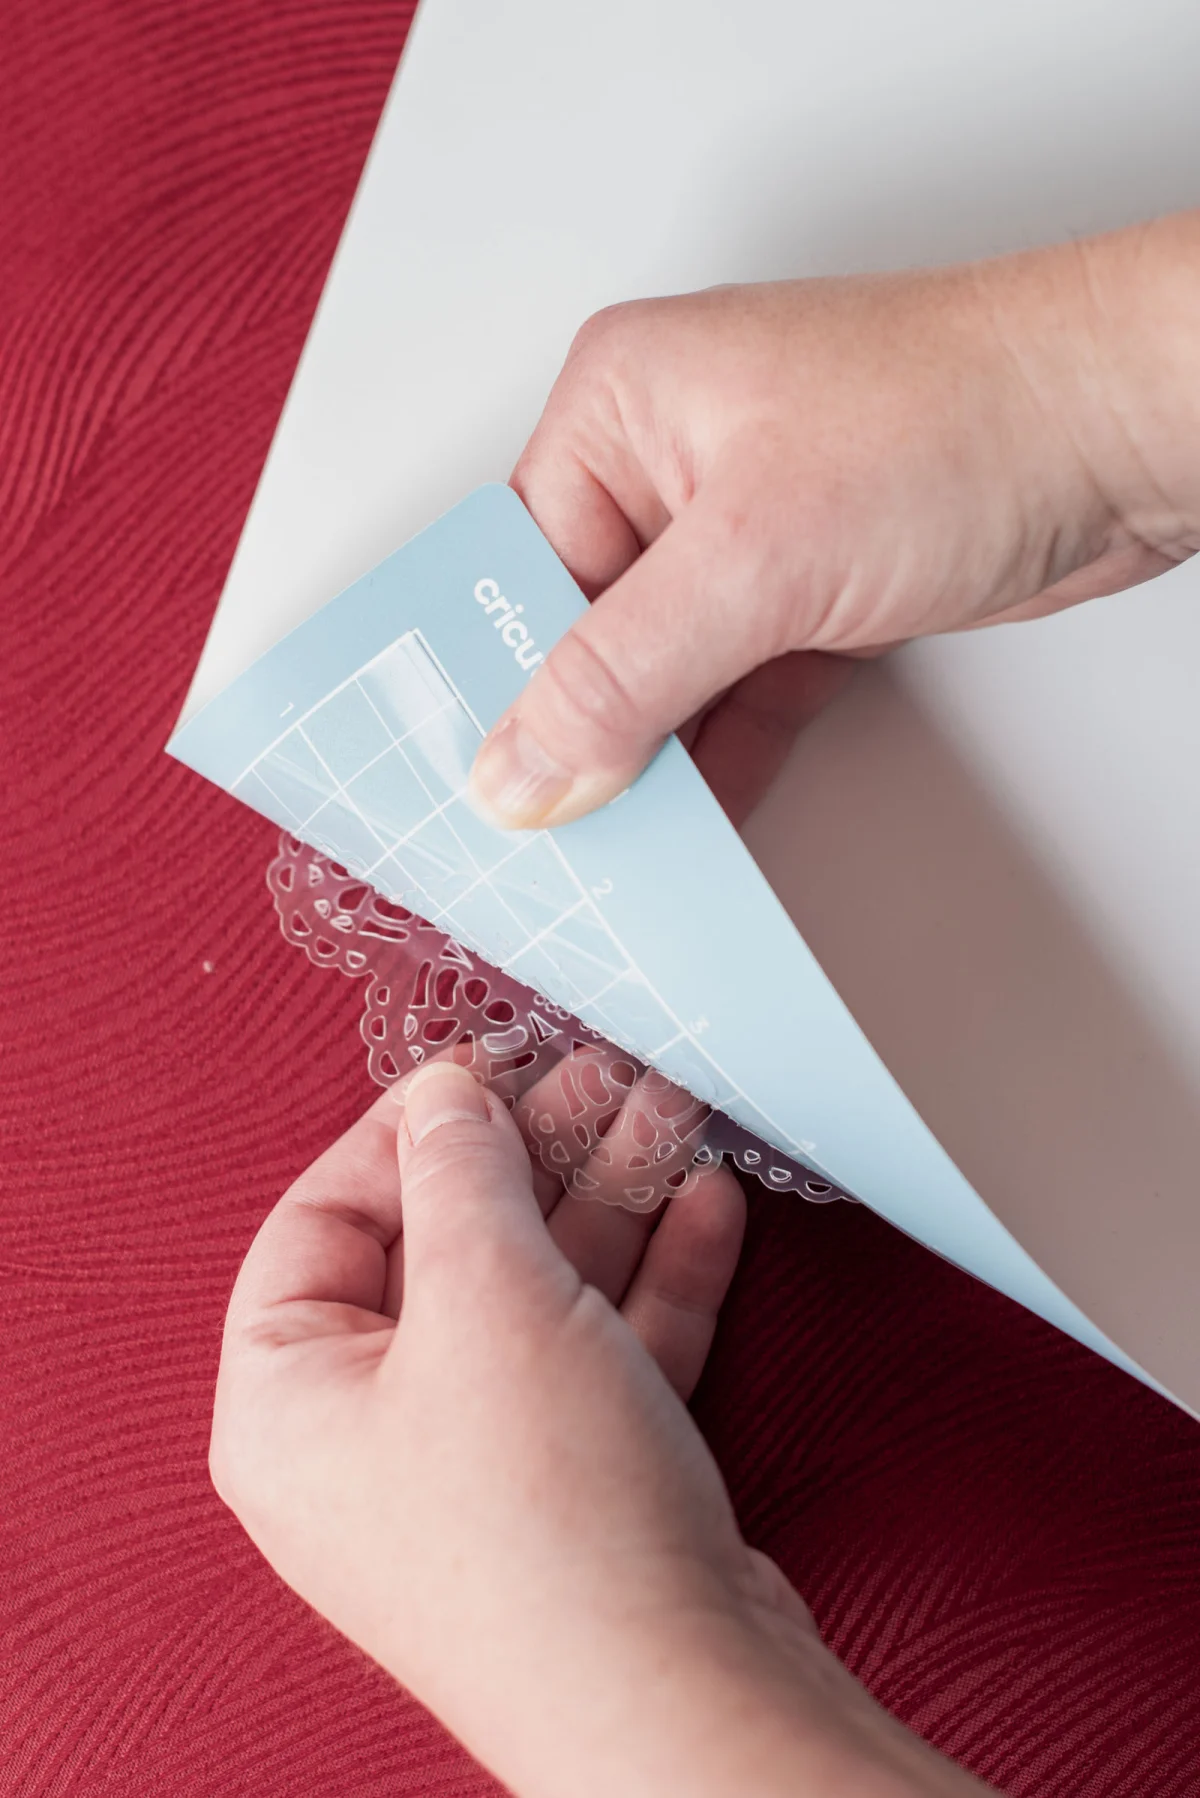
4Clean out cut sections. Once the cutting is done, flip your mat over and peel it away from your stencil to release it. If any pieces are stuck, use your weeding tool to remove them carefully. Clean your cutting mat using a scraper tool.
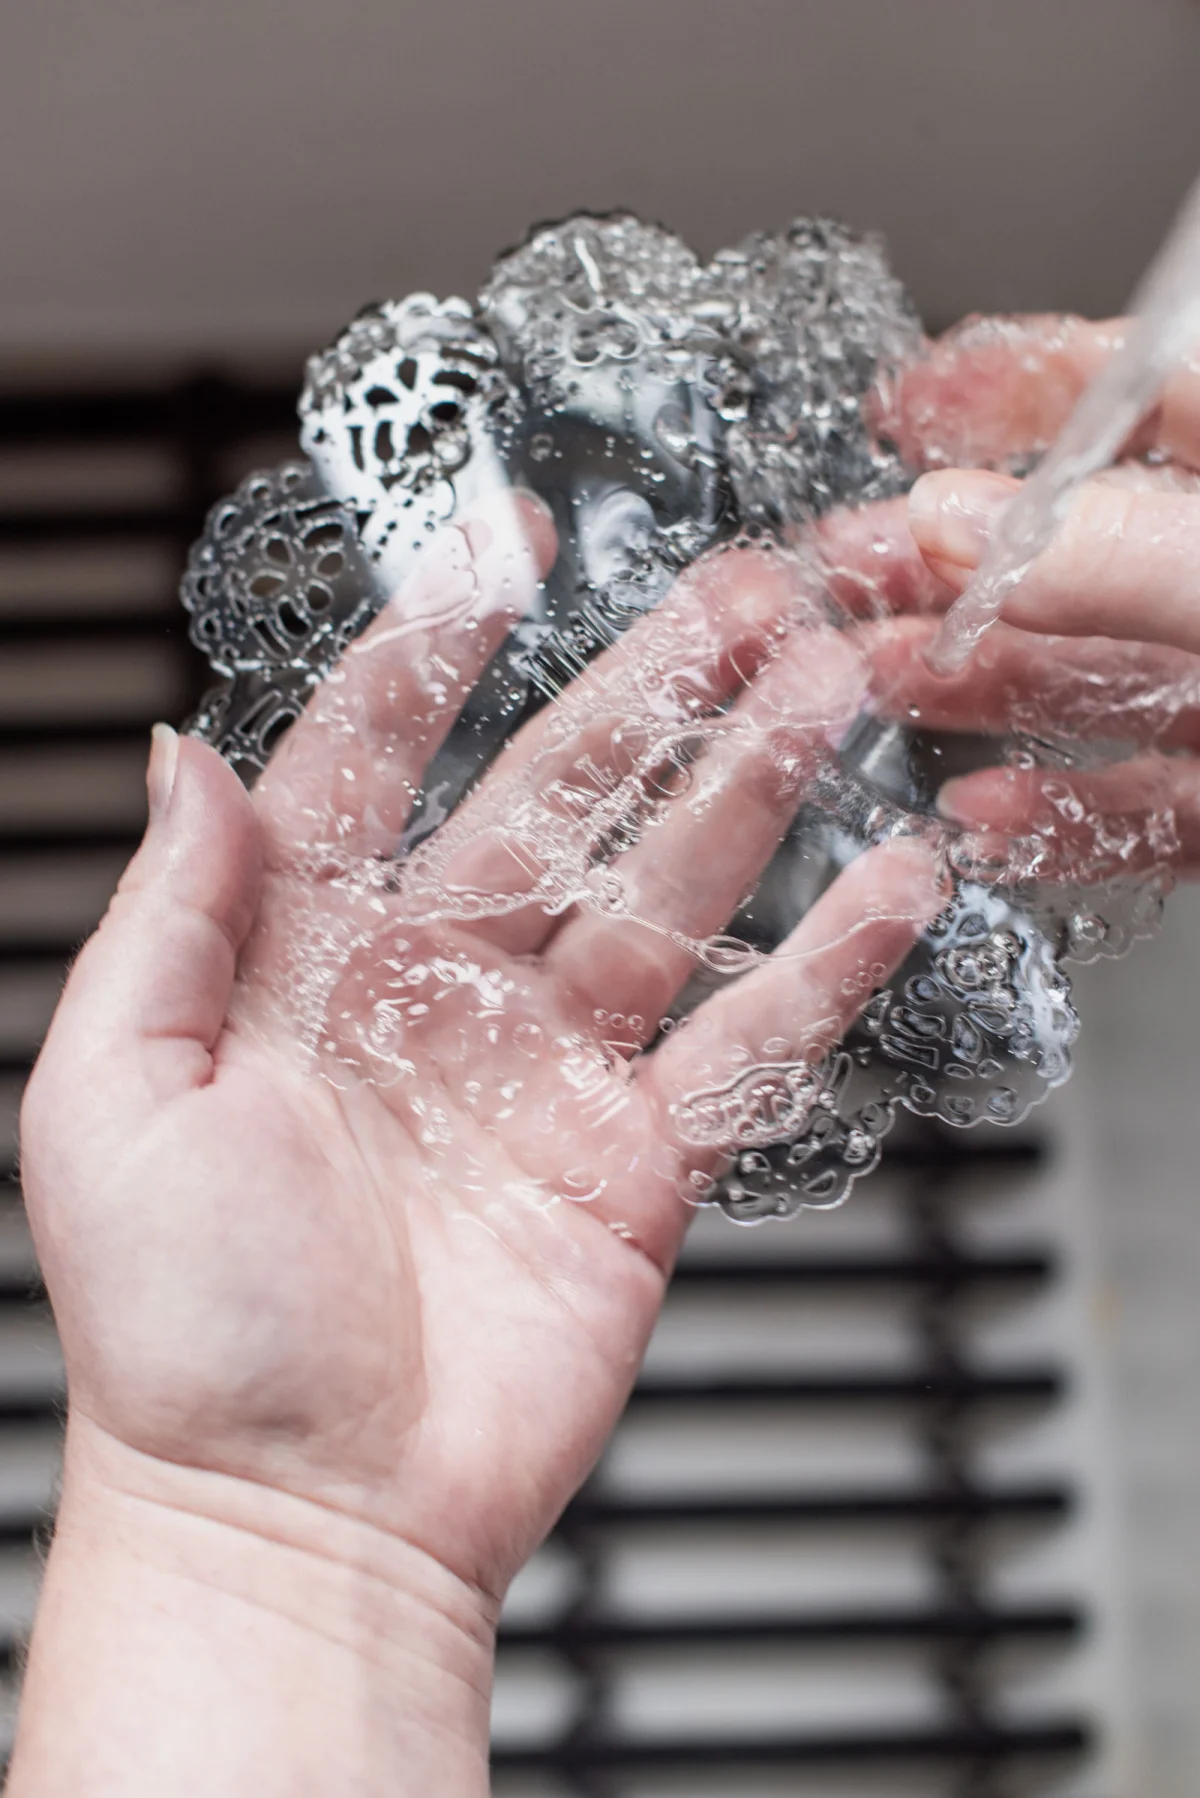
5Thoroughly wash your stencil. After removing the protective film from the front of the stencil, wash it using warm, soapy water, then dry it with a paper towel, since our acetate isn't certified food safe.
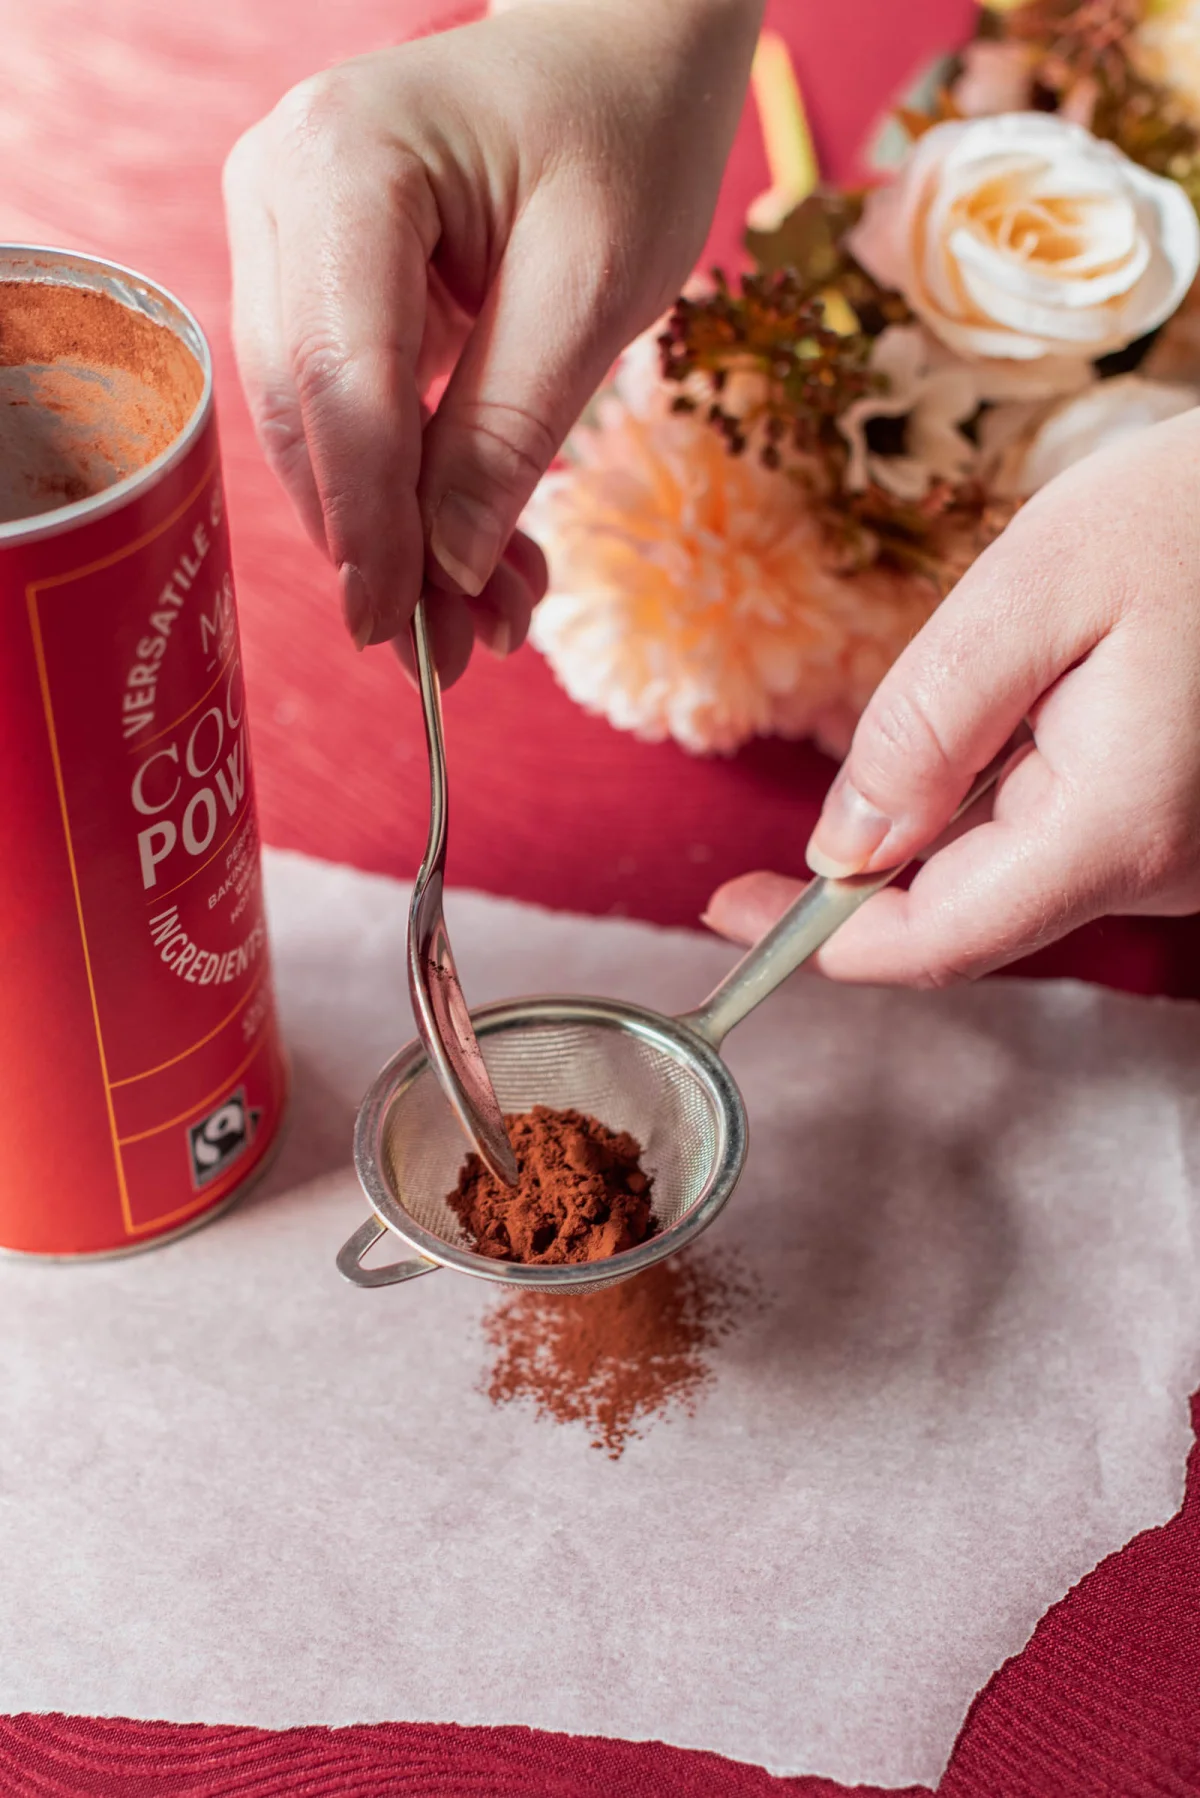
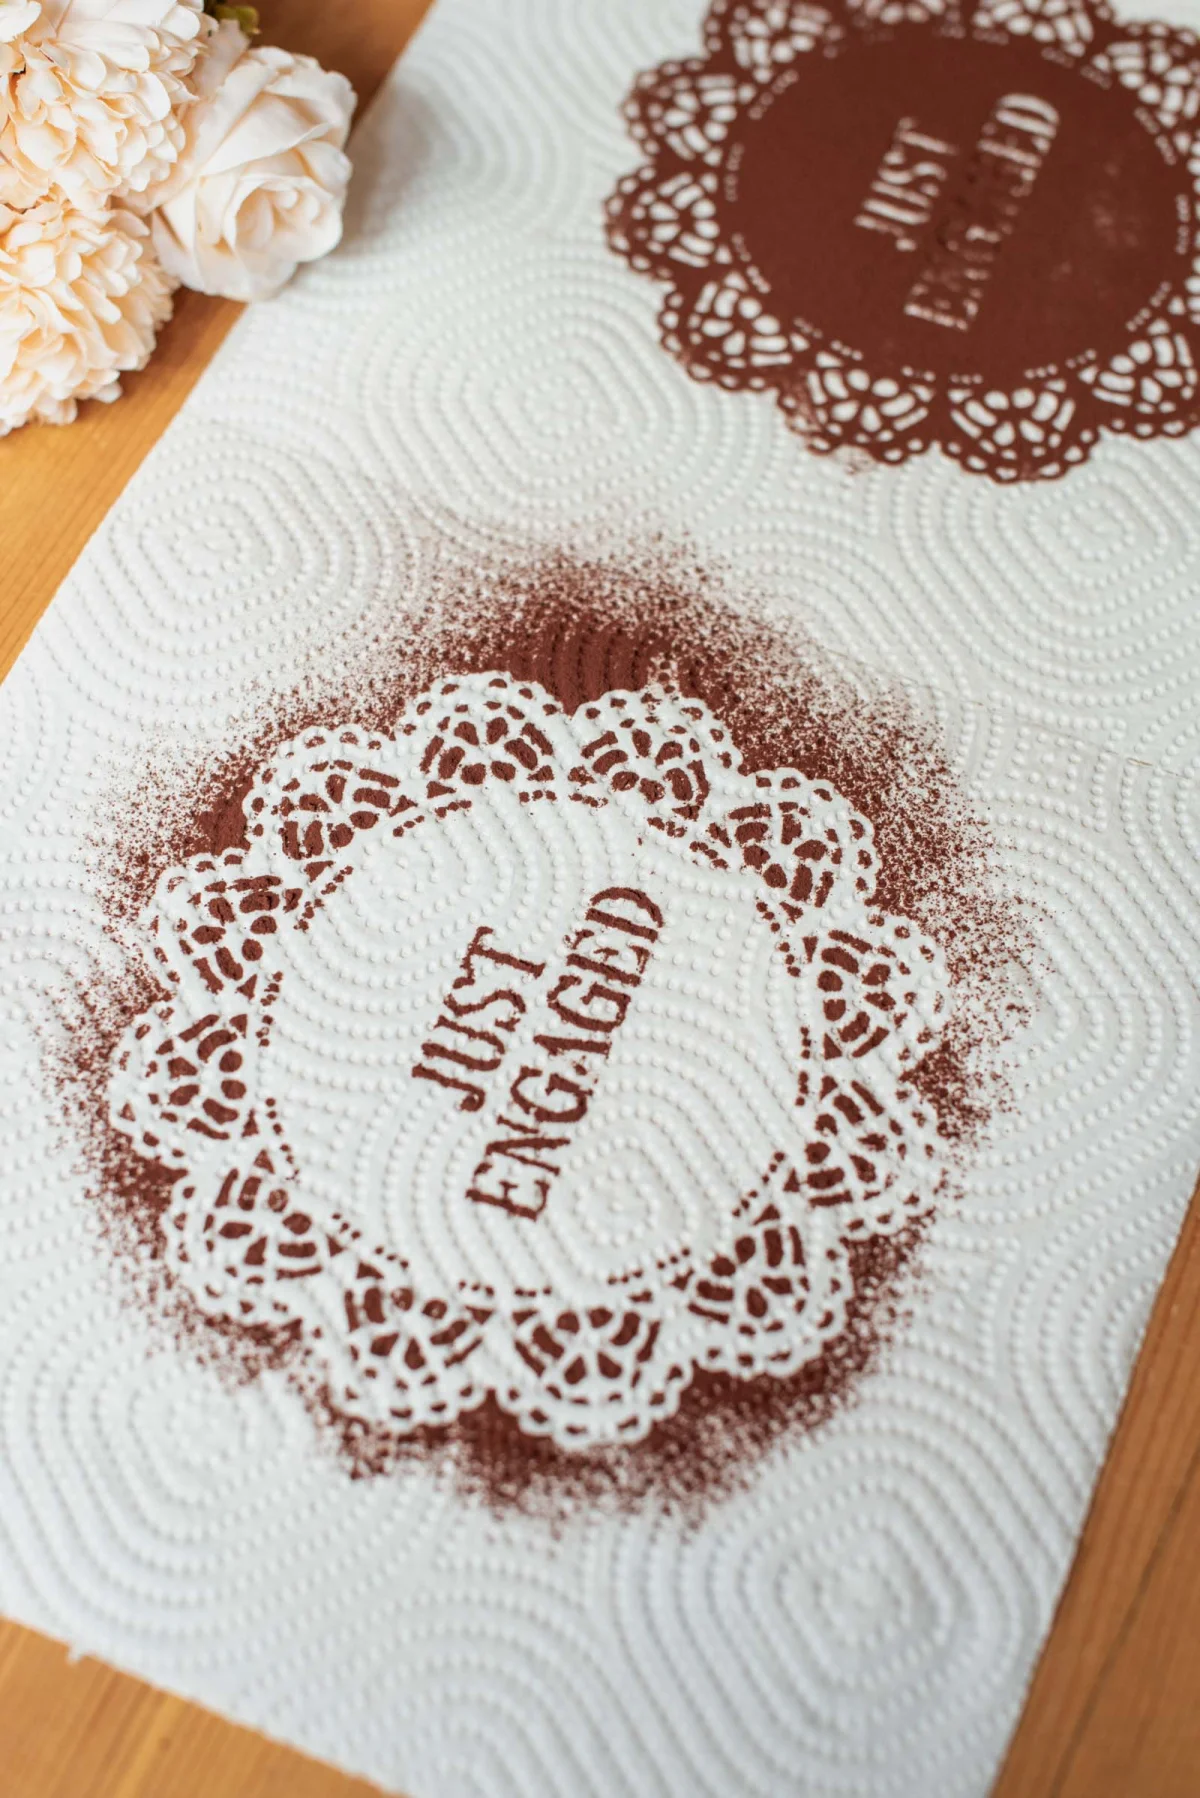
6Chill your cake and practice cocoa dusting. For the best results, chill your cake for 20-30 minutes to firm up the frosting, which provides an ideal surface for dusting. While it chills, place your stencil on a paper towel. Fill your fine mesh strainer with a spoonful of cocoa powder, and sift it over your stencil by tapping the strainer gently. After completely covering it, lift the stencil straight up gently. Examine your work; if it’s not satisfactory, rinse and dry your stencil, and try again until you're happy with the results. Once satisfied, you're ready for the final cake!
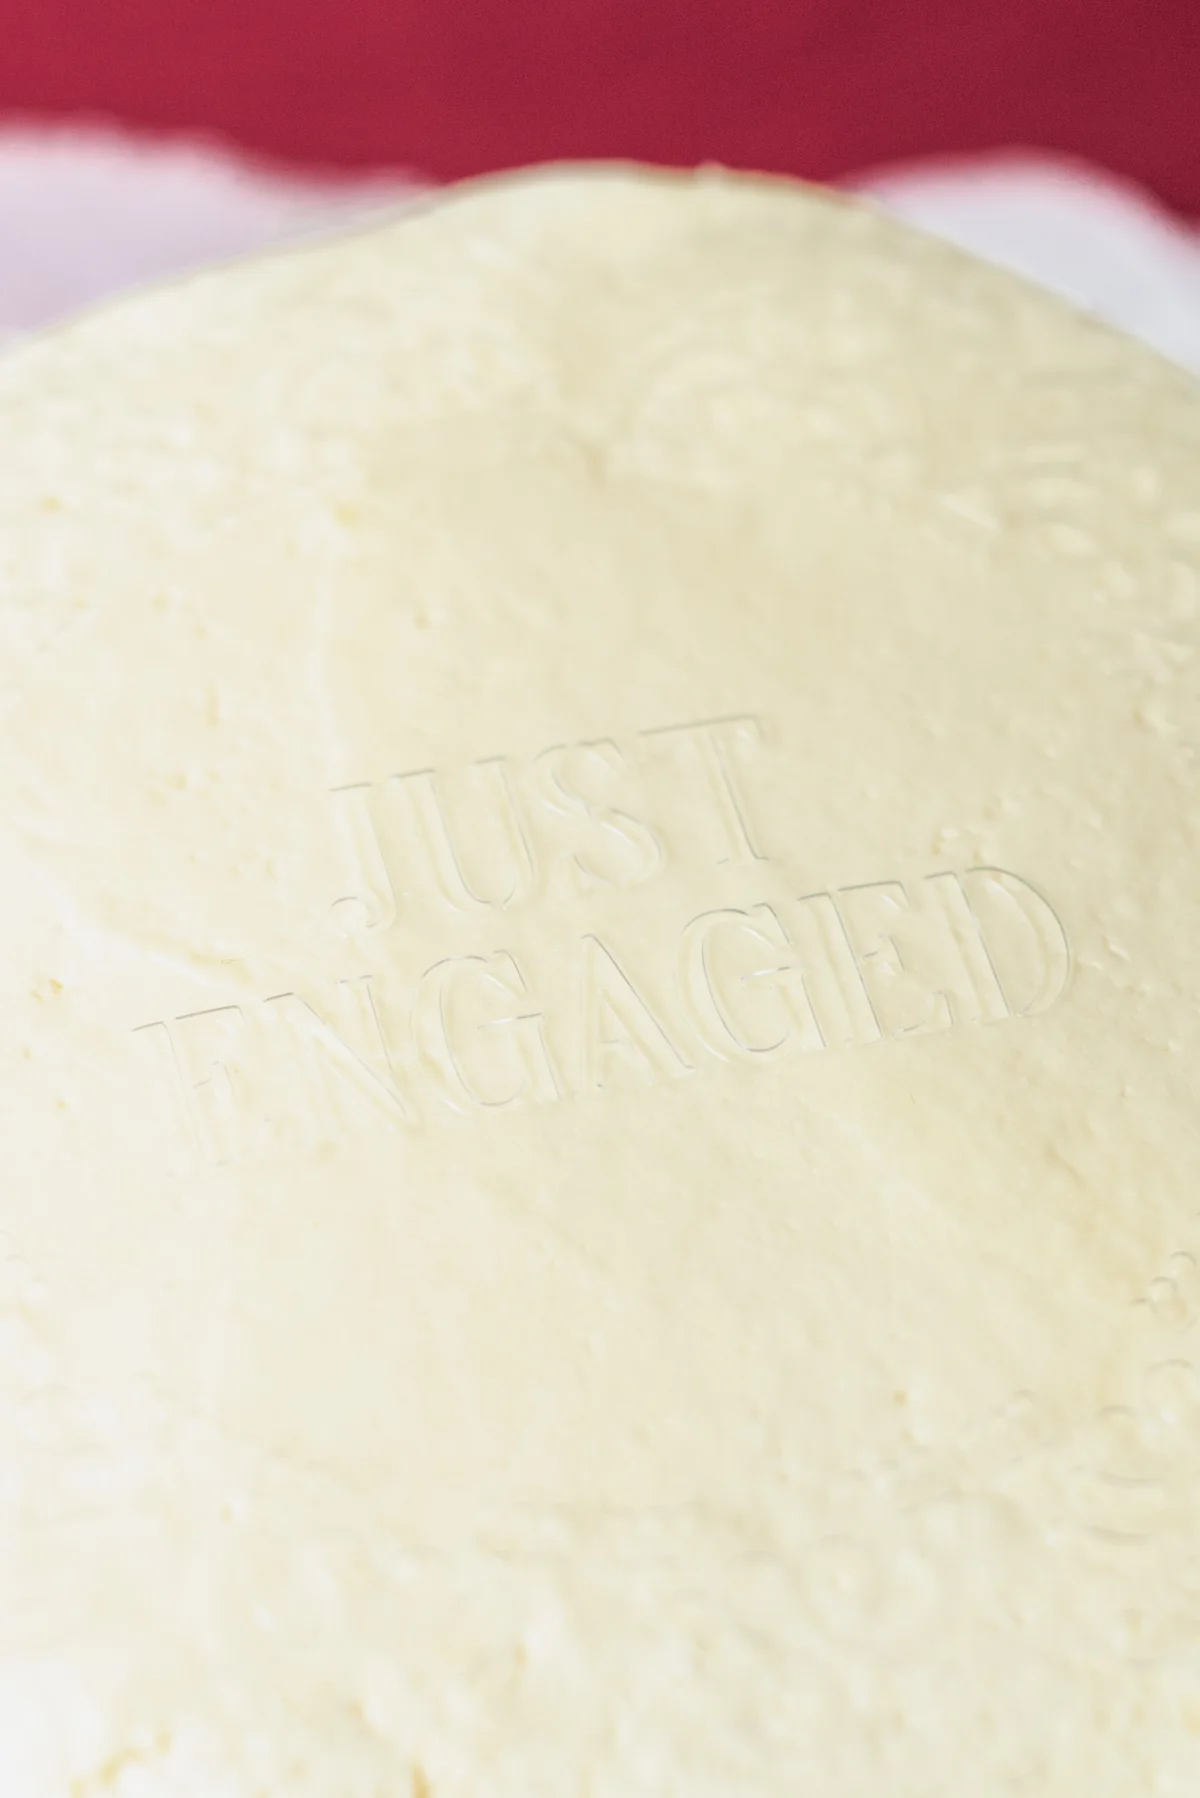
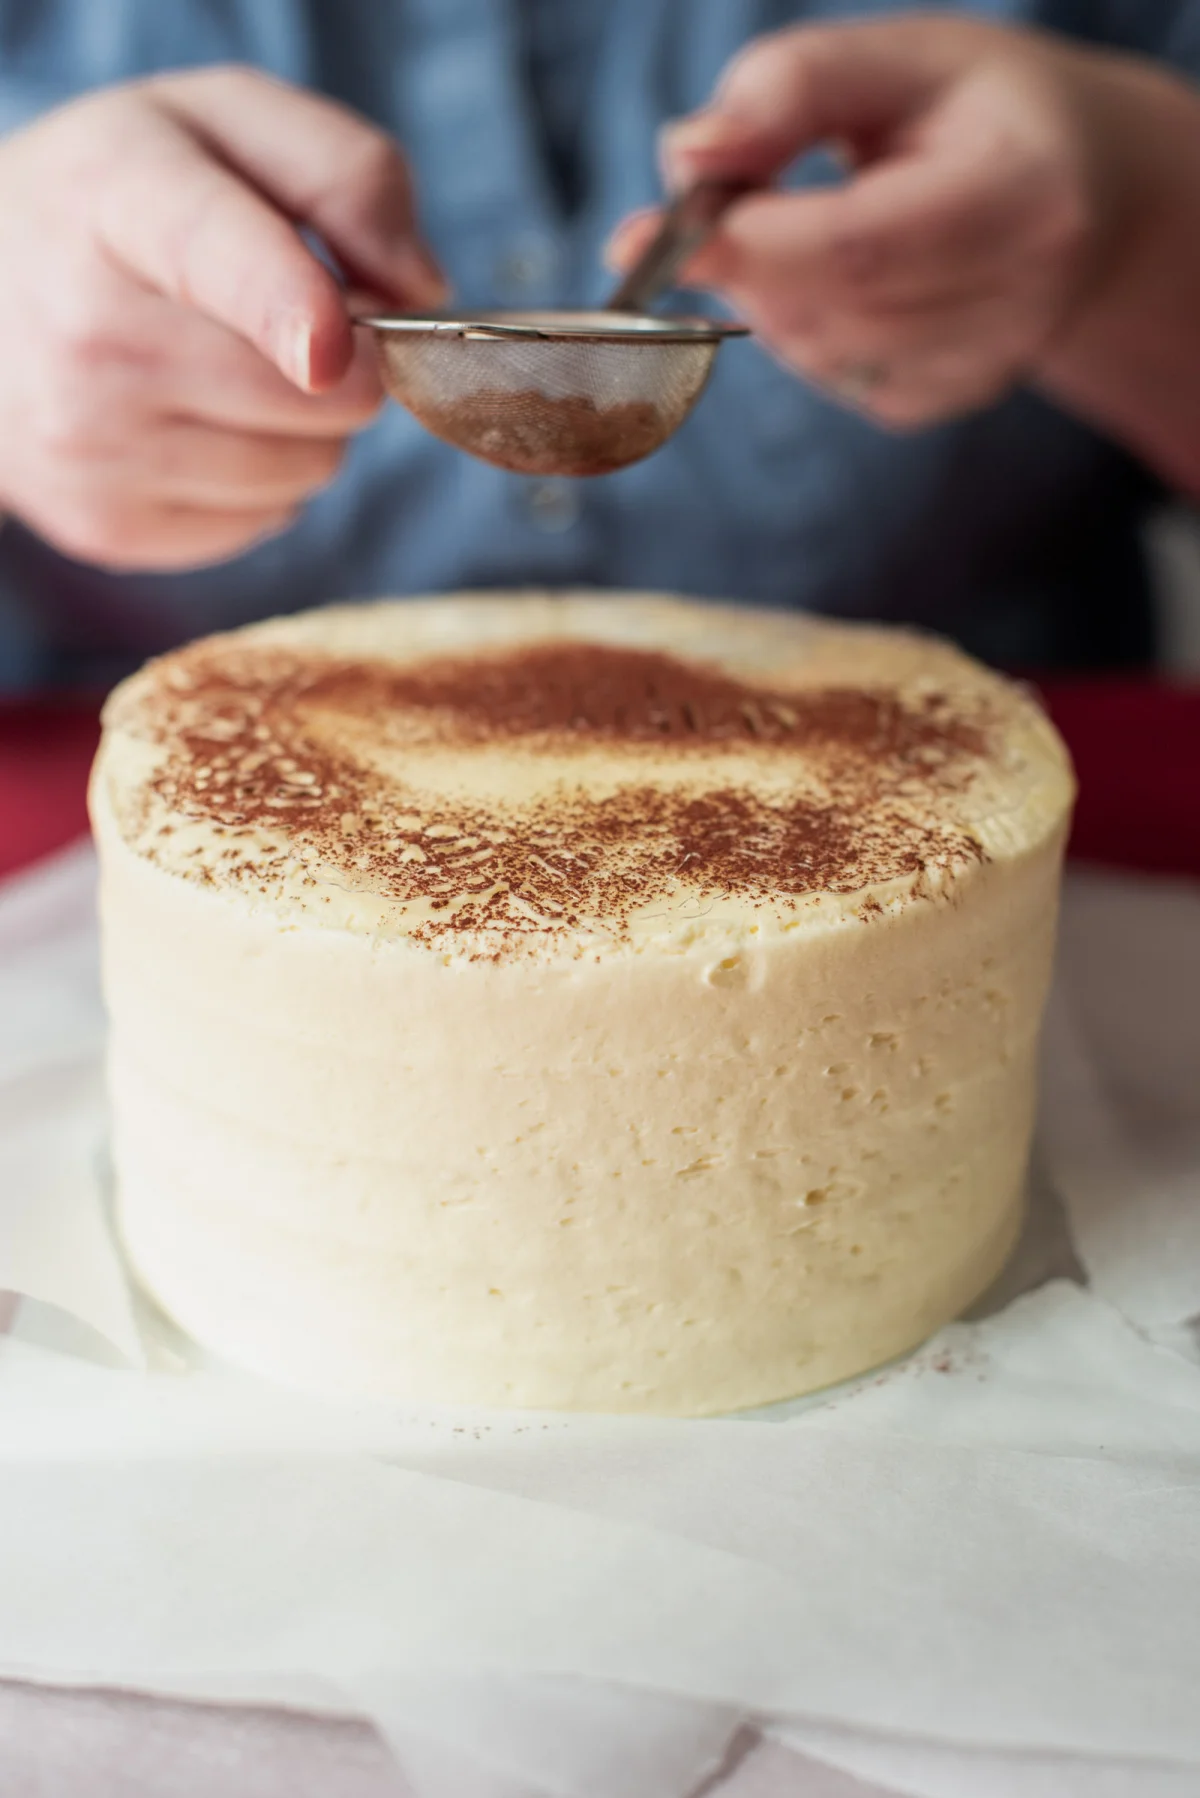
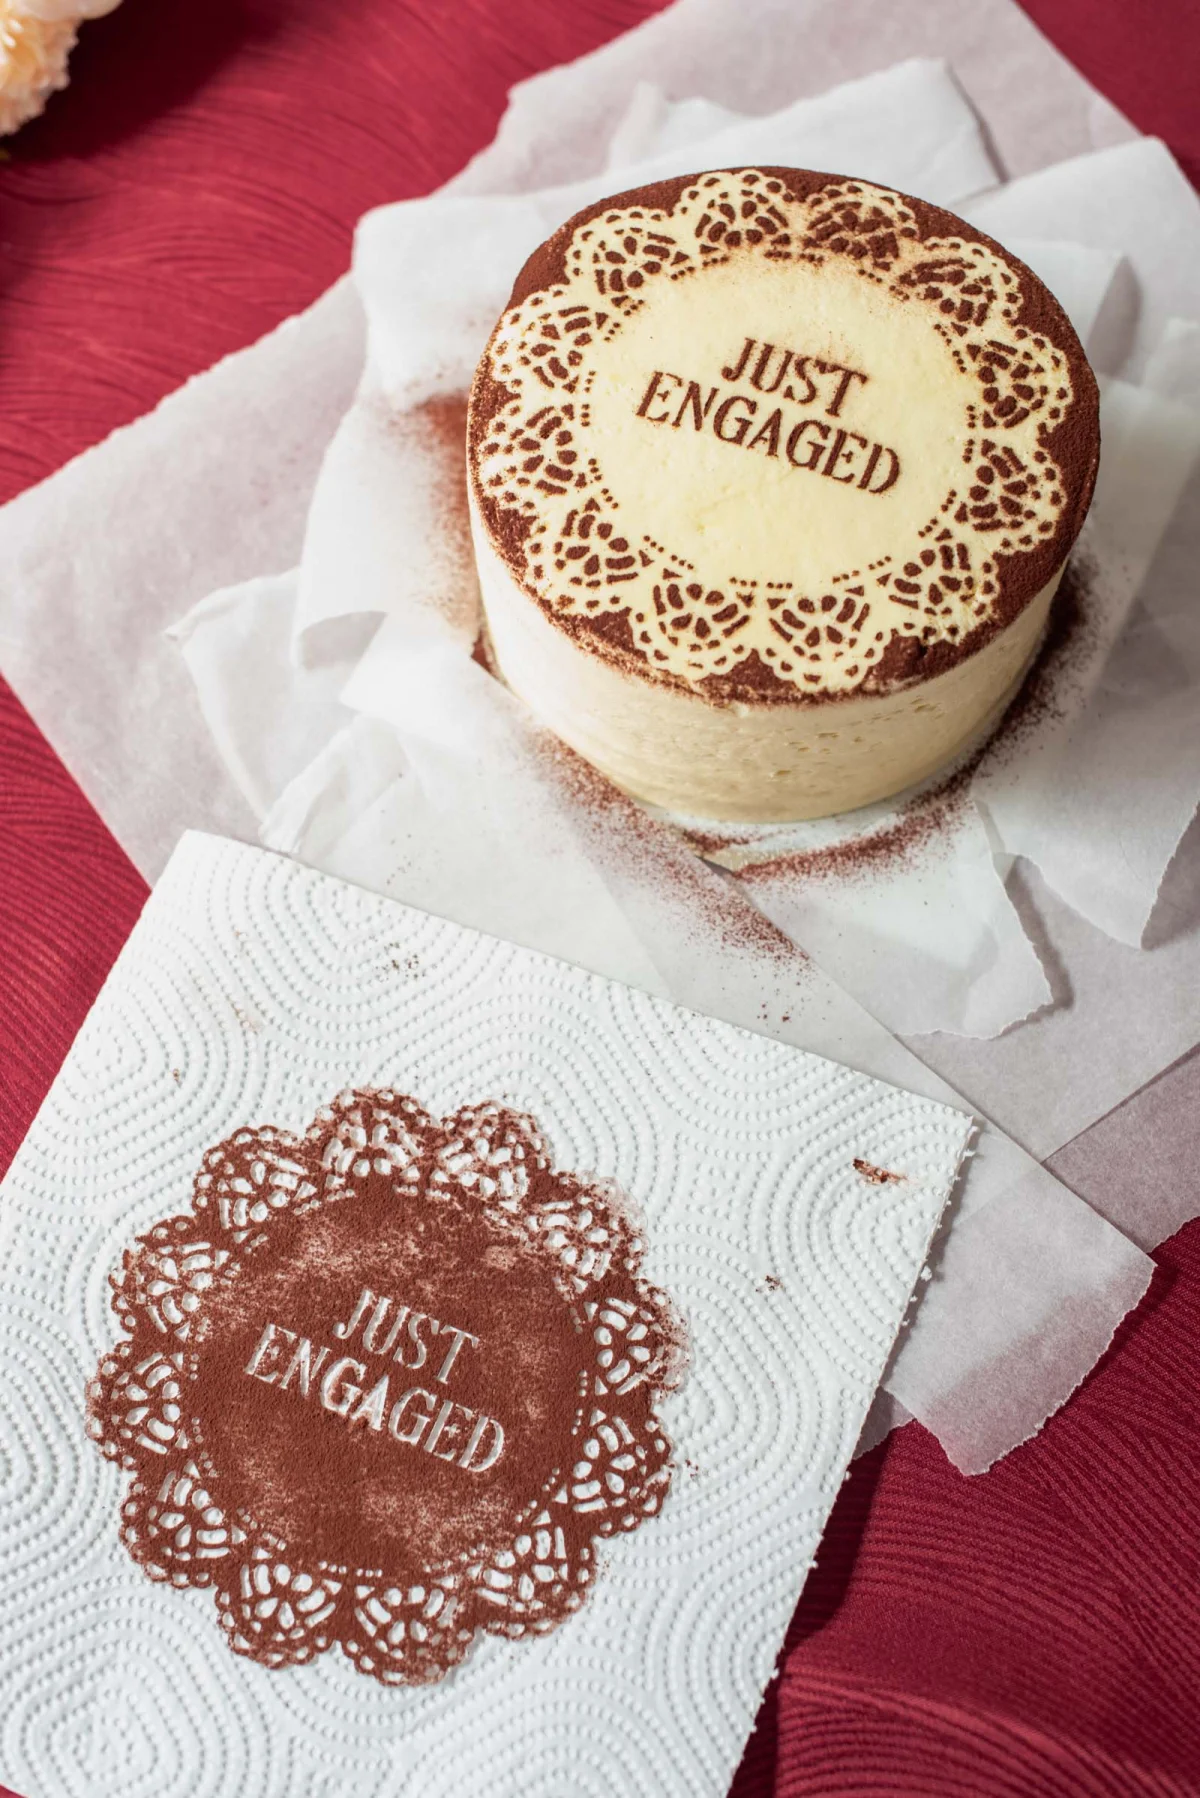
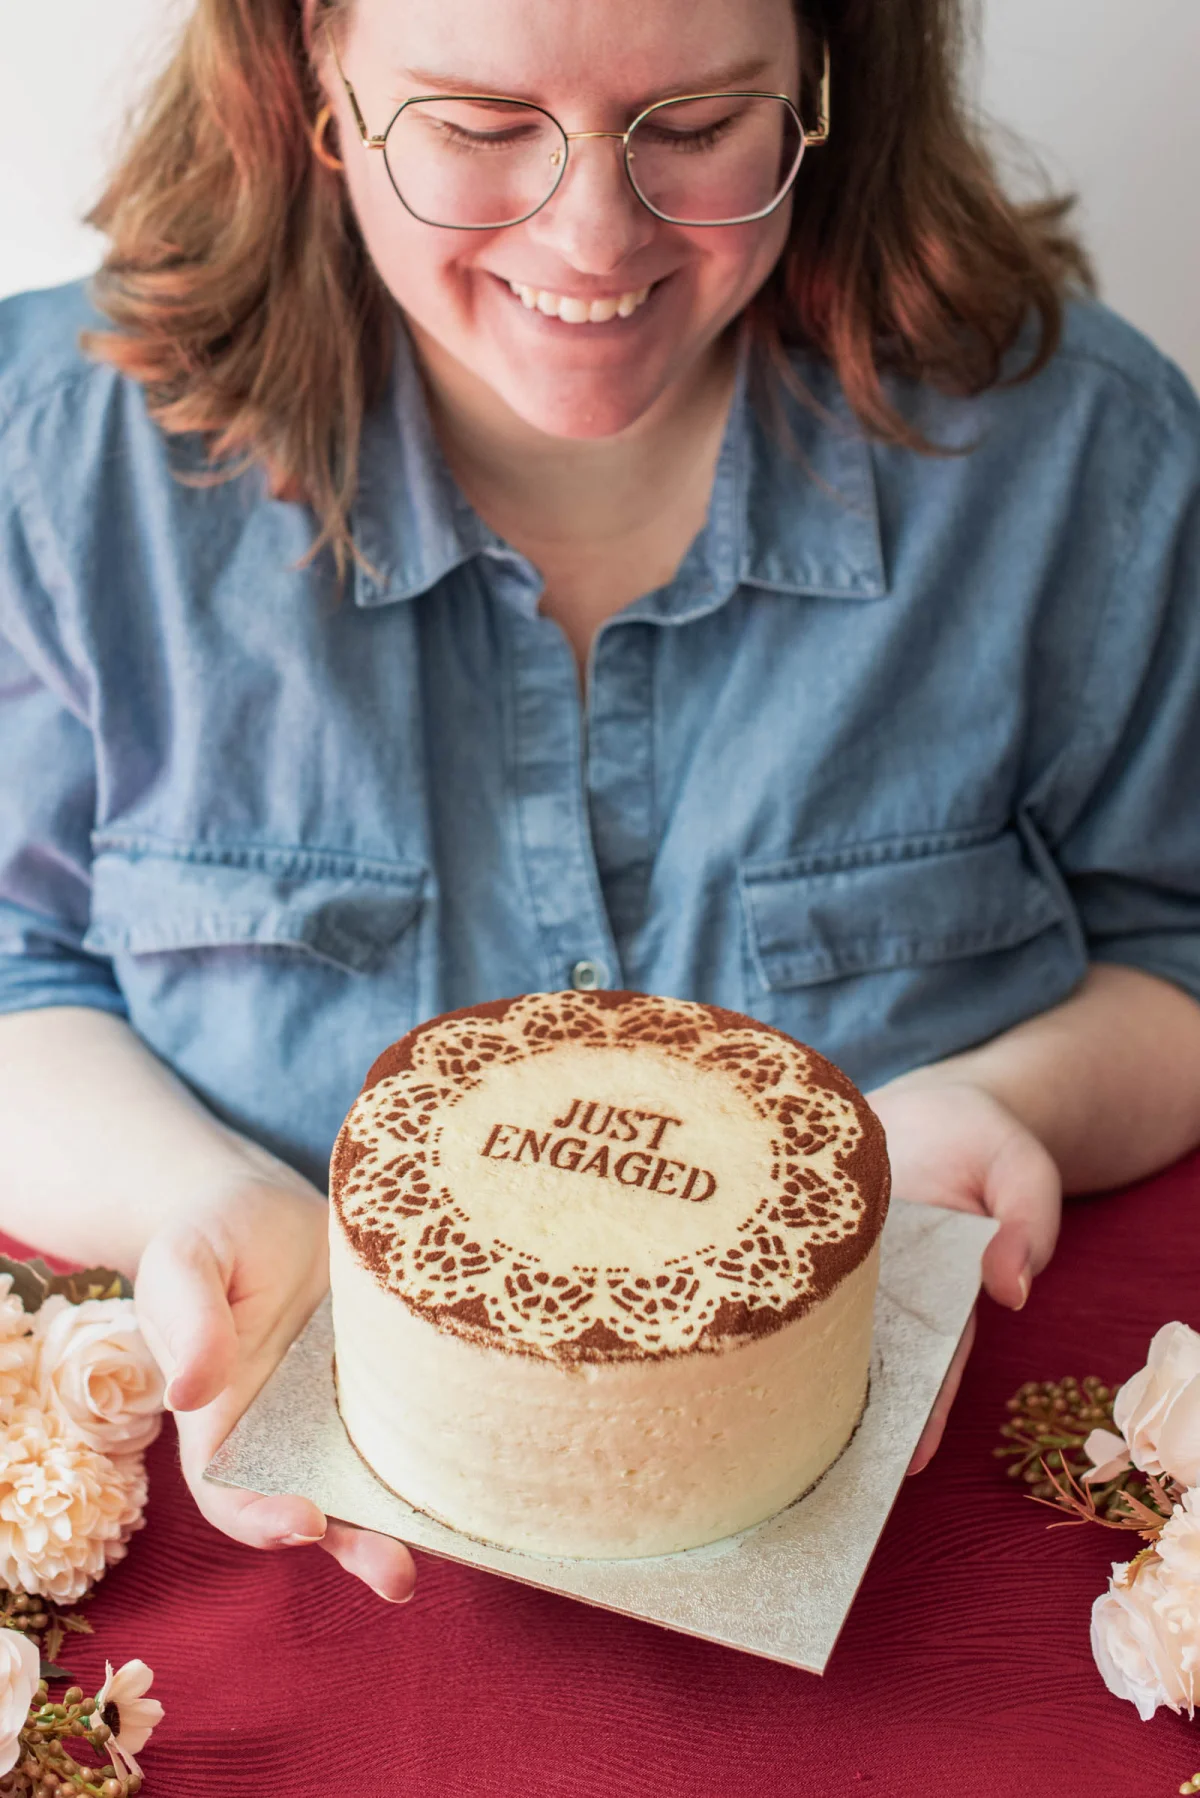
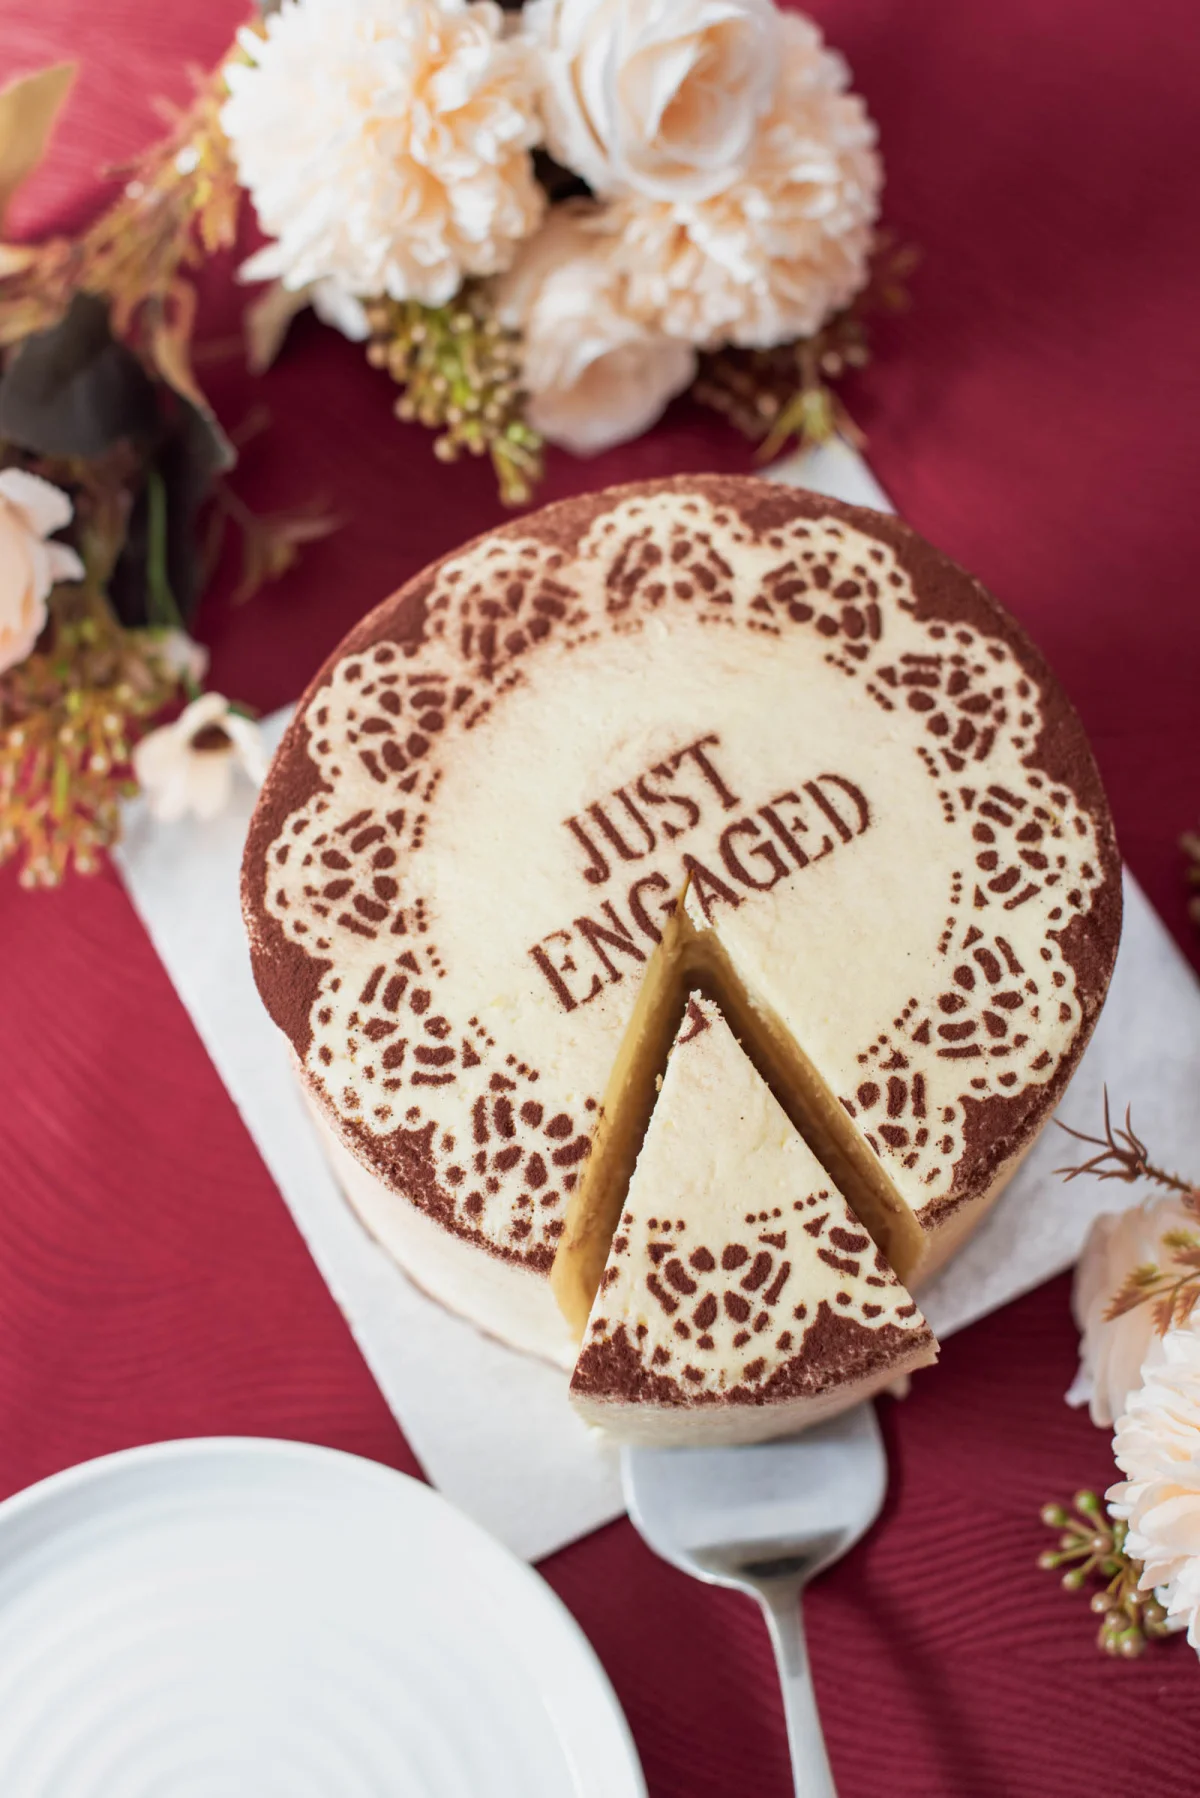
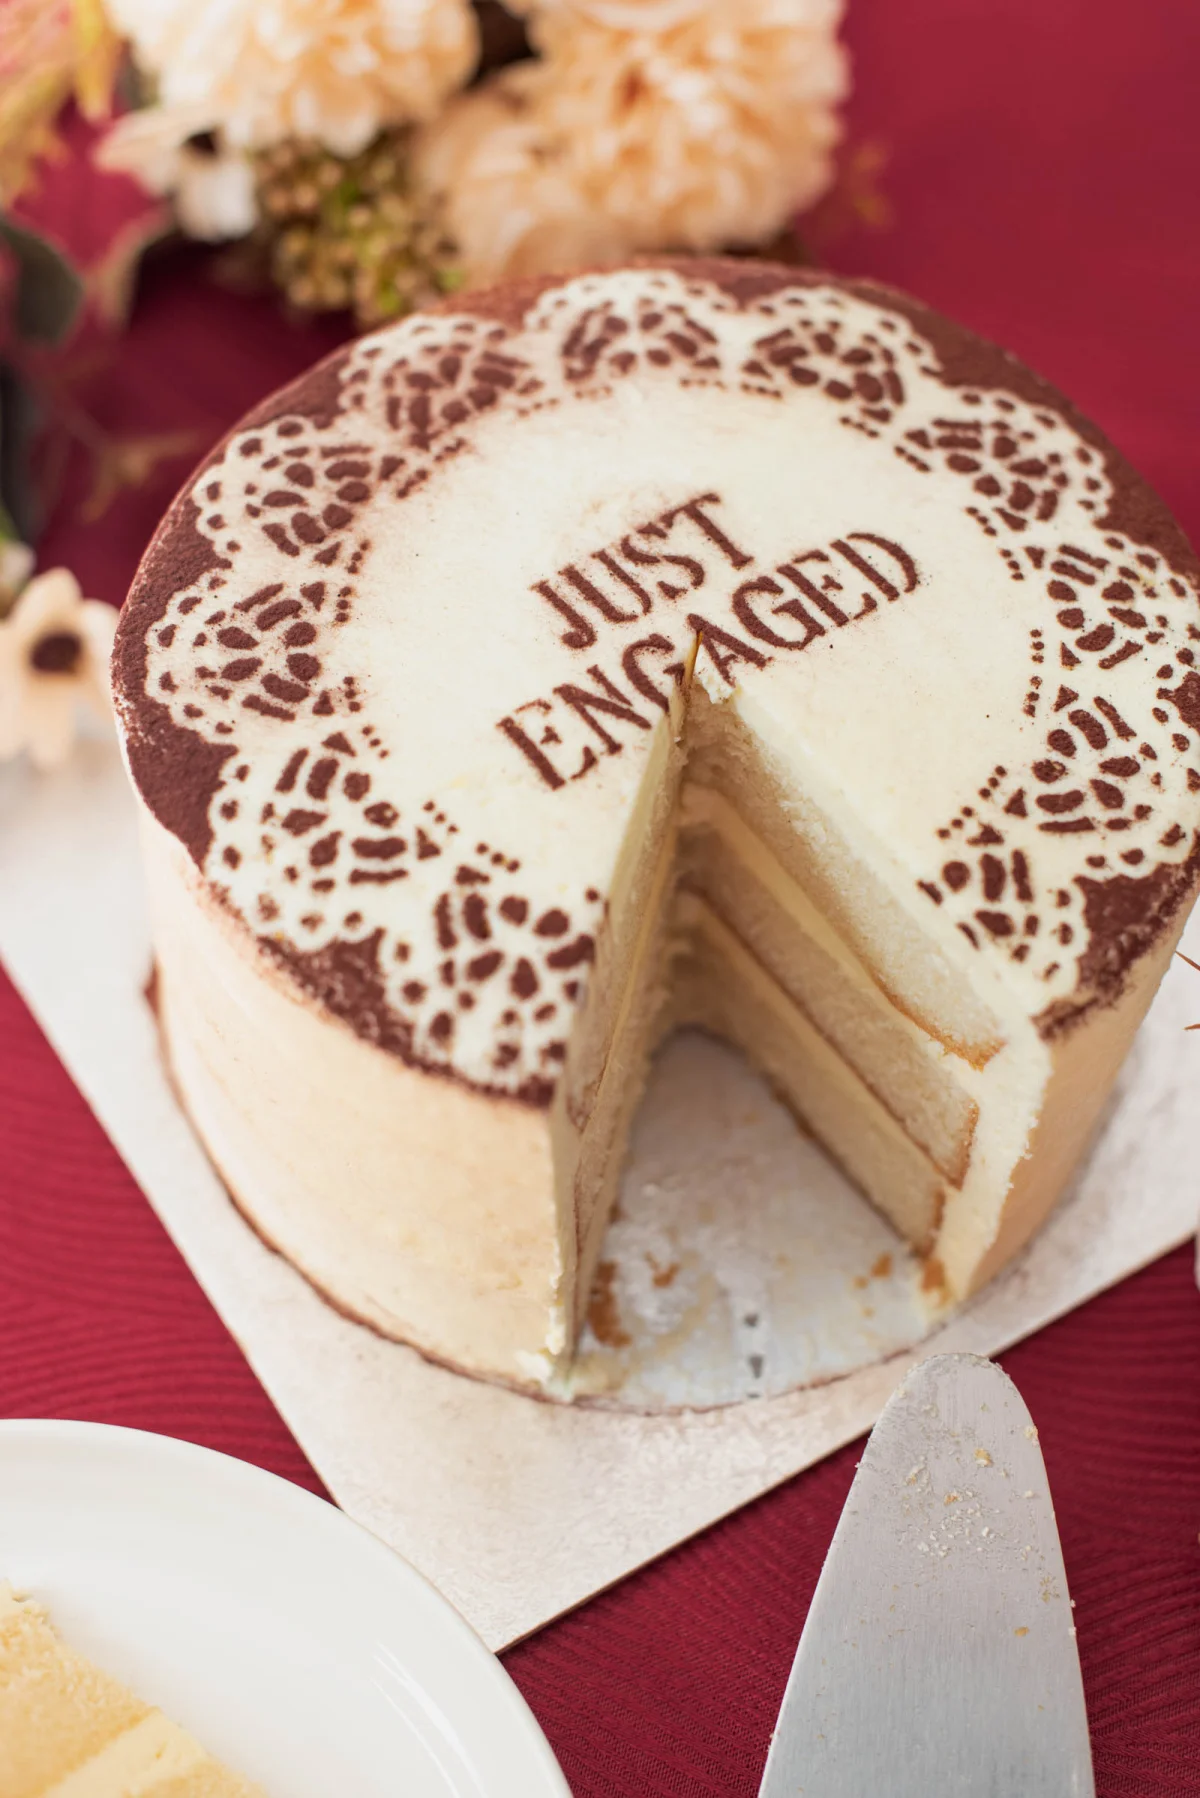
7Dust your cake. When it’s close to serving time, protect the plate with parchment or wax paper. Place your stencil on the chilled cake and use your fine mesh strainer to lightly sift the cocoa powder over it, just like you practiced. Once it's covered to your liking, remove the stencil and admire your personalized engagement cake!
Pro Timing Tip: Given that cocoa powder is sensitive to moisture, avoid dusting your cake too far in advance. Ideally, dust just before serving, but no more than a couple of hours in advance if you want those perfect engagement photos. In our experience, leftover cake stored in the fridge overnight still looked quite appealing the next day, depending on the frosting used.
FAQs About DIY Cricut Cake Stencils
Is Cricut acetate safe for cakes?
While craft-store acetate sheets (including Cricut brand) are not certified food-safe, they can be utilized as temporary cake stencils if properly prepared. Always wash your stencil with warm soapy water before use, and only employ it briefly while dusting cocoa or luster dust. It’s advisable not to leave non-food-safe acetate on the cake for extended periods.
What can I do to prevent cocoa powder from smudging under a stencil?
To minimize smudging of cocoa powder while using a stencil, chill your cake for 20-30 minutes until the frosting is firm. Hold a fine-mesh strainer around 4 inches above the surface, gently tapping it from the side to dust lightly. After completely covering, carefully lift the stencil with both hands in one smooth motion. Avoid any sudden movements that may cause airflow, which could disturb your design!
Which Cricut machine is optimal for cutting acetate stencils?
All current Cricut models, including the Cricut Joy, Joy Xtra, Cricut Explore, and Cricut Maker, can efficiently cut thin acetate sheets using a fine-point blade. For thicker acetate or stiffer materials, a deep-point blade—available for Explore and Maker machines—might be necessary.
Make Your Cake Stencil Unique
There's something gratifying about taking a basic store-bought cake and adding a personal detail that reflects your style. With a Cricut and a homemade acetate stencil, even a simple engagement cake can become a highlighted feature of your celebration.
The beauty of this DIY approach is the simplicity—there's no need to reinvent the cake! Choose a stencil that resonates with your aesthetic, incorporate a dusting of cocoa powder, and let that thoughtful detail provide the décor.
Whether your event is themed around lace, inspired by a trendy tiramisu, or centers around a design you adore, this straightforward Cricut cake stencil technique adds a layer of personalization to the final days leading up to your wedding.
Ready to tackle more Cricut wedding DIY projects? Visit our Wedding DIY Hub for all the inspiration and guidance you need to get started.

WRITTEN BY
Chelsea Barton
Founder & Wedding DIY Expert
A former wedding photographer and founder of Tidewater and Tulle, Chelsea Barton has been guiding couples in bringing their dream weddings to life through creative, accessible ideas since 2009. Her insights and contributions have been featured in numerous prominent publications. Chelsea combines her editorial expertise with real-world insights to inspire meaningful celebrations.
TUTORIAL CREDITS
Photography and Video: Chelsea Barton
Note: Some above product links may be partnered; purchasing through them provides a small commission that helps support this website. More info can be found in our affiliate disclosure policy.