In lane Planning & Budget
Mastering Your Cricut Joy 2 for Wedding DIY: A Comprehensive Setup and Project Guide
Description
Dive into the ultimate guide for unboxing and setting up your Cricut Joy 2, tailored for creating personalized wedding decor and details.
Congratulations on purchasing a Cricut Joy 2! This compact machine opens the door to endless wedding personalization possibilities, from custom welcome signs and place cards to after-party favors and reception decor. The sight of this sleek device may seem intimidating, especially with your wedding day approaching. However, with the right guidance, you can tackle your wedding DIY checklist confidently.
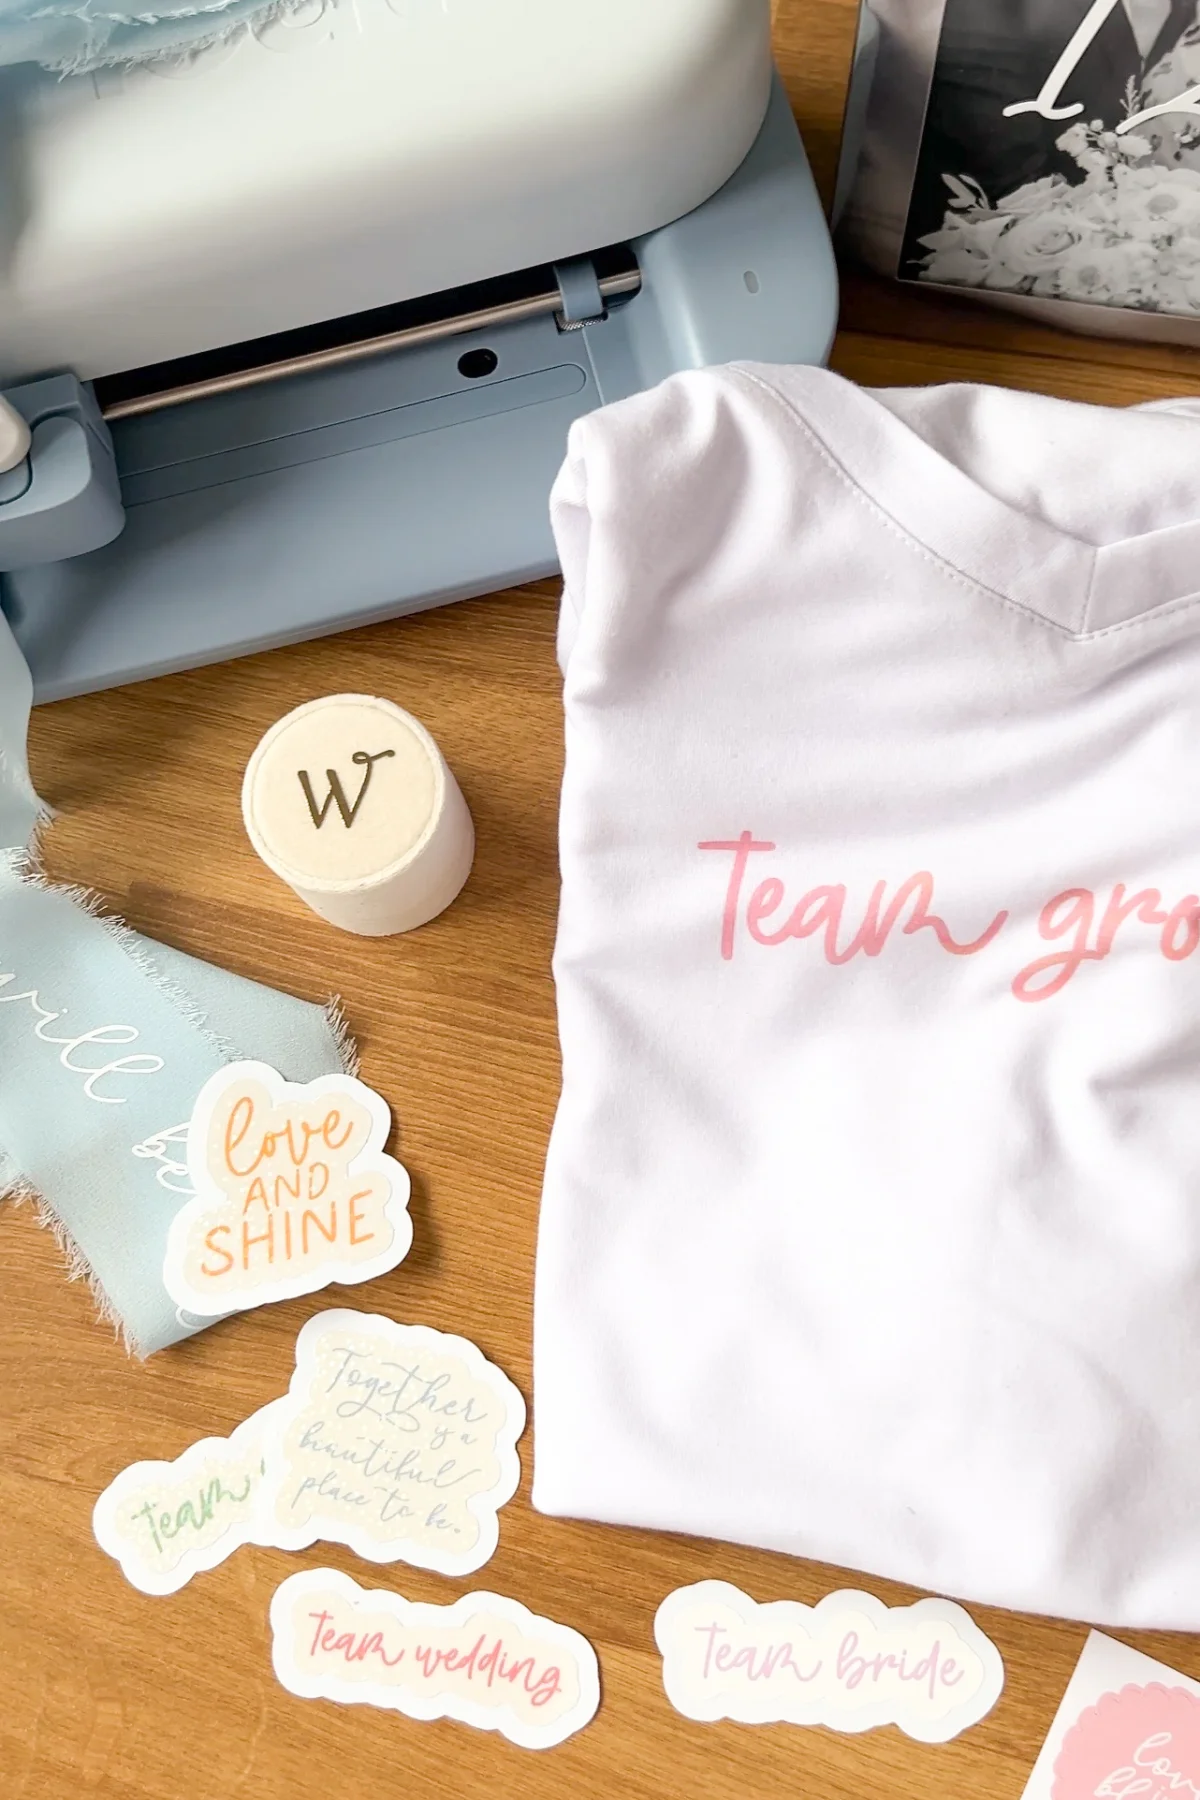
Here at Tidewater and Tulle, we’ve dedicated over a decade to creating DIY wedding decor using Cricut machines. Drawing from our experience, this stress-free Cricut Joy 2 setup guide is crafted specifically for busy couples eager to infuse personal touches into their big day.
This guide is meant to complement our YouTube unboxing and setup video, which offers visual assistance in mastering your new machine, particularly if you're new to crafting with Cricut.
Editor's Note: Whether you are using the Joy 2 or a different model like the Maker or Explore, the foundational setup process in Design Space is similar, allowing for easy reference across different machines.
Cricut Joy 2: Quick Stats at a Glance
If you're debating which Cricut machine suits your wedding DIY needs, here are some quick stats on the Cricut Joy 2:
Unboxing & Hardware Anatomy of Cricut Joy 2
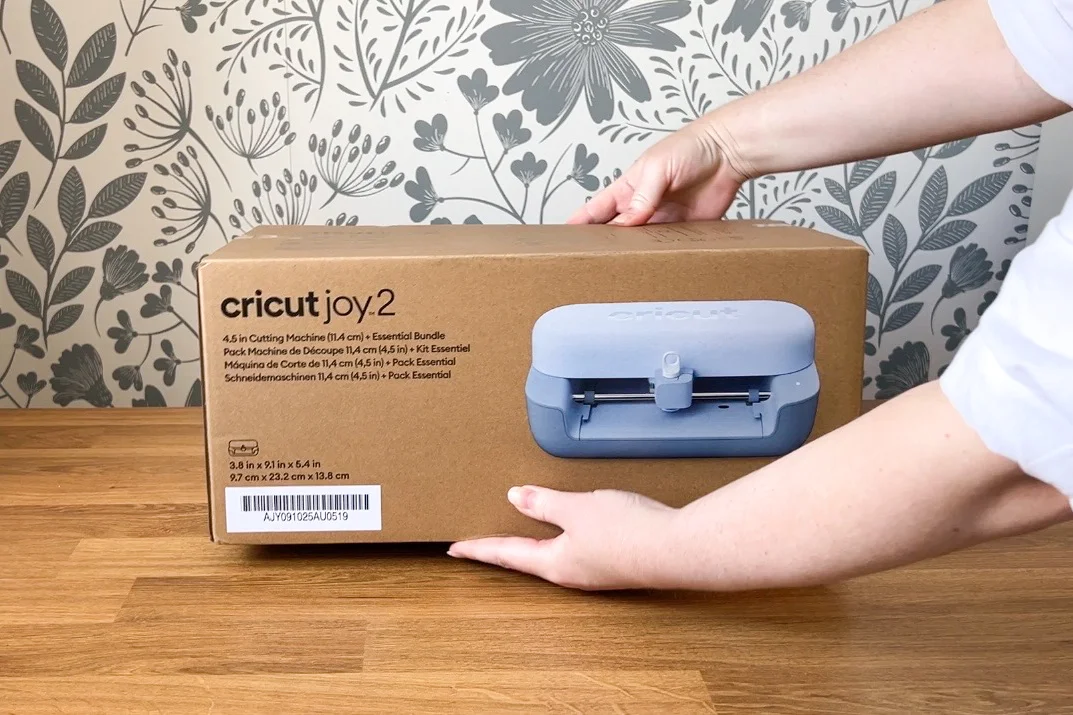
When you unbox your Cricut Joy 2, be prepared for variations in color and included accessories based on the bundle you purchased. While this guide showcases the Joy 2 in a beautiful blue color, many of the functionalities are identical across models.
What's Inside the Cricut Joy 2 Box?
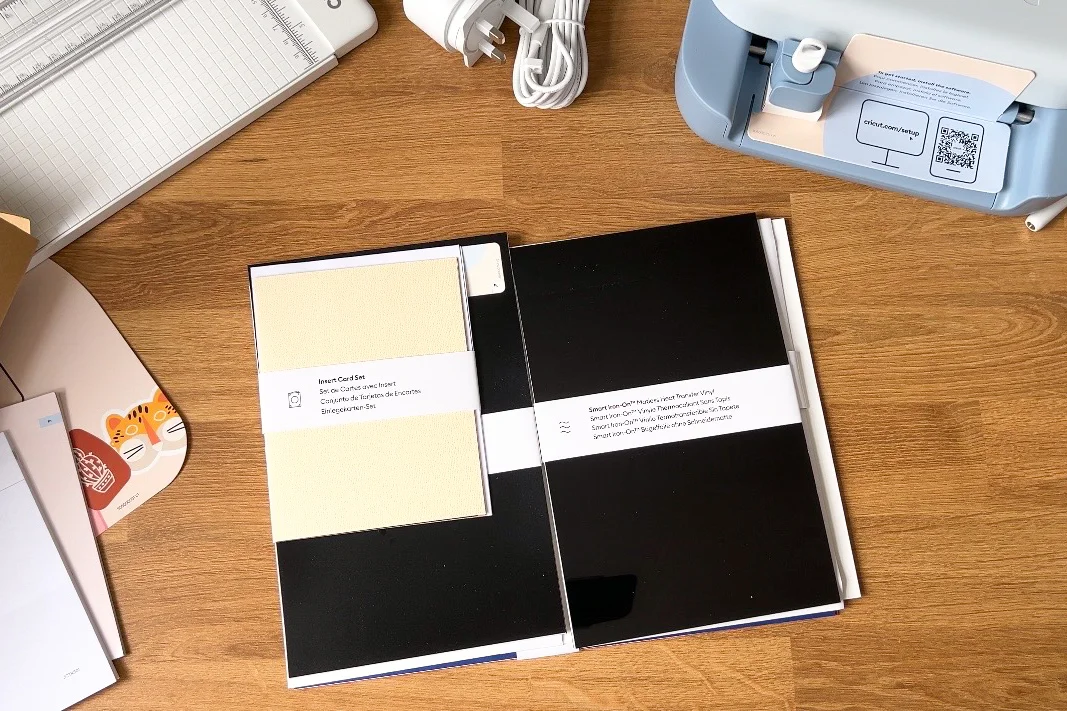
The contents of your box will depend on whether you've purchased a standalone machine or a bundle. We’ll be covering the Cricut Joy 2 Essentials Bundle from Craft Market UK for this walkthrough:
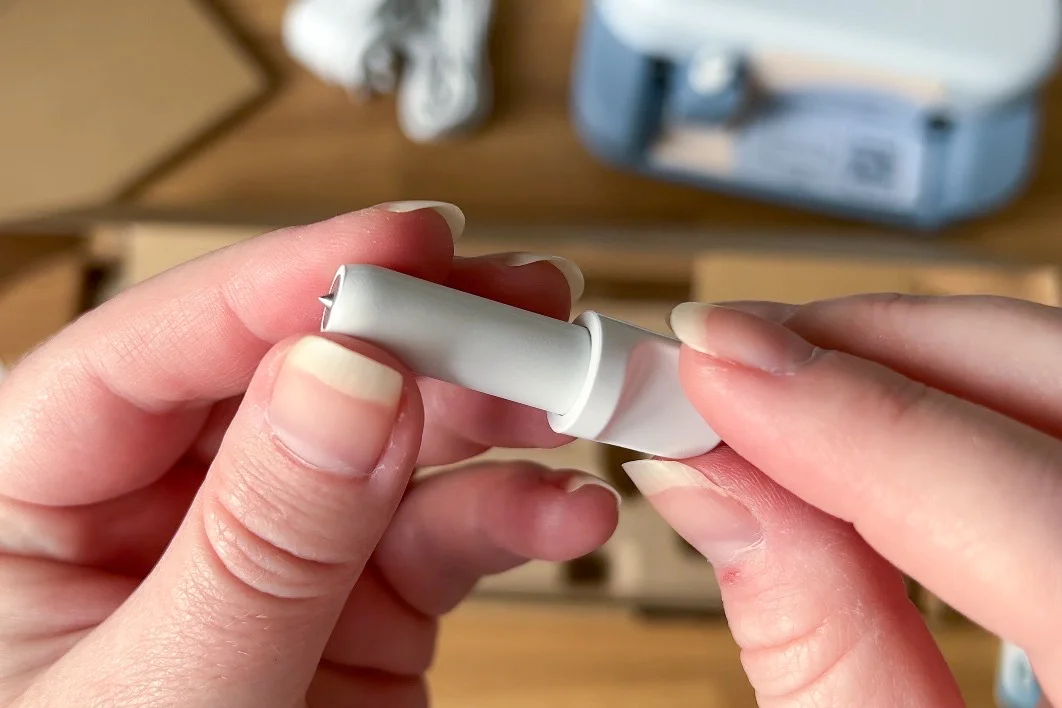
- Hardware & Essentials: Cricut Joy 2 machine, Premium Fine-Point Blade, Power Adapter, and Setup Card
- Tools: Portable Trimmer, Weeder, Scraper, Spatula, Paper Ruler, Scoring Tool, and a Black Dual-Sided Marker (0.4mm & 1.0mm)
- Cutting Mats: LightGrip Machine Mat (4.5x12" / 11.4x30.5cm) and Card Mat
- Materials: Smart Iron-On, Smart Vinyl, Transfer Tape, Insert Cards, Value Cardstock, and Printable Vinyl
Bought a different bundle? Don’t fret if your contents differ—the essential machine, blade, and power cord for setup remain consistent across bundles!
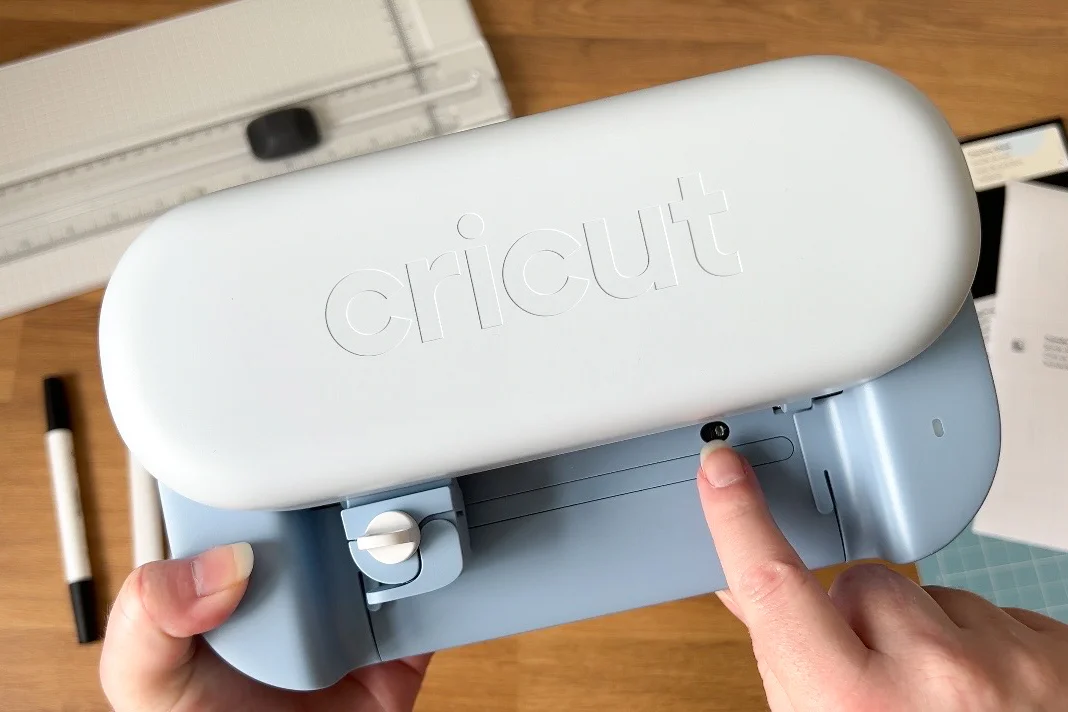
Cricut Joy 2 Machine Anatomy
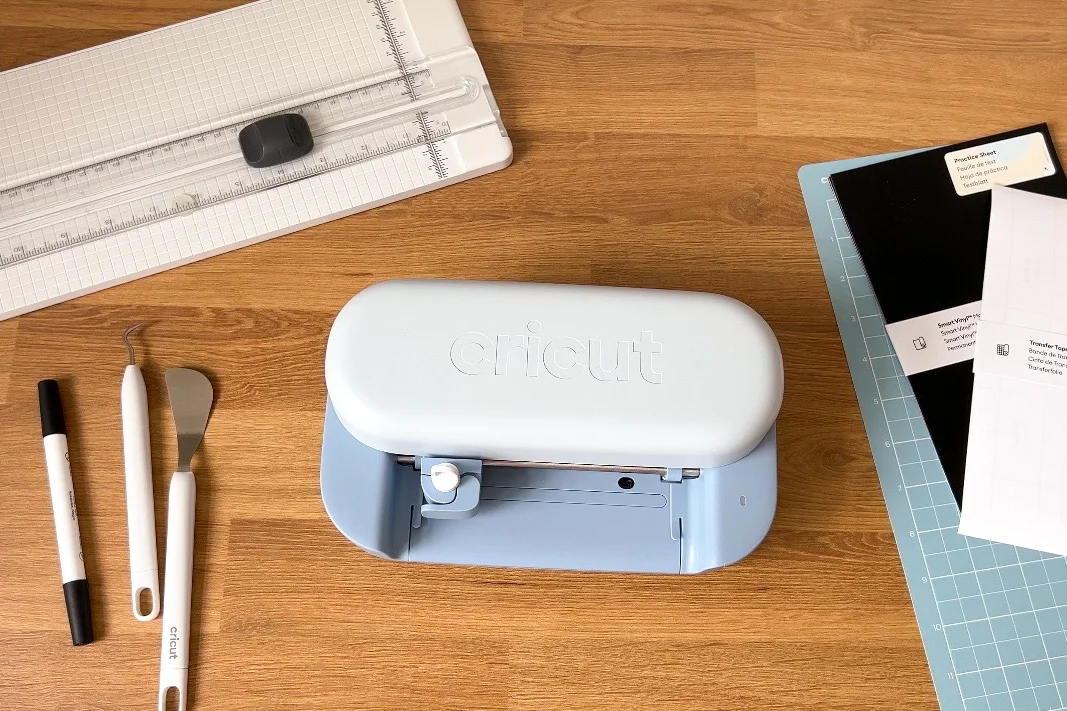
Before you plug your machine in, let’s quickly explore its key components:
- Carriage & Clamp: The moving carriage houses the tool clamp where blades or compatible tools, like pens or scoring tools, can be inserted.
- Print Then Cut Sensors: Built-in sensors enable the Joy 2 to handle projects like printable Save the Date magnets or fun temporary bachelorette party tattoos.
- Mat Guides: These tabs ensure that your cutting mat or Smart Material feeds through the machine accurately.
- Wireless Controls: The Joy 2 operates solely via Bluetooth through the Cricut Design Space app, eliminating the need for physical buttons or controls on the device itself.
What’s Not in the Box (and What You Might Want to Buy)
Before embarking on a crafting spree, remember that you don’t need every tool Cricut provides to start your wedding creations. The included LightGrip Mat is sufficient for delicate materials, but it’s wise to consider adding a green StandardGrip Mat if you plan to cut a significant amount of adhesive vinyl or iron-on materials, as it is generally the go-to for those tasks. Building your tool kit gradually based on your specific needs can prevent unnecessary spending.
✶ PRO TIP: For an in-depth breakdown of tools and step-by-step wedding project ideas, refer to our guide book, Cricut Weddings, available worldwide wherever books are sold.
Setting Up Your Cricut Joy 2 Workspace for Wedding DIY Success
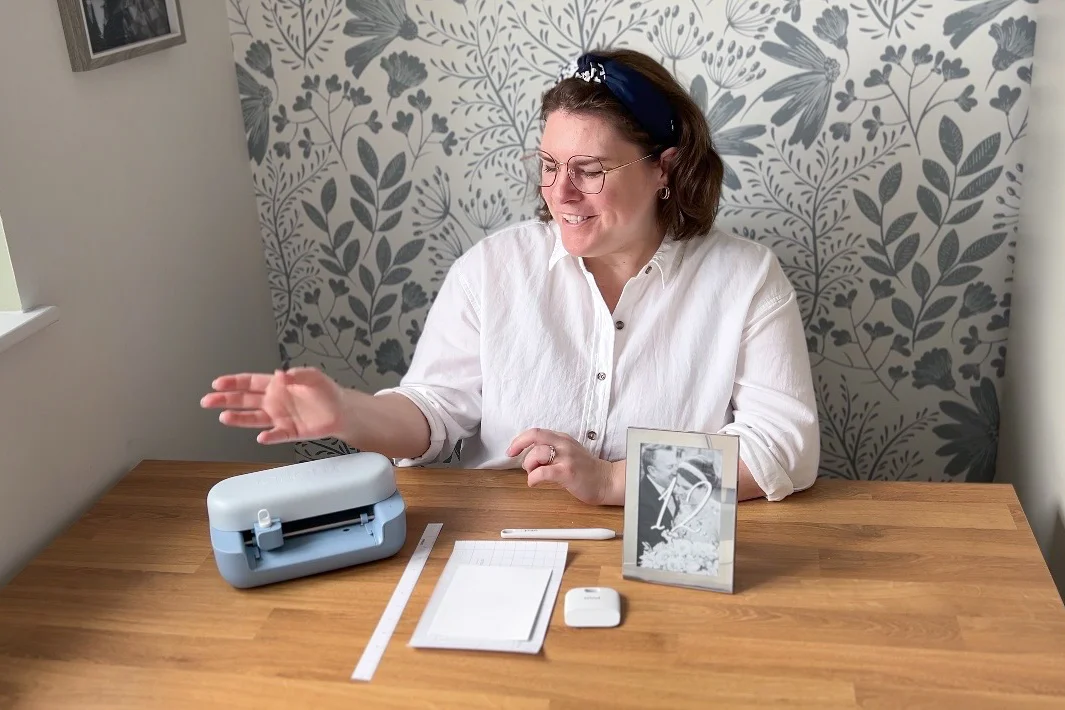
Before diving into crafting, it's essential to choose a suitable workspace. Avoid setting up your Cricut on a cluttered kitchen counter or in a last-minute rush before dinner. Instead, designate a flat and dedicated crafting area. An appealing aspect of the Joy 2 is its portability; it can be tucked away into a drawer when not in use!
Make sure you have ample clearance on both the front and back sides of the machine to accommodate the feeding of cutting mats and Smart Materials. If your projects involve sizable wedding decor, like large fabric signs, ensure sufficient space to handle these materials comfortably. Remember, some rolls of Smart Materials can measure up to 20 feet (6.1 meters) long!
Your Cricut Joy 2 doesn’t require a permanent craft room, but a dining table, office desk, or cleared kitchen island can work perfectly. Just be aware that wedding DIY supplies tend to spread, so plan strategically!
How to Connect Your Cricut Joy 2 to Design Space
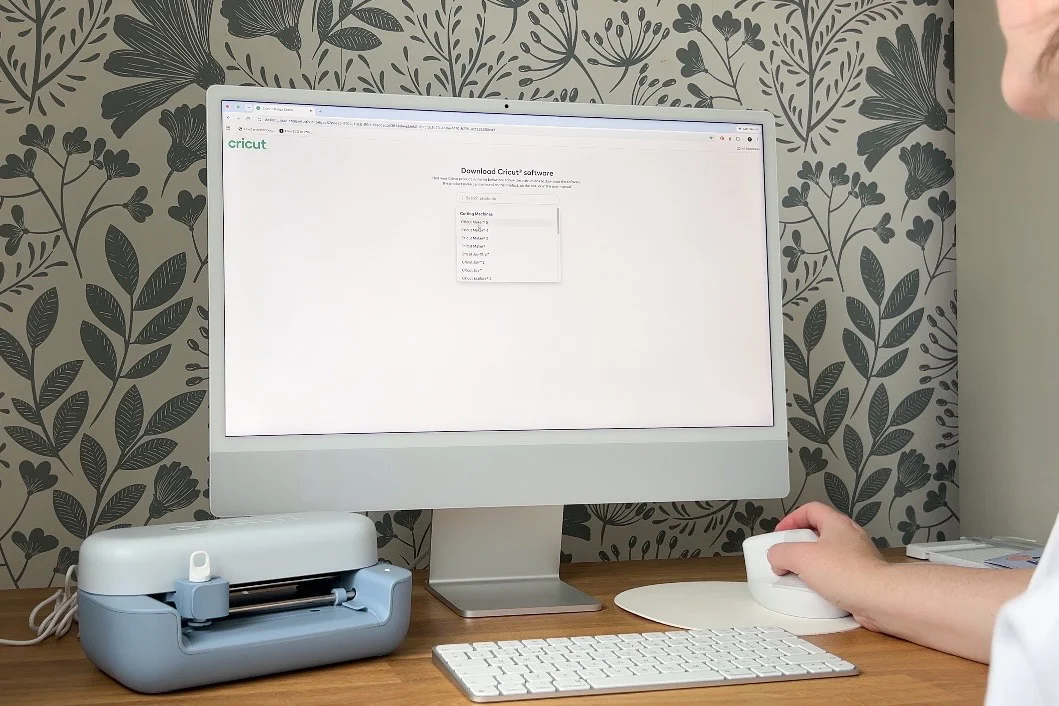
With your physical workspace set, it's time to connect your Cricut Joy 2 to the Cricut Design Space app, essential for designing and sending projects to your machine. Design Space is compatible with three primary devices:
- Computer: Accessible for both Mac and Windows users.
- Phone: Available as a mobile app for compatible iOS and Android smartphones.
- Tablet: Works on compatible iPads and Android tablets.
The setup process is consistent across devices, although some layout differences may be present. For the latest system requirements, refer to Cricut's website.
Which Device Should Wedding DIYers Use?
For those with a laptop or desktop, it’s advisable to start here. The larger screen and Design Space layout provide ample space to manage intricate wedding design projects. While mobile devices are convenient for straightforward cutting tasks, many users find desktops better for the design phase, especially for larger signage or layered stationery.
However, if you prefer working on a phone or tablet, your Cricut Joy 2 can seamlessly integrate into that mobile crafting scenario. Just keep in mind that detailed designs may be more challenging on smaller screens.
✶ LEARN MORE ABOUT DESIGN SPACE: Check our in-depth guide on Cricut Design Space for comprehensive information.
Step-by-Step Cricut Joy 2 Software Setup
Follow these straightforward steps to connect and calibrate your machine for your inaugural wedding DIY project:
Step 1: Connect Your Cricut Joy 2 to Power
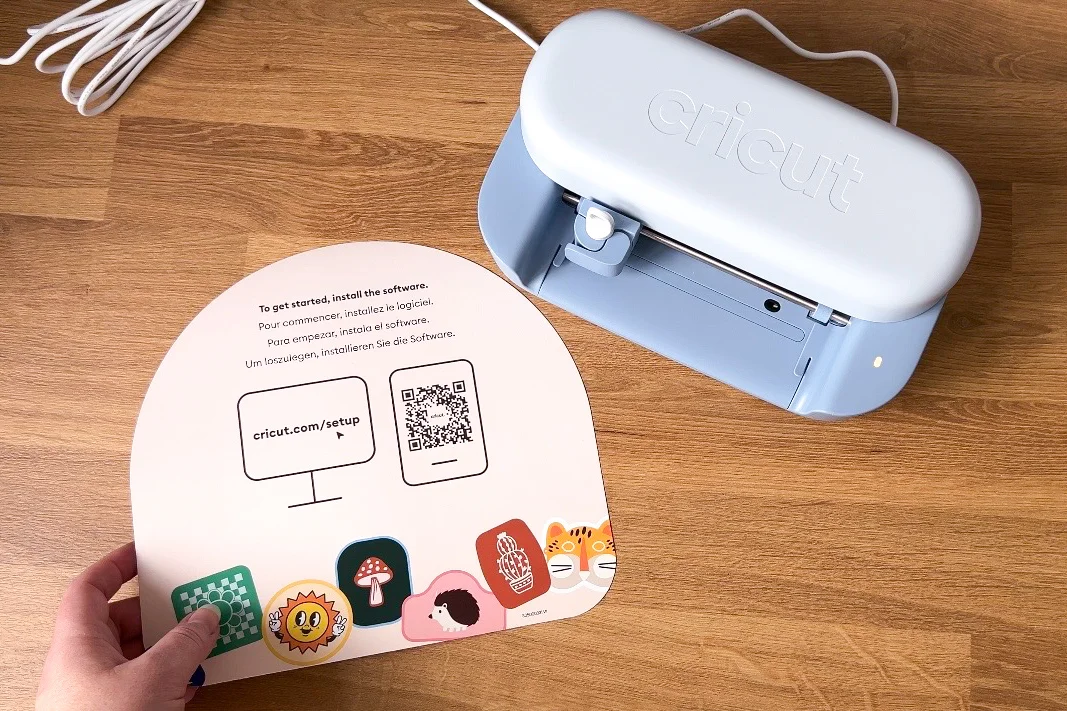
Begin by plugging the power adapter into your Cricut Joy 2 and then into a wall socket. The machine powers up automatically, indicated by an illuminated light, and operates wirelessly via Design Space.
Step 2: Download Cricut Design Space
➤ Using a computer? Open your internet browser and navigate to cricut.com/setup to download the desktop app.
➤ Using a phone or tablet? Obtain the Cricut Design Space app from your device’s app store. Alternatively, scan the QR code from the Setup Card included in the box to start the installation. Once done, open the app and follow the prompts for setup.
Step 3: Create or Sign In to Your Cricut Account
Open Design Space and log into your existing Cricut account or create a new one if necessary.
✎ WEDDING DIY TIP: If you’ve been using a dedicated email for wedding vendor communication, consider using that for your Cricut account. This can help keep your wedding-related digital purchases organized. After the wedding, you can update the email address as desired!
Step 4: Pair Your Cricut via Bluetooth
Ensure Bluetooth is enabled on your computer or mobile device. Your Cricut Joy 2 will show up as an available Bluetooth device when turned on. Select it when prompted. Should you encounter connection issues, they can typically be resolved with a few troubleshooting steps or manual pairing through your device's Settings.
Step 5: Complete New Machine Setup & Firmware Update
After connecting, Design Space will guide you through the New Machine Setup process, where your Cricut account and machine will connect. You might also be prompted to install a firmware update, which should be allowed to finish before disconnecting or powering down the machine.
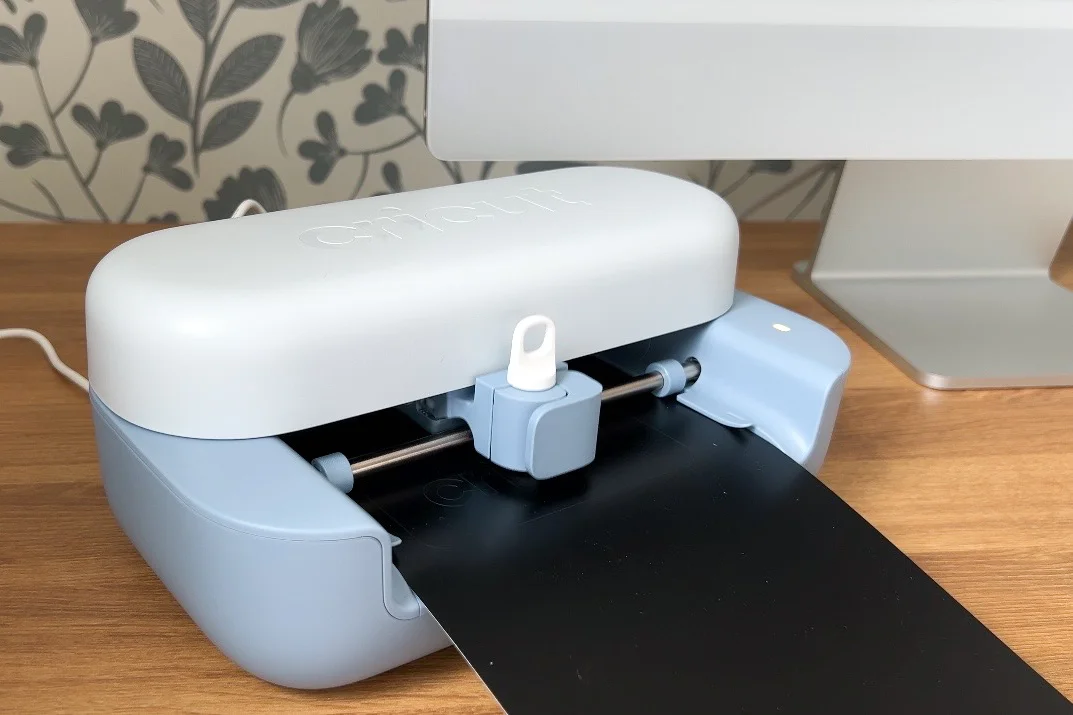
Step 6: Make Your First Test Cut!
This is an exciting moment! Your Cricut bundle comes with materials, including a special “Practice Sheet” of Smart Vinyl, allowing you to conduct your initial test cut without using your premium materials.
Don't skip this test. It takes just a few minutes and gives you the reassurance needed to move forward with your wedding projects. Even seasoned users repeat this step every time!
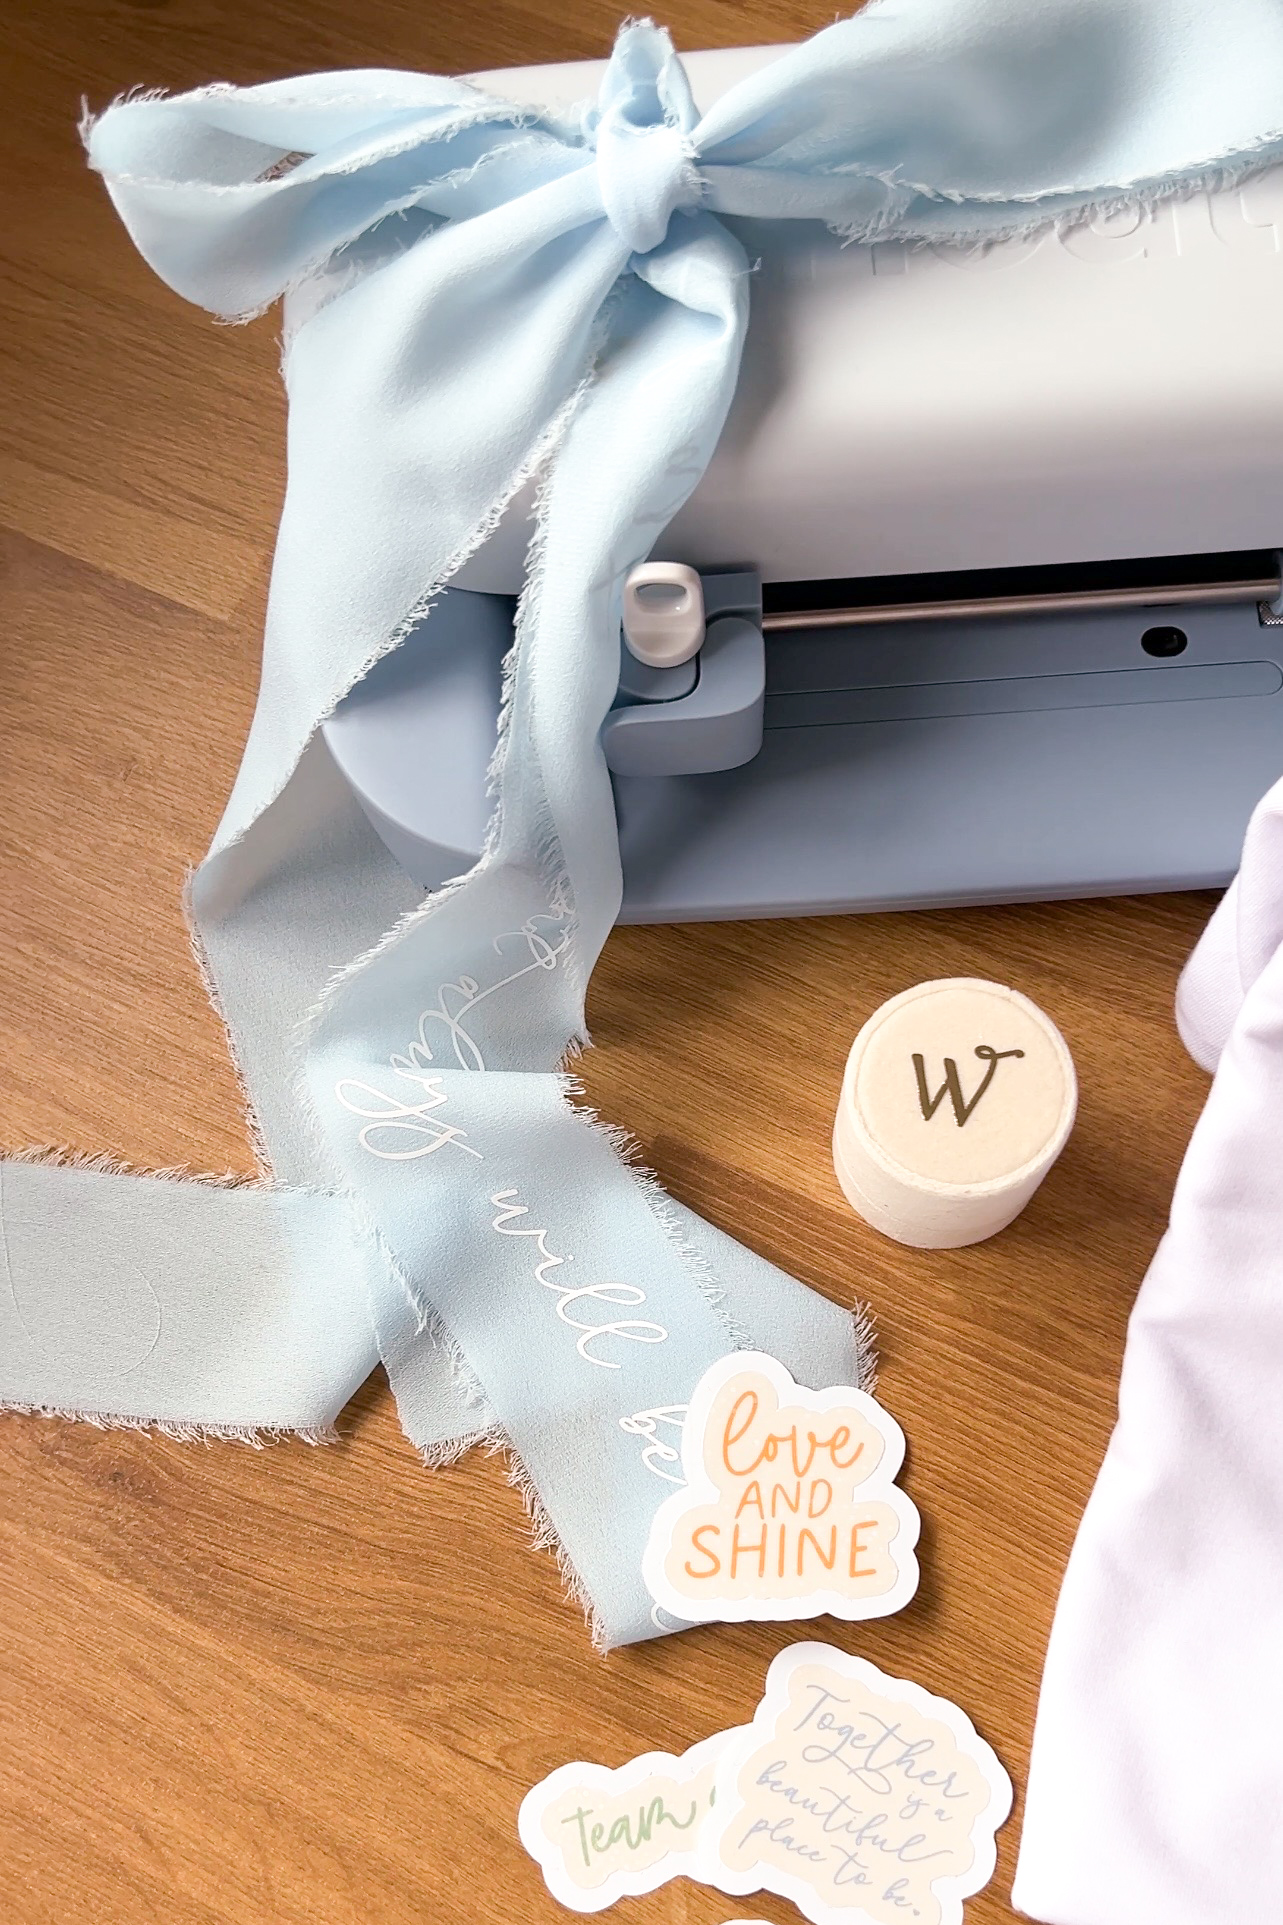
You’re Ready to Craft: Choosing Your First Wedding Project!
Once the test cut is successful, congratulations! You’re well on your way to utilizing your Cricut Joy 2 for wedding DIY. Now, let’s discuss selecting your first project. If you're new to Cricut, start simple and gradually increase complexity:
- Want to cut vinyl? Begin with a straightforward decal for a bridesmaid tumbler or table number.
- Want to cut cardstock? Test a folded place card or basic circle favor tag.
- Want to venture into printed projects? Design wedding planner stickers. Exploring "Print Then Cut" necessitates calibration, which is detailed next.
Before Your First Print Then Cut Project: Calibrate Your Cricut Joy 2
If your wedding DIY includes custom stickers, printable envelope seals, decorative menu cards, or unique wedding tattoos, calibrating your Cricut Joy 2 is vital before initiating any Print Then Cut project.
Why Does a New Cricut Need Calibration?
Calibration ensures that your home printer and the Cricut machine align perfectly for accurate cuts. An off-calibrated machine can lead to:
- Unevenly cut edges, resulting in white margins on stickers or tags.
- Misaligned margins on printed wedding stationery or favor labels.
- Cuts that slice through the design rather than around it.
- Material waste from using expensive specialty papers.
When Should You Calibrate Your Machine?
We recommend calibrating before your first Print Then Cut project and any time you switch printers during your wedding creation process. If your current project only involves cutting plain adhesive vinyl, HTV, or unprinted cardstock right now, you can skip calibration for the moment, if pressed for time. Calibration is crucial only for printed projects.
How to Calibrate the Cricut Joy 2 for Print Then Cut
The calibration process is straightforward and takes less than five minutes in the Cricut Design Space. Follow these on-screen instructions:
- Open Cricut Design Space and go to your account settings to find Machine Calibration (also under "Print Then Cut Settings" in the mobile app).
- Select Print Then Cut.
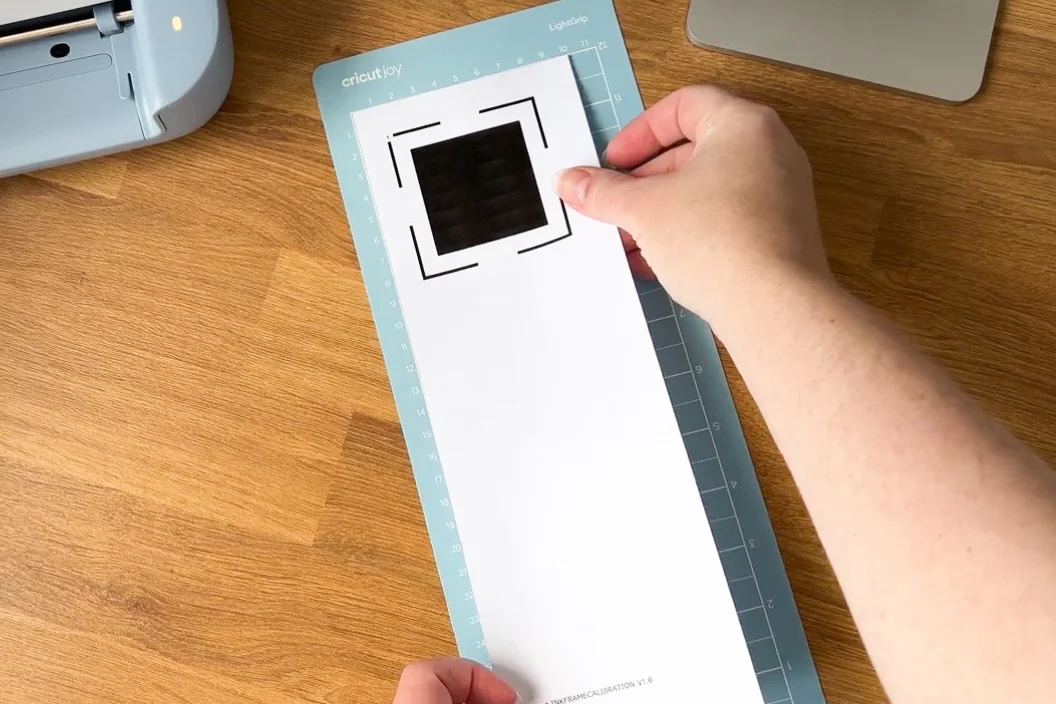
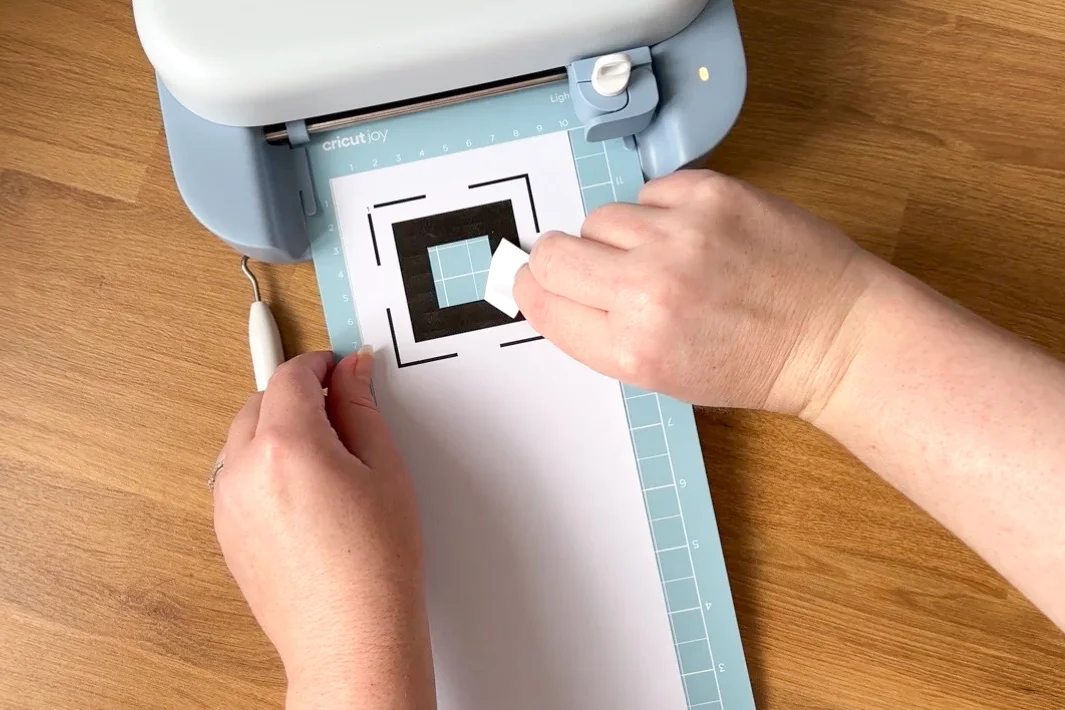
- Print the Calibration Sheet from the home printer you’ll be using for wedding projects. For Joy 2, cut the printed sheet in half to fit it onto the blue LightGrip cutting mat.
- Position the printed sheet onto your blue LightGrip Mat, aligning it to the top-left corner, and feed it into your Cricut Joy 2.
- The Joy 2 will utilize its optical sensor to scan the registration marks and will perform its initial test cut.
- Follow the on-screen instructions to remove the inner black square on your sheet (without unloading your mat). The calibration will complete, and you can then unload your mat.
FAQs about Getting Started with Cricut Joy 2 Wedding DIY
What is the difference between Cricut Smart Materials and regular materials?
The primary difference lies in the usage of mats:
- Smart Materials: These materials have a thicker carrier sheet and do not require a mat. You can load them directly into your Cricut Joy 2 (including Smart Vinyl and Smart Iron-On).
- Regular Materials: Conventional sheets must adhere to a cutting mat before feeding into the machine.
For wedding projects, neither option is better; Smart Materials are great for rapid cuts and continuous designs (up to 4 feet long), while regular materials provide a broader variety of color and texture selections.
Do you need a Cricut Access subscription for wedding DIYs?
No, most wedding DIYers can skip the subscription. Many couples prefer to find their own fonts or purchase SVG templates that they can upload to Design Space without fees. However, if time is limited and you seek quick, ready-to-cut designs, Cricut Access offers thousands of options, including various wedding designs.
Looking for specific templates? Check out our SVG shop for a collection of professionally designed wedding SVG bundles that can be reused in Design Space.
What wedding projects can I make with a Cricut Joy 2?
The Cricut Joy 2 is capable of handling most core wedding DIY needs despite its compact size. While the maximum cutting width is limited, it excels in length. Popular projects include:
- Welcome signs
- Bar menus
- Table numbers
- Custom invitation bands
- Personalized tote bags and robes for bridesmaids
- Wedding hanger decals
- Address labels
Can I make large wedding signs with a Cricut Joy 2?
Absolutely! While the Joy 2's maximum cutting width is 4.2 inches (10.6 cm), you can effectively create large signs using two techniques: cutting long continuous text lines with Smart Vinyl or dividing the layout into sections for multiple cuts. Once cut, pieces can be assembled on your substrate with transfer tape or a heat press for fabric.
Ready, Set, Craft: Your Wedding DIY Journey Begins!
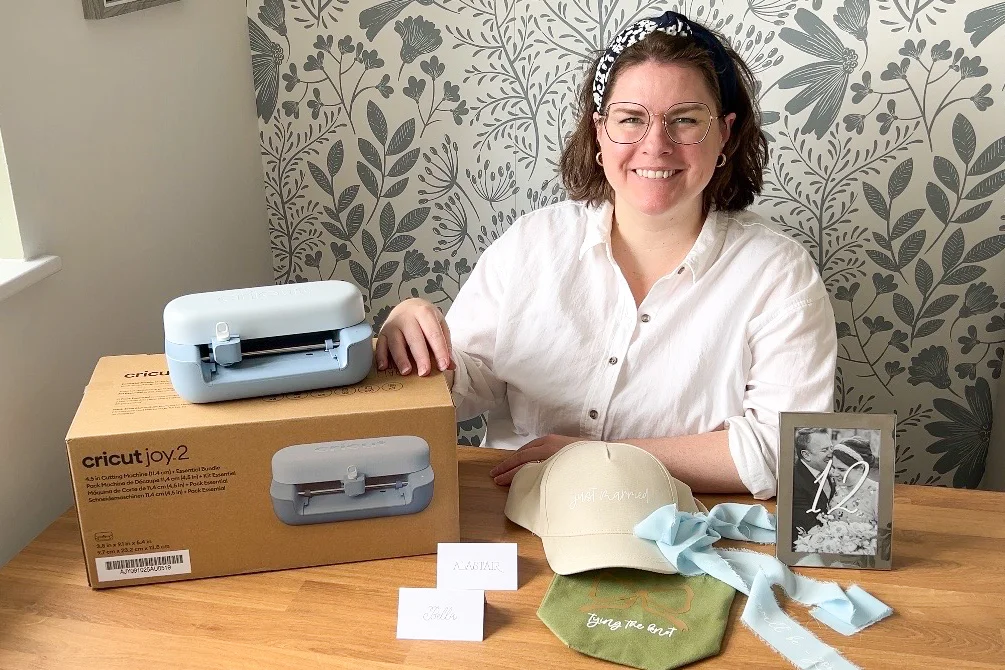
Unboxing and setting up a new machine can feel overwhelming amid calls and deadlines as your big day approaches. But now that your Cricut Joy 2 is unpacked, connected via Bluetooth, and calibrated, you can enjoy one of the most fulfilling aspects of wedding planning. Tackle your projects step-by-step, starting with a simple decal or place card, and bask in the joy of personalizing your celebration.
Huge thanks to our partner, Craft Market, your go-to destination for all crafting needs! Whether you're looking to purchase a Cricut Joy 2, replenish your vinyl stocks, or find blank signage for your wedding projects, they offer everything to help bring your vision to reality.
Want to dive deeper with your Joy? Explore our Wedding DIY Hub for more Cricut wedding education and inspiration.

WRITTEN BY
Chelsea Barton
Founder & Wedding DIY Expert
A former wedding photographer, the founder of Tidewater and Tulle, and author of Cricut Weddings, Chelsea Barton has been helping couples bring their dream weddings to life through creative and approachable ideas since 2009. Her insights have appeared in Martha Stewart Weddings, Southern Living, and other esteemed publications worldwide.
TUTORIAL CREDITS
Video: Chelsea Barton | Photography: Screenshots from our video
Special thanks to Craft Market UK for collaborating with Tidewater and Tulle on this piece! We share only recommendations we truly support, and any product links are affiliate-linked, helping support our content creation. For details, see our full affiliate disclosure policy.