In lane Flowers & Decor
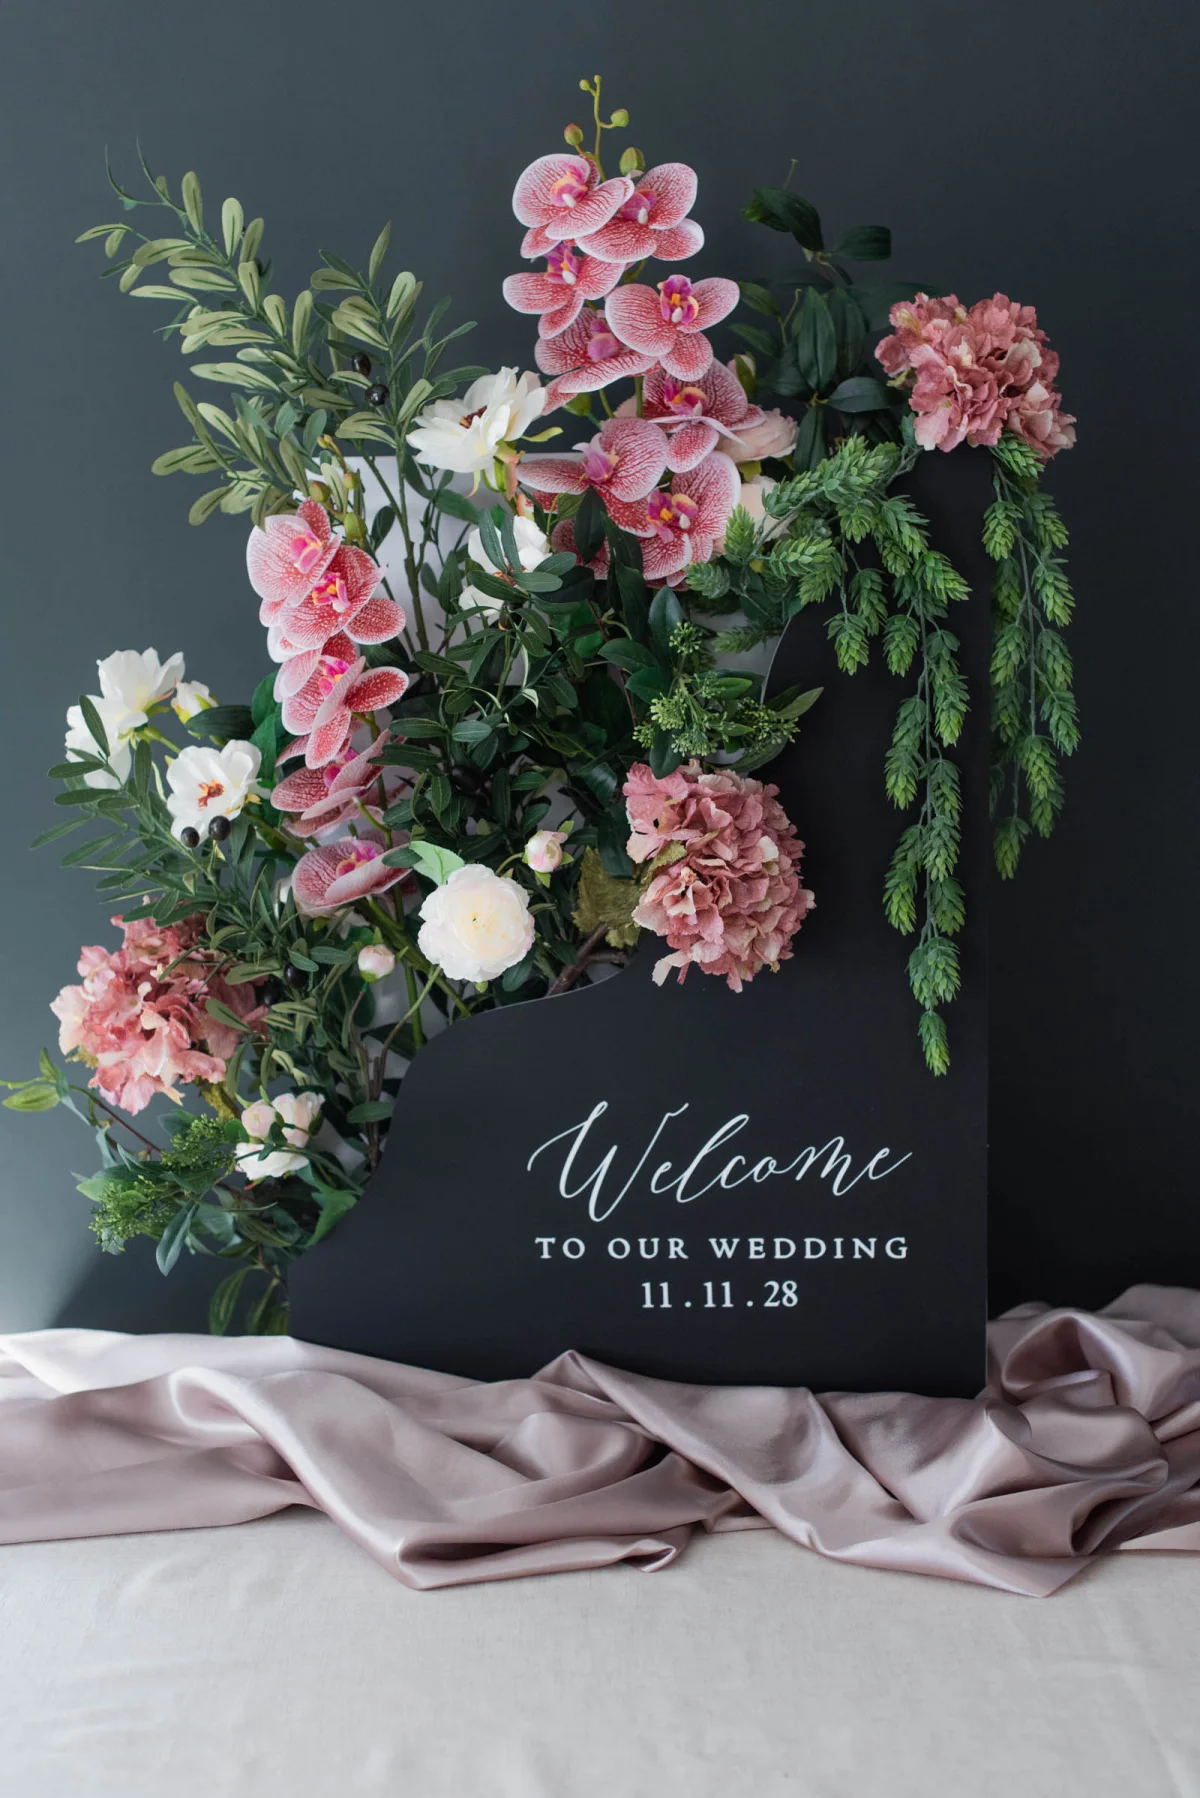
Create a Stunning DIY Wedding Welcome Sign with Your Cricut Joy
Description
Learn to craft a beautiful DIY wedding welcome sign using the Cricut Joy, combining creativity with practical step-by-step instructions.

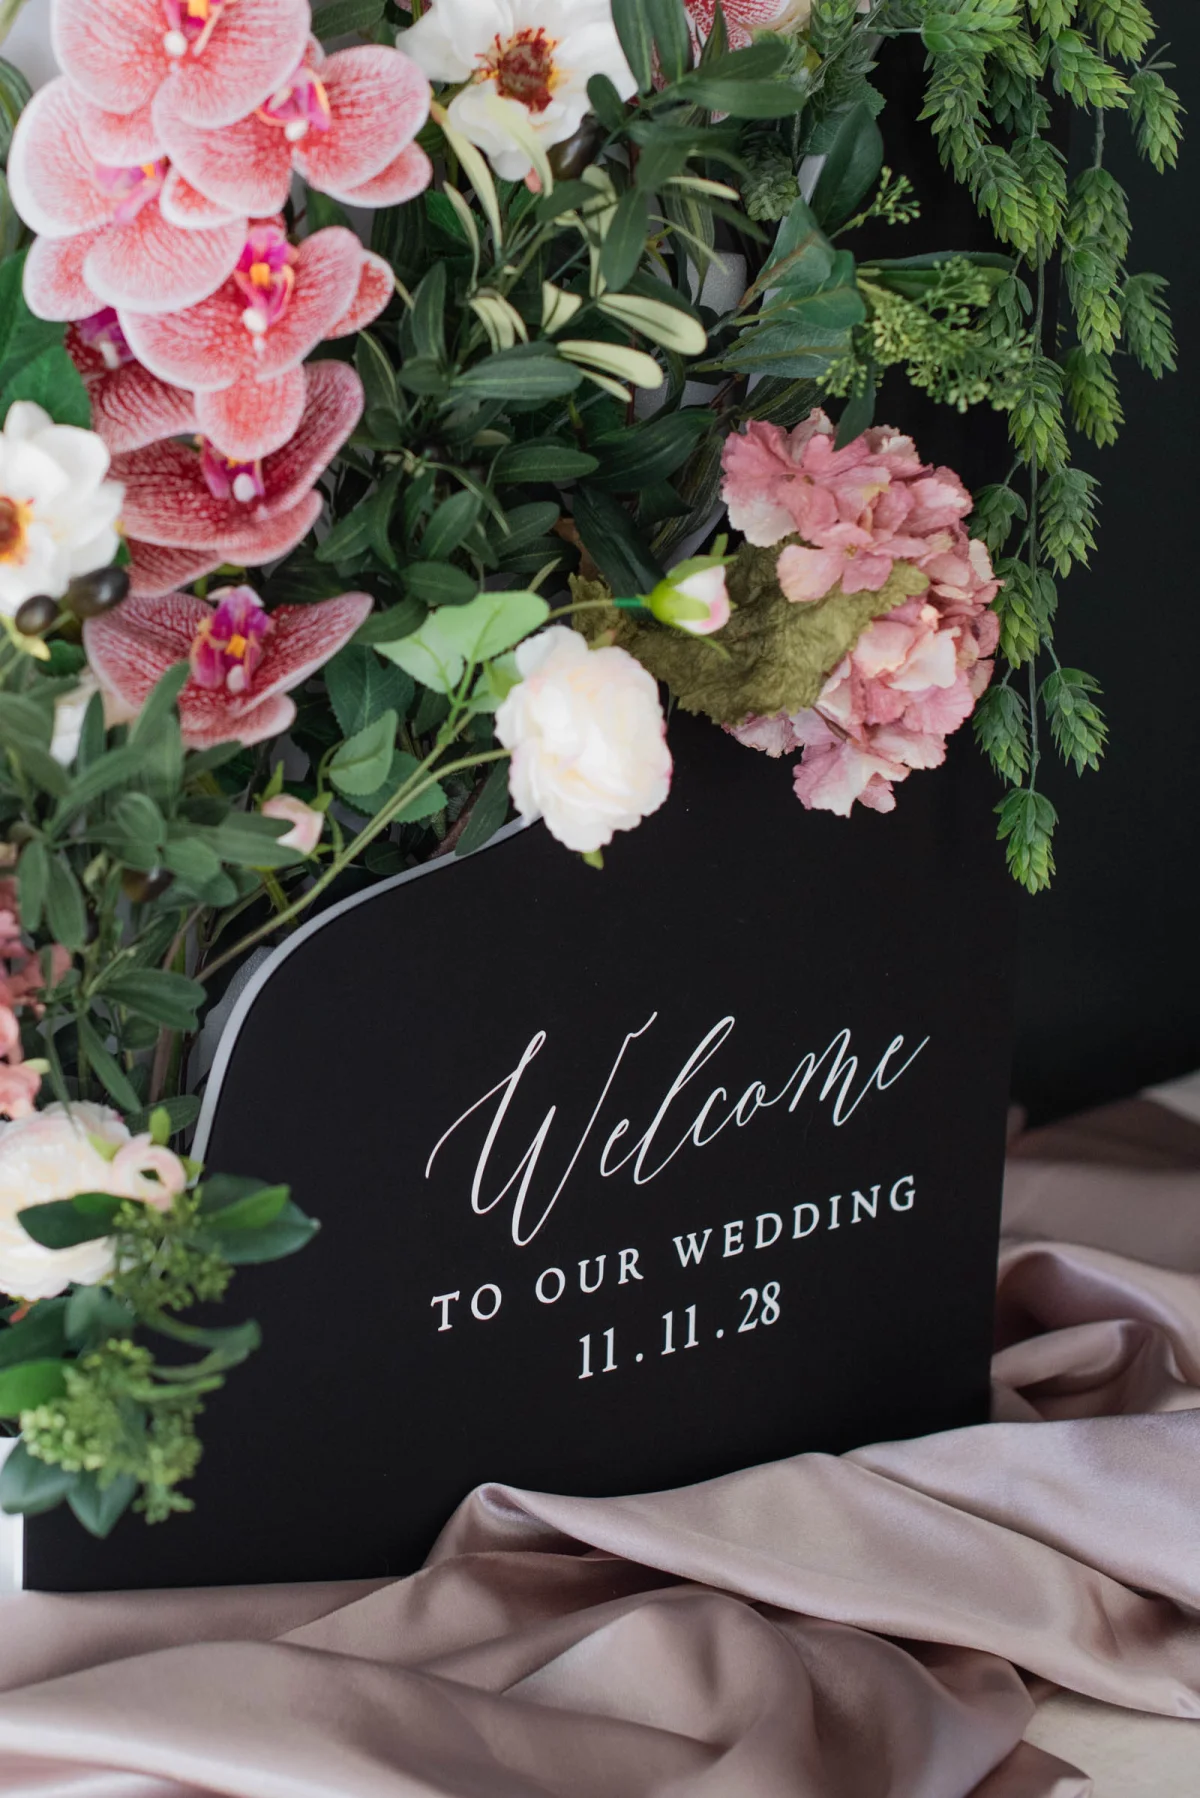
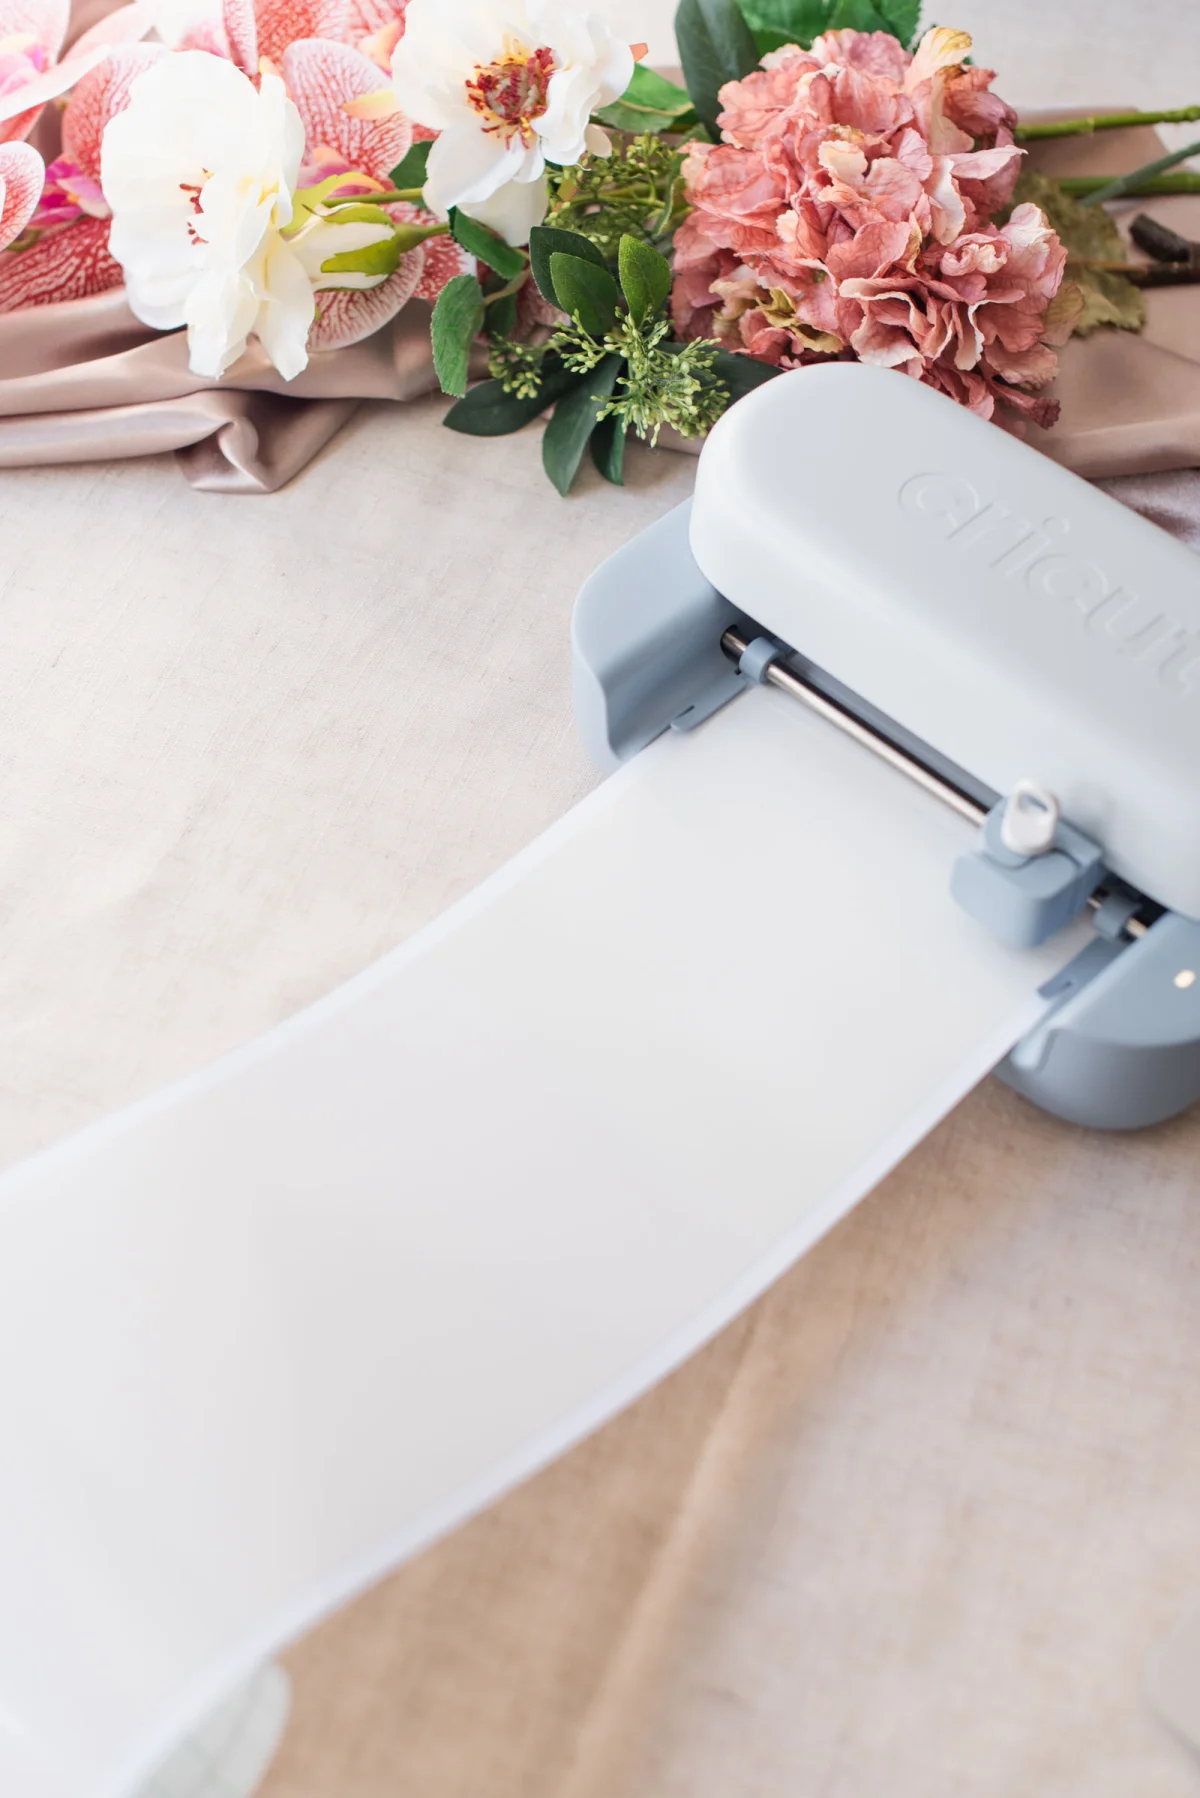
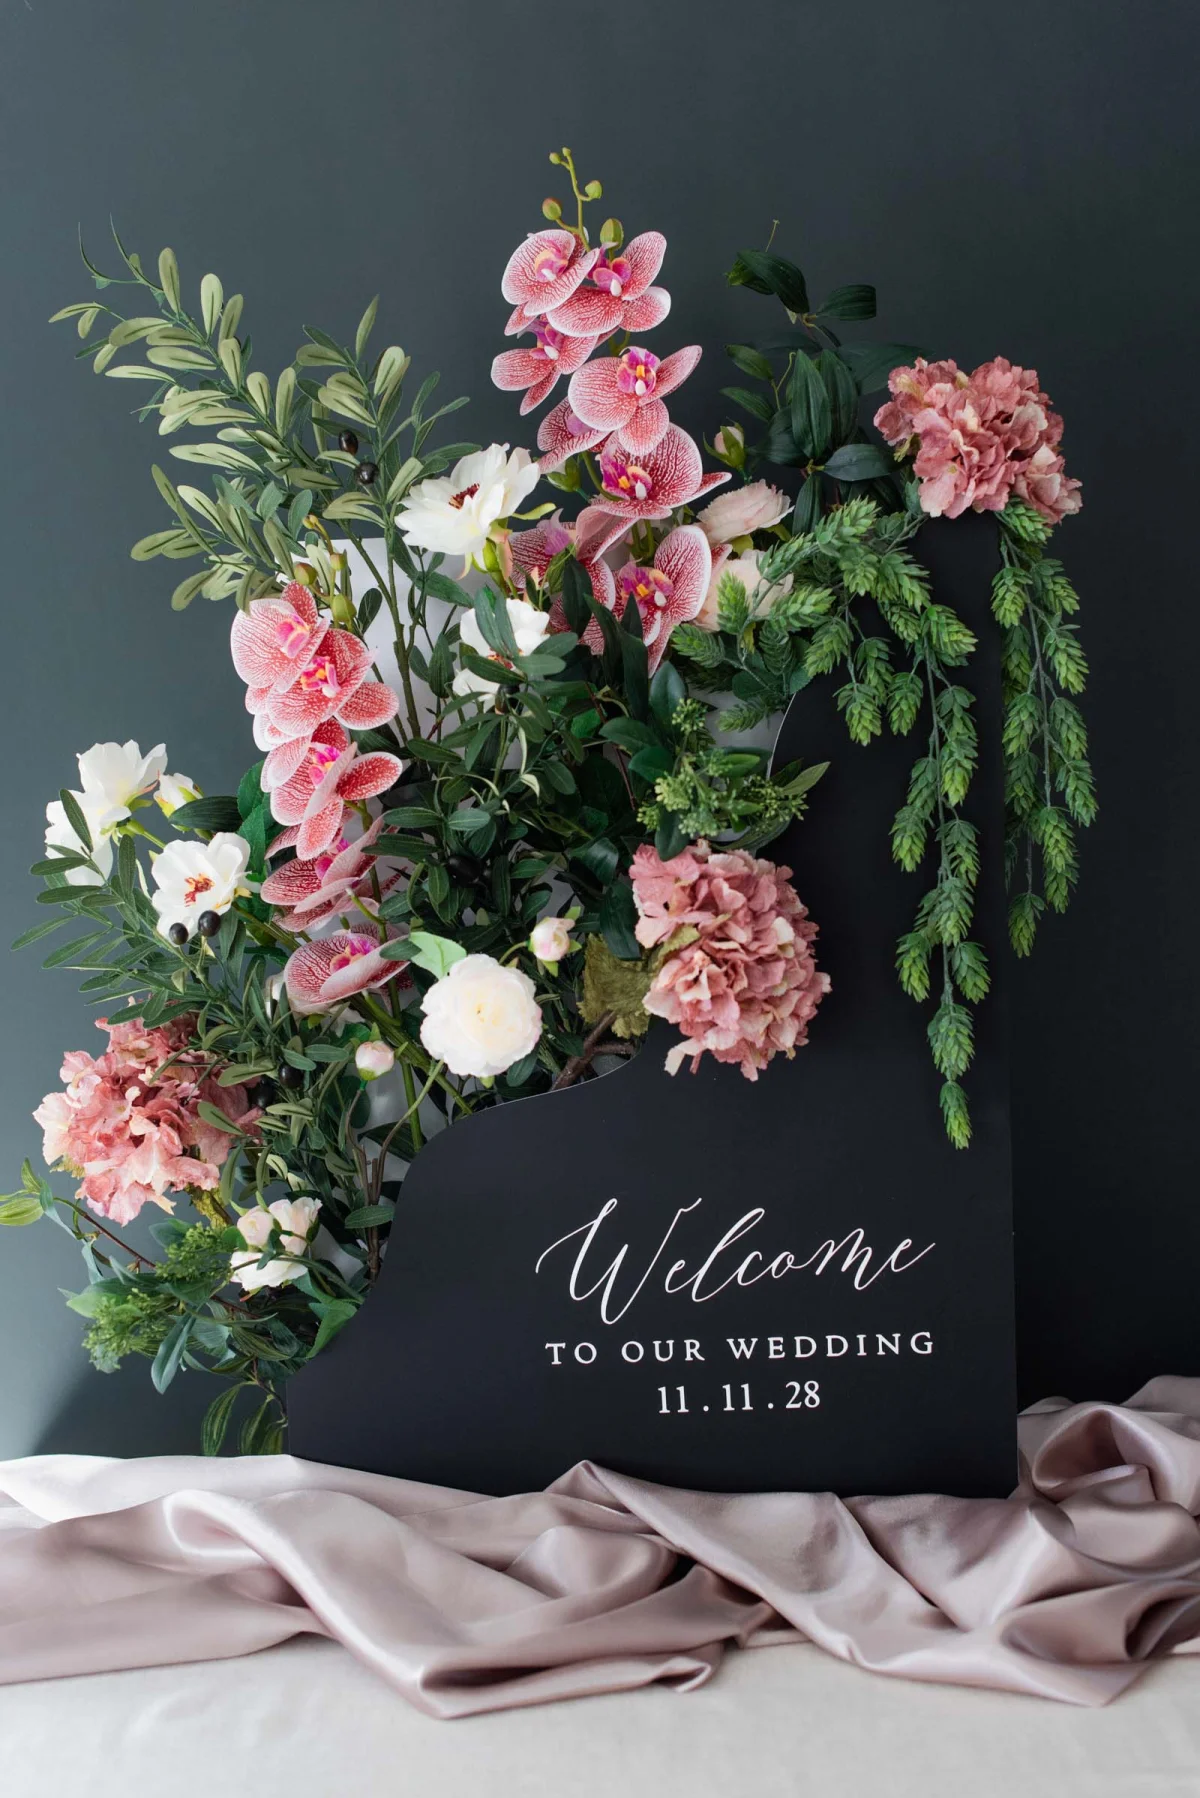
Creating large wedding signs might sound challenging, but with the right tools, it can be an enjoyable DIY project. Compact cutting machines, like the Cricut Joy, enable you to produce stunning welcome signs, seating charts, and pre-wedding event displays without taking up much space. In this guide, we'll focus on using the Cricut Joy 2 to design and create a large wedding welcome sign featuring custom vinyl lettering and beautiful faux flowers.
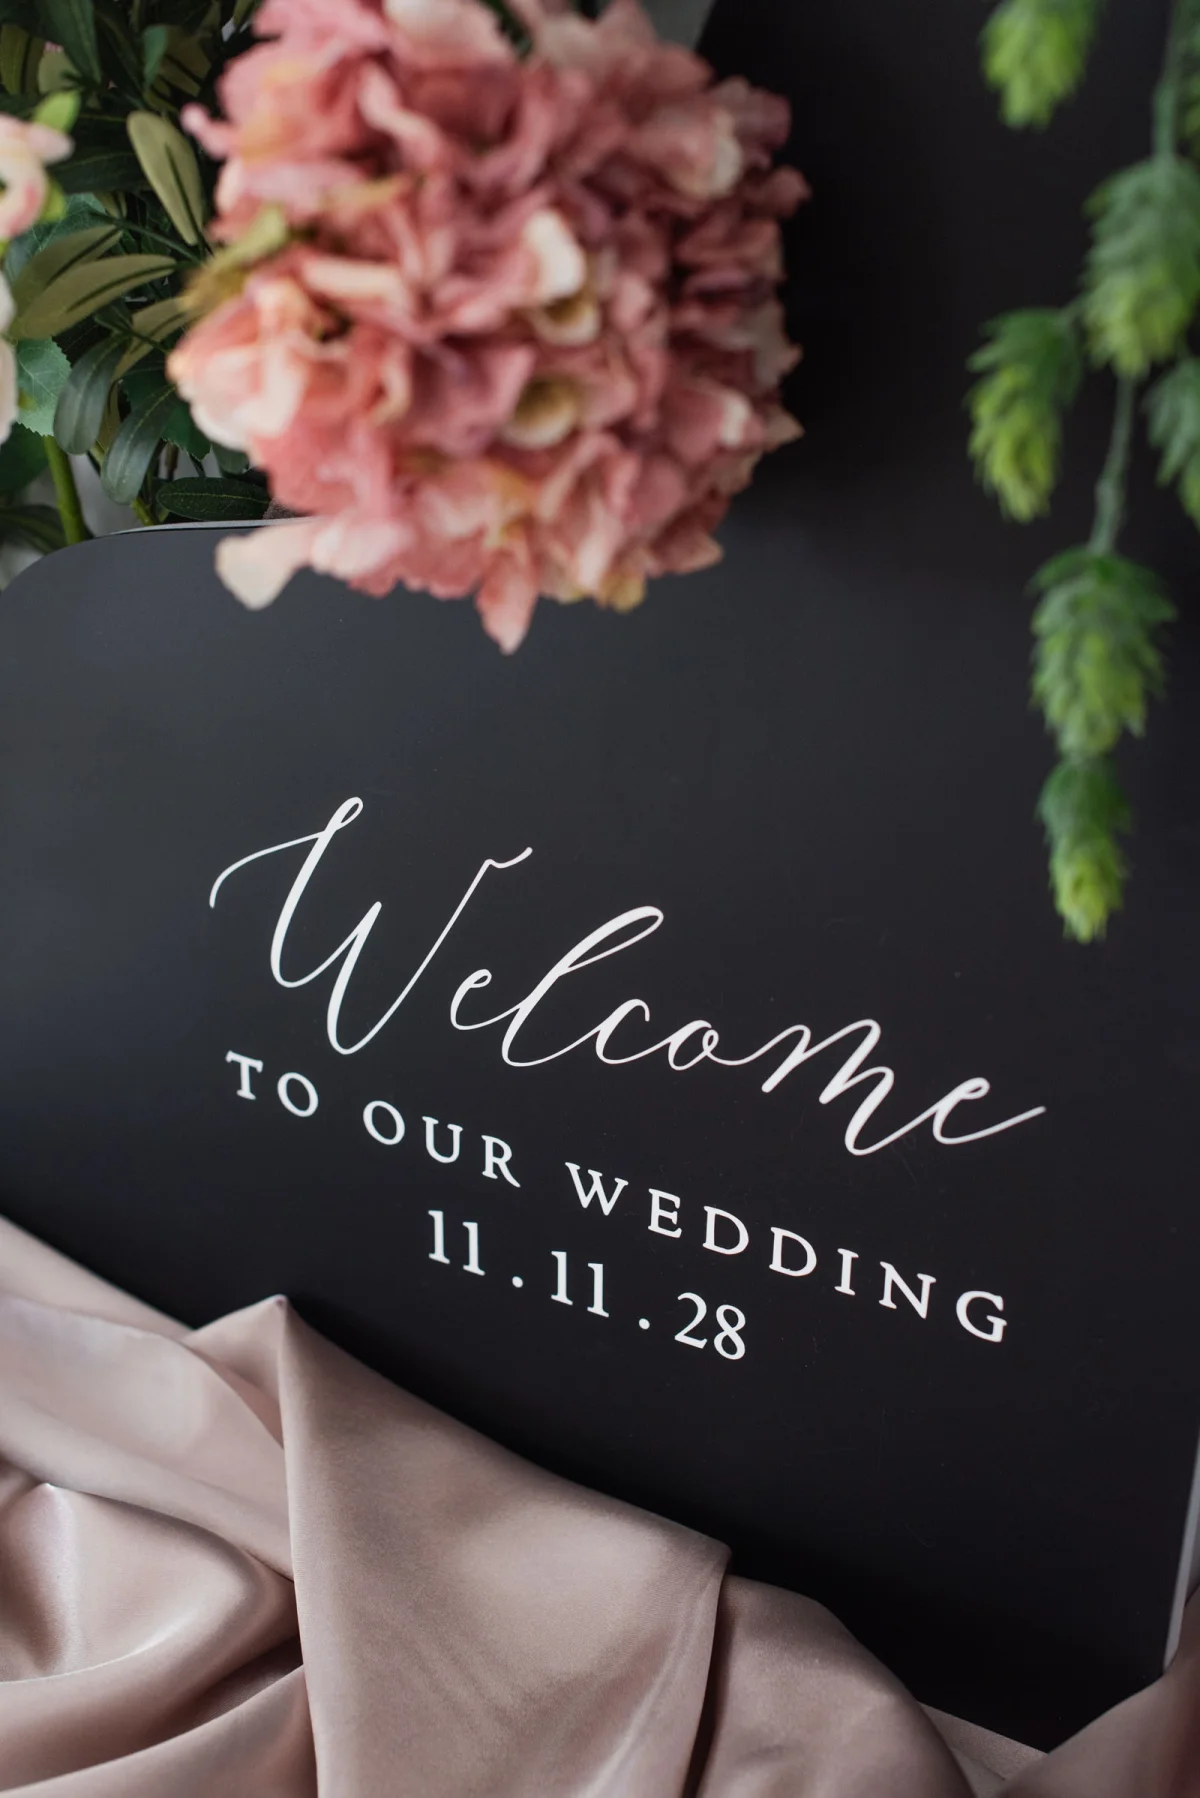
Working with Smart Vinyl is the game changer here; this material allows for long, continuous cuts, which is essential for assembling oversized signage. Whether you own the original Cricut Joy, the Joy 2, or the Joy Xtra, this process will work for all variants. Let’s dive into the materials needed and the detailed steps to make your own personalized wedding welcome sign!
Key Considerations Before You Start
Before you jump into crafting, it’s important to keep these essential details about the Cricut Joy in mind:
- Understand Your Cut Limits: Both the Cricut Joy and Joy 2 have a maximum cutting width of 4.5 inches (11.4 cm). However, with Smart Materials, you can achieve cuts up to 4 feet (121.9 cm) in length in a single pass.
- Smart Vinyl is Your Best Option: Using Smart Vinyl (or Iron-On for fabric) allows you to create large signs without needing a larger machine. Standard vinyl sheets are limited to the length of your cutting mat, which measures 12 inches (30.5 cm).
- Work Line-by-Line: It’s easier to manage your design by cutting individual lines or blocks of text and assembling them on your sign instead of attempting to cut a complex graphic all at once.
For further inspiration, check out our comprehensive guide on Cricut wedding signs.
Materials Required for Your Wedding Sign
Here’s a comprehensive list of materials you need to gather before starting to create your sign:
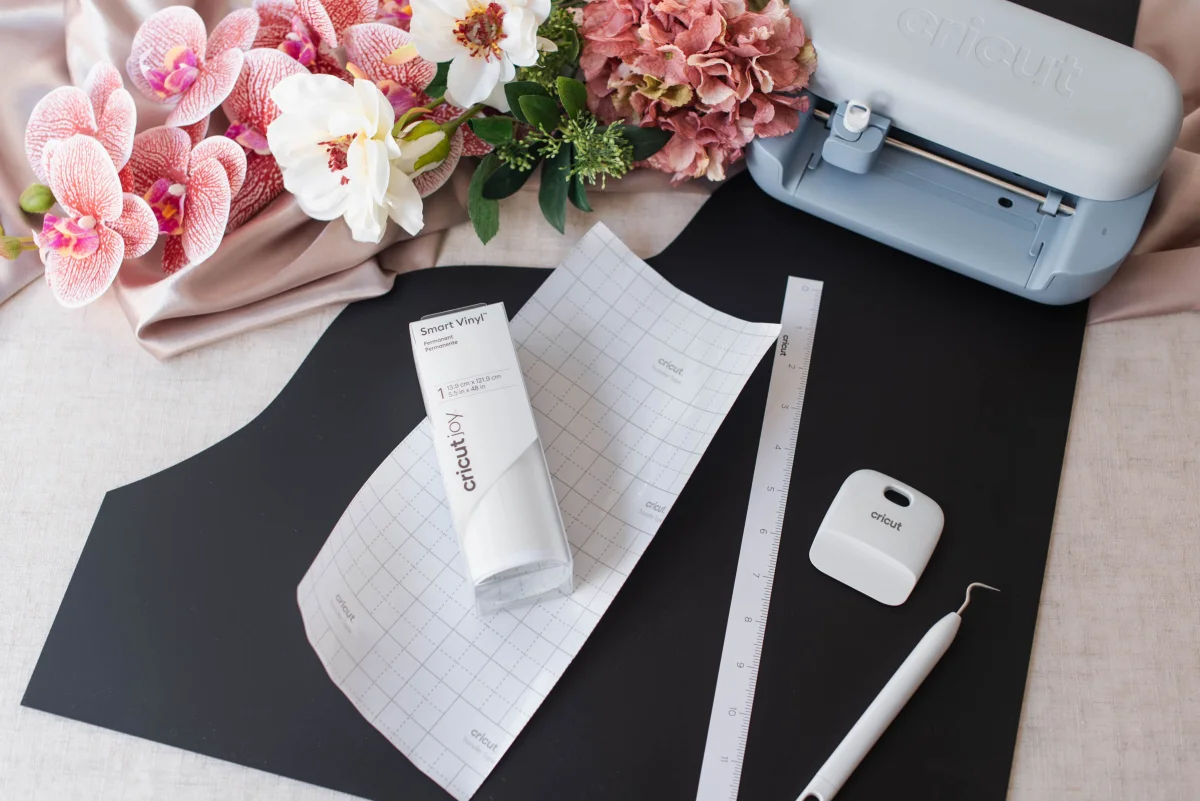
- Cricut Joy 2
- Fine-point blade
- Smart Vinyl in White
- Weeding tool
- Scraper tool
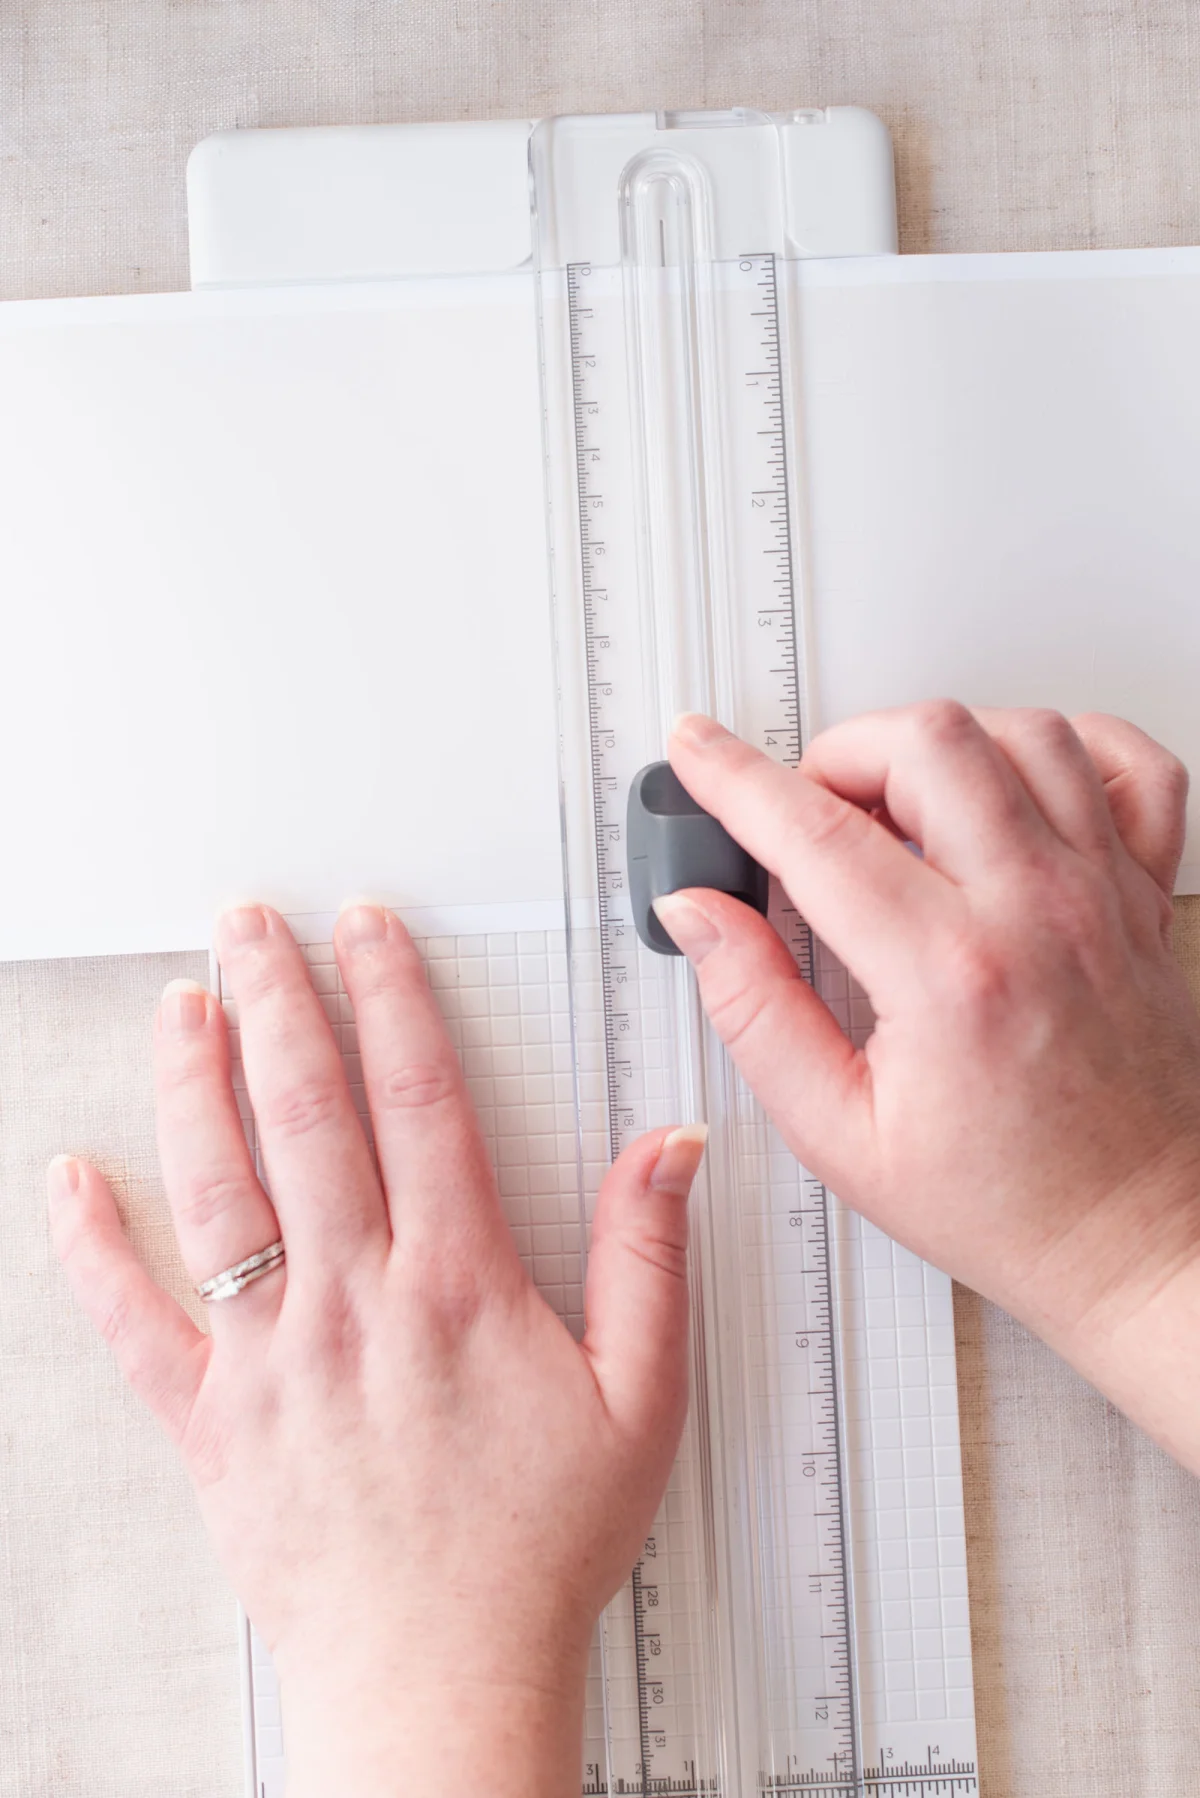
- Portable trimmer or scissors
- Transfer tape
- Greaseproof paper
- Wavy front flower box
- Foam noodles (to arrange flowers in the box)
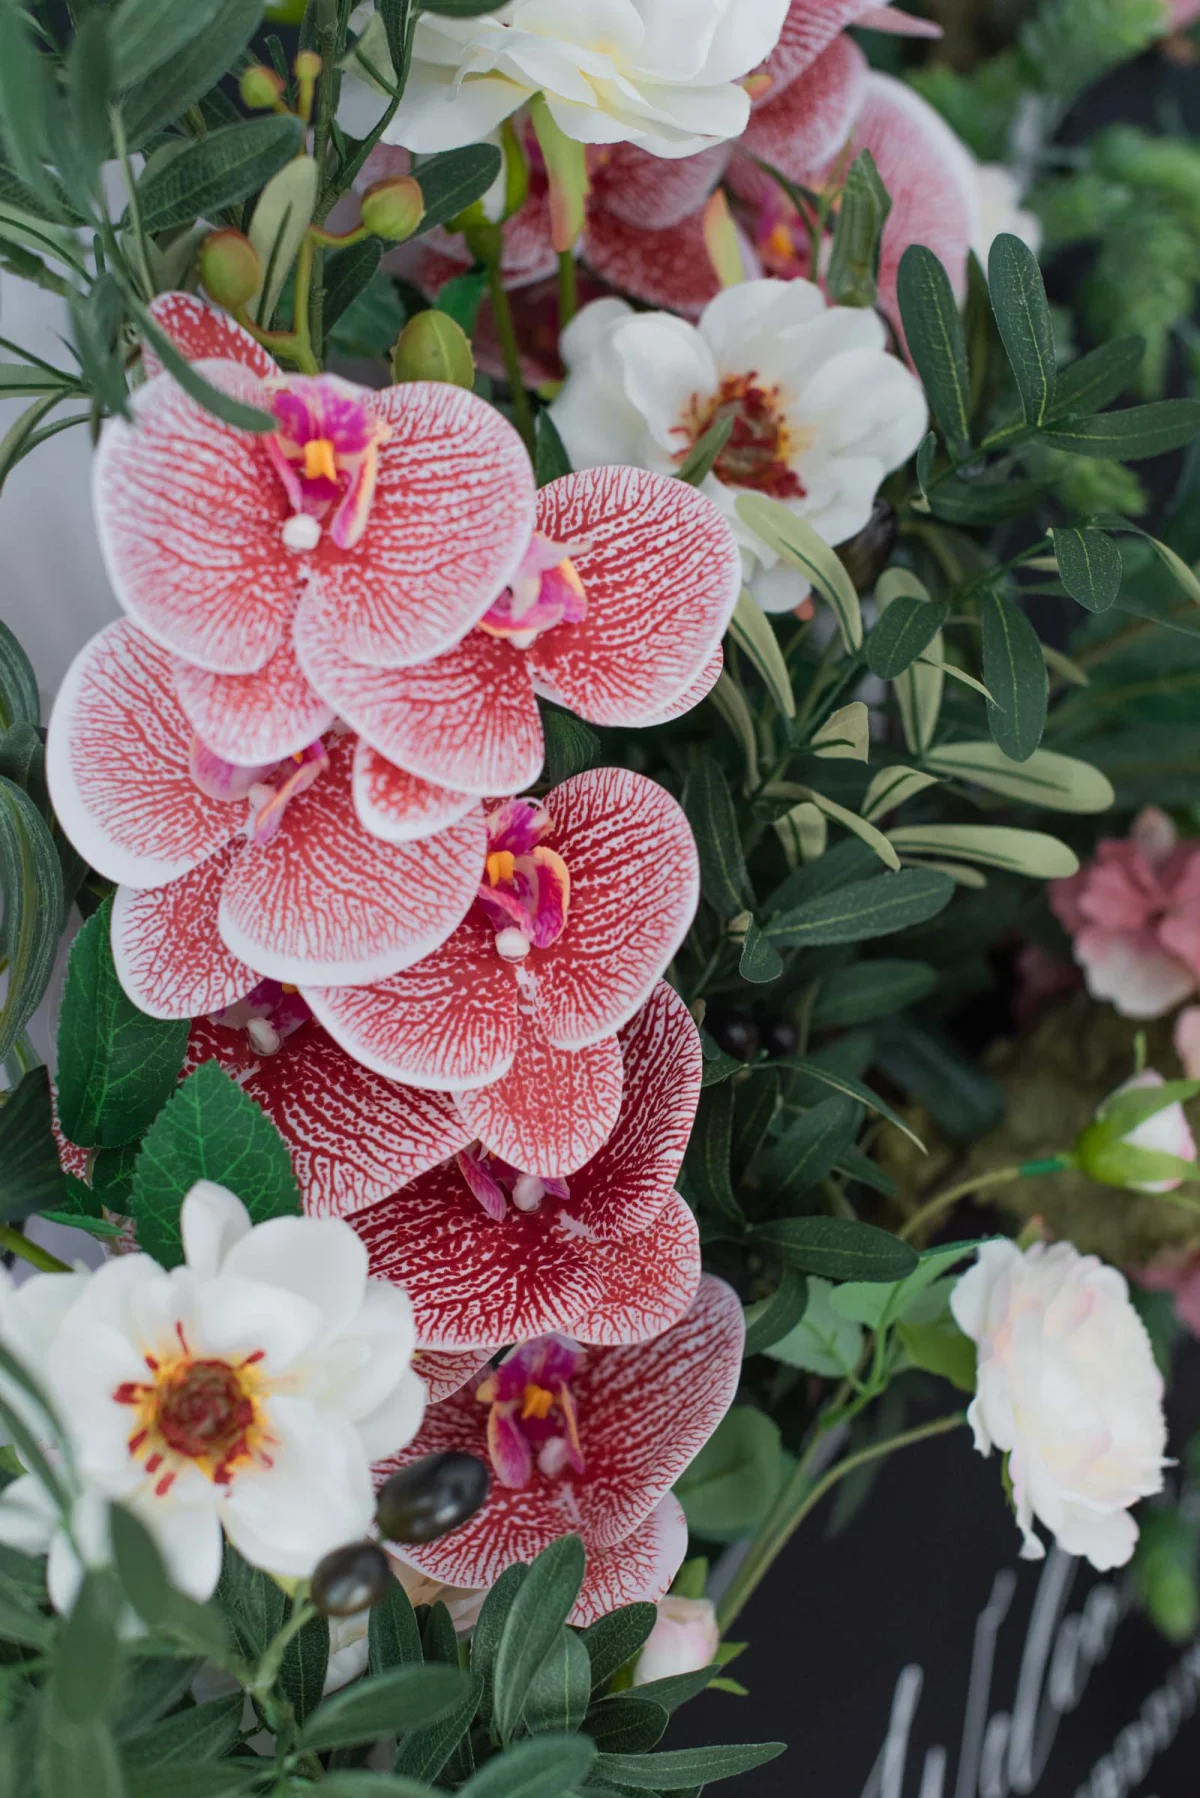
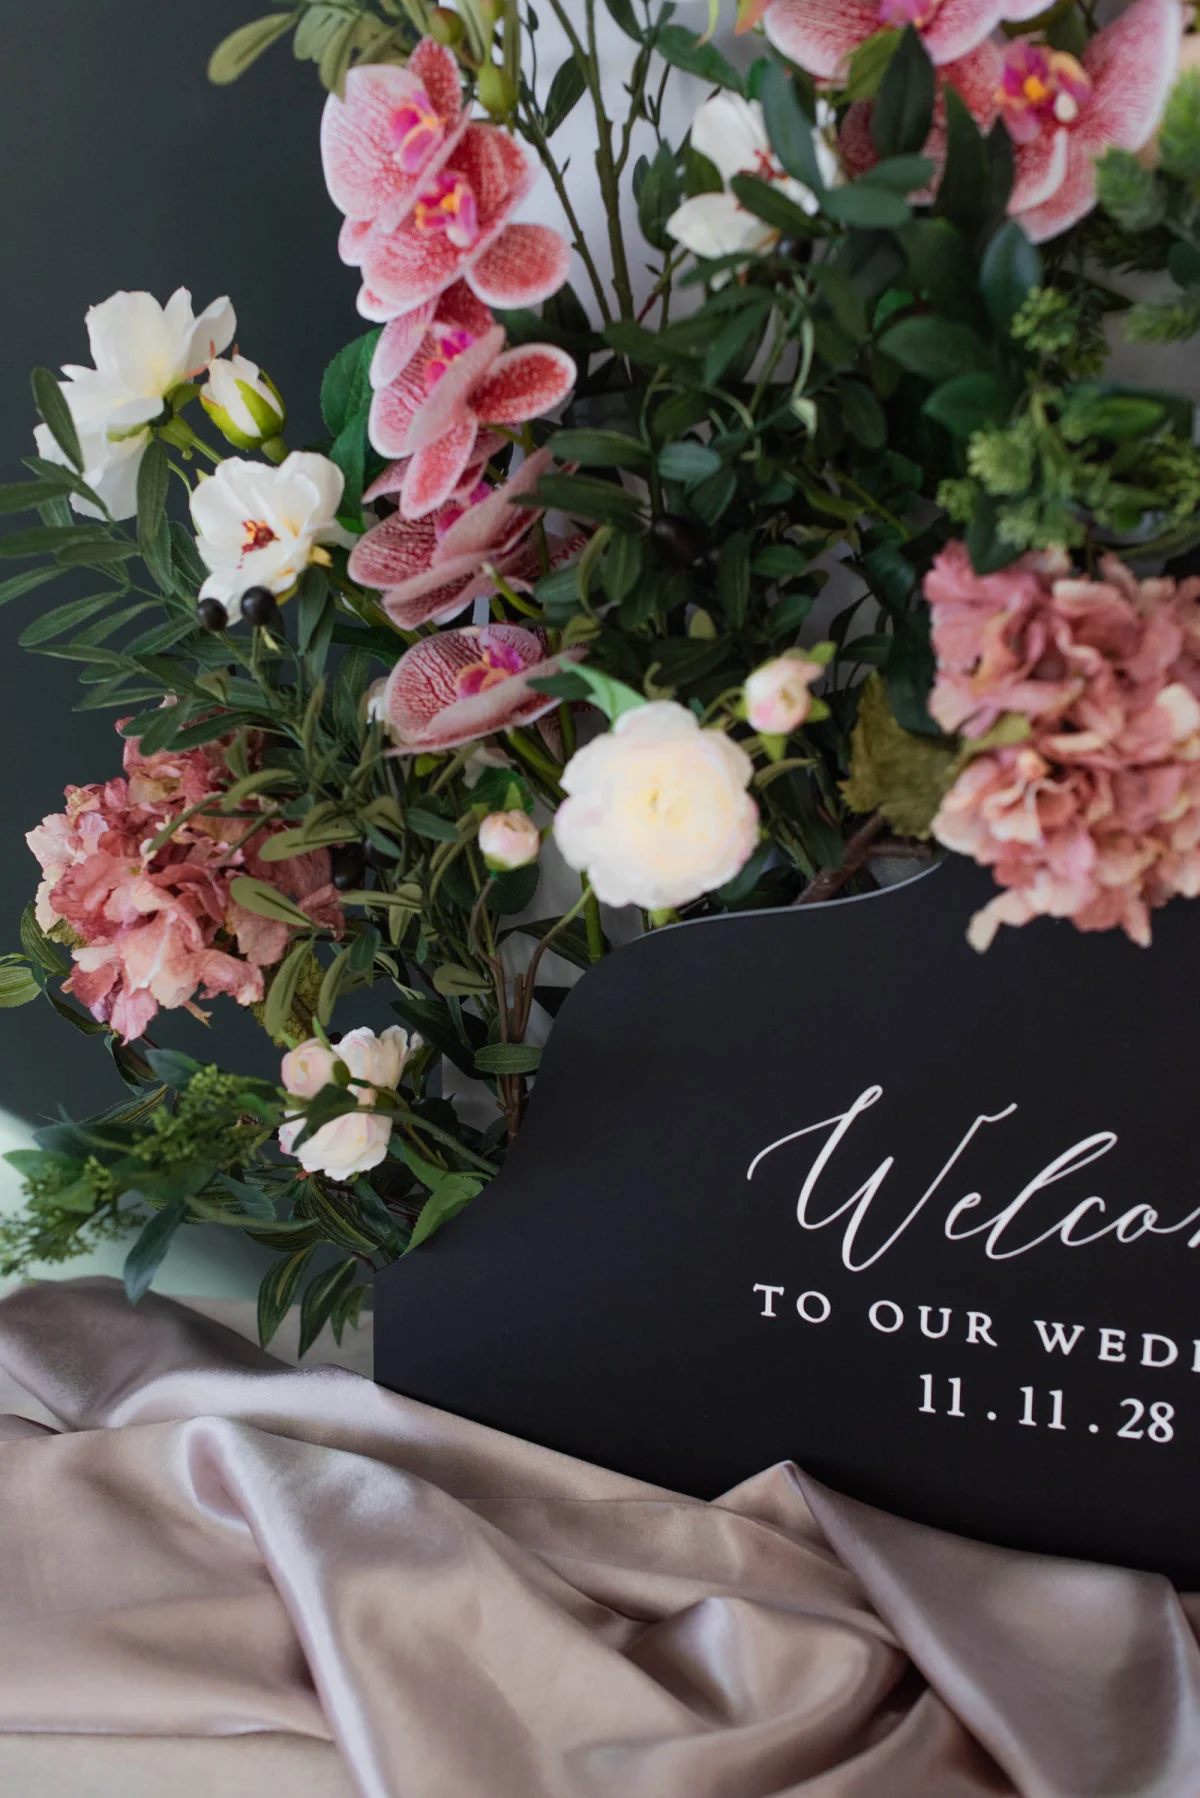
- Faux flowers such as olive branch sprays, ruffled hydrangeas, raspberry ripple orchids, waterlily dahlias, and green hops.
- Access to our Welcome to Our Wedding design project on Cricut Design Space.
Note: For this project, we used images sourced from Design Space, which may require a Cricut Access subscription or an individual purchase. Alternatively, you can design your own text or choose from your personal fonts.
Compatible Cricut Machines
Step-by-Step Guide: Designing Your Wedding Sign Decal
- Prepare Your Project: Gather all supplies and open Cricut Design Space on your device. If you're using our pre-designed project, click 'Customize' to modify the text and size as needed.
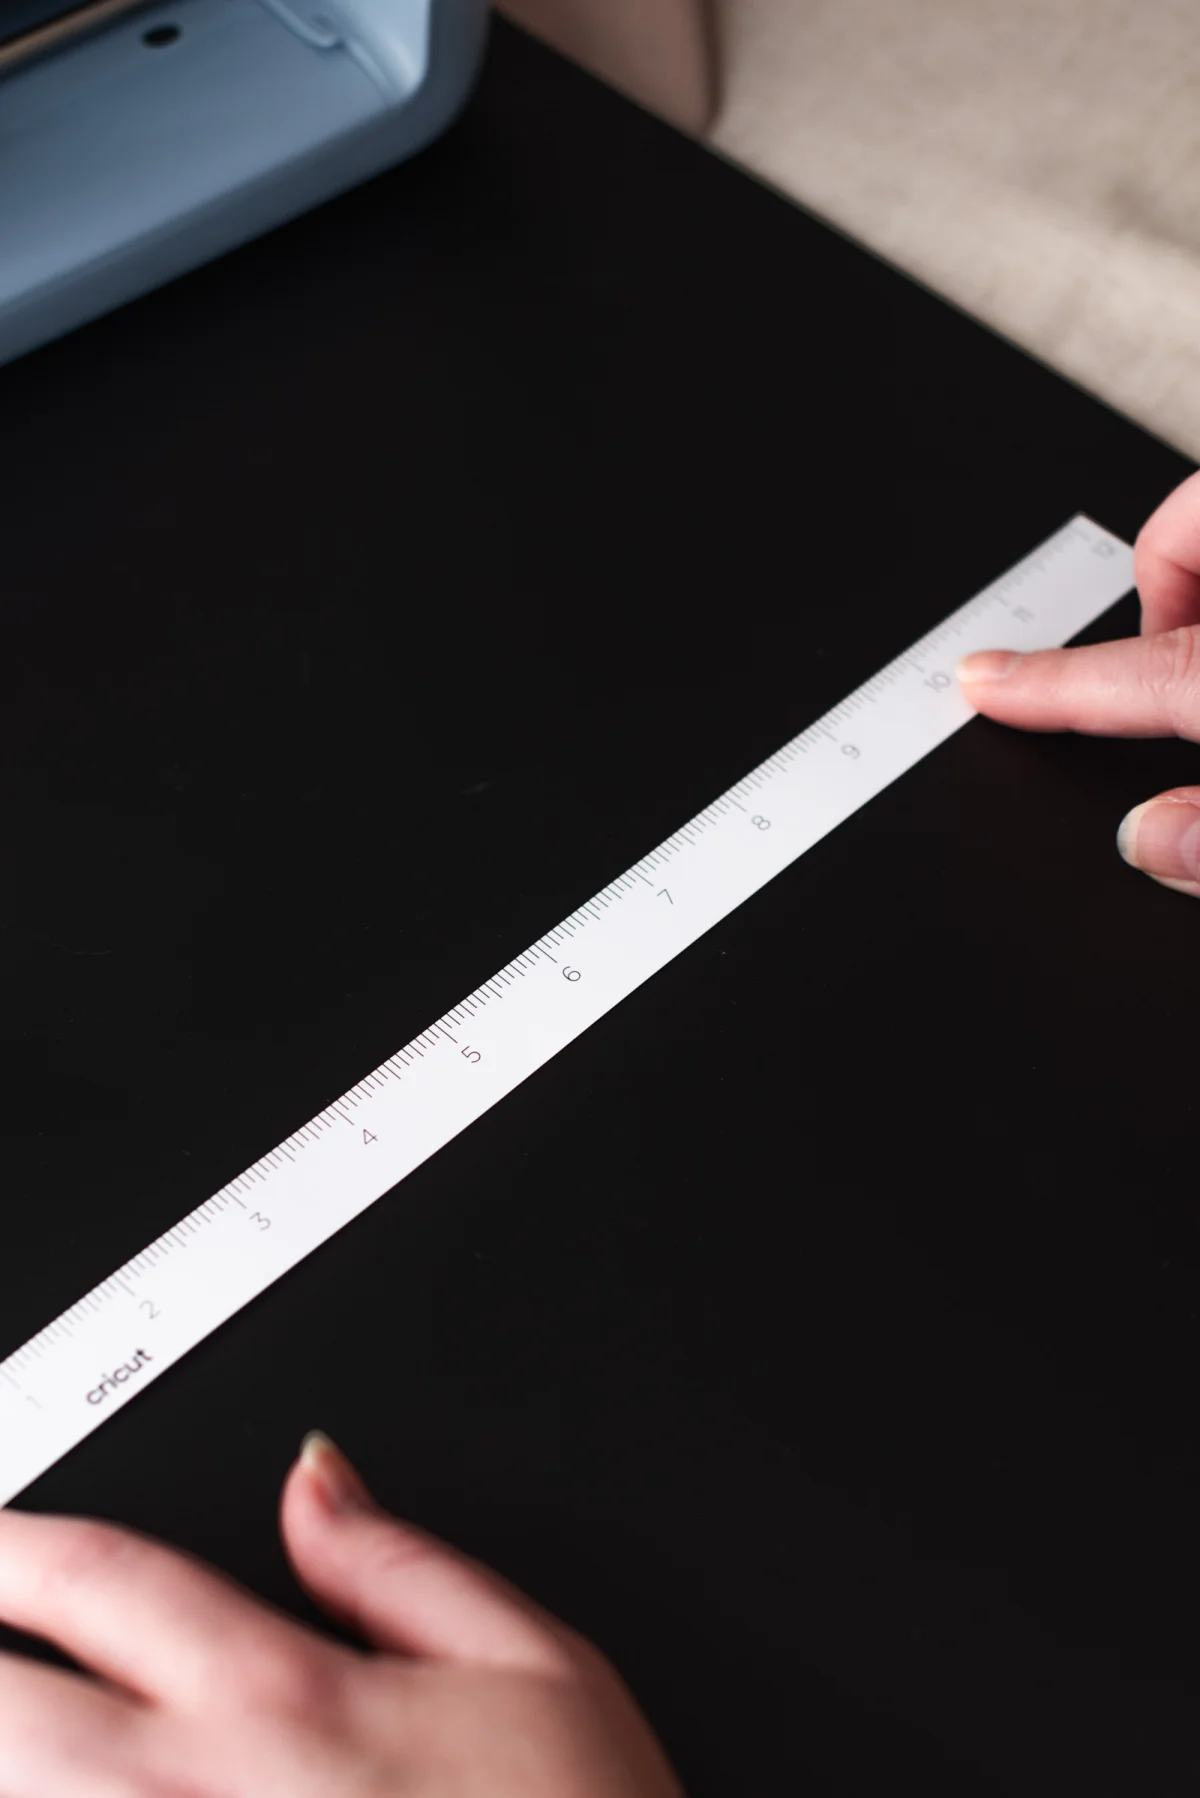
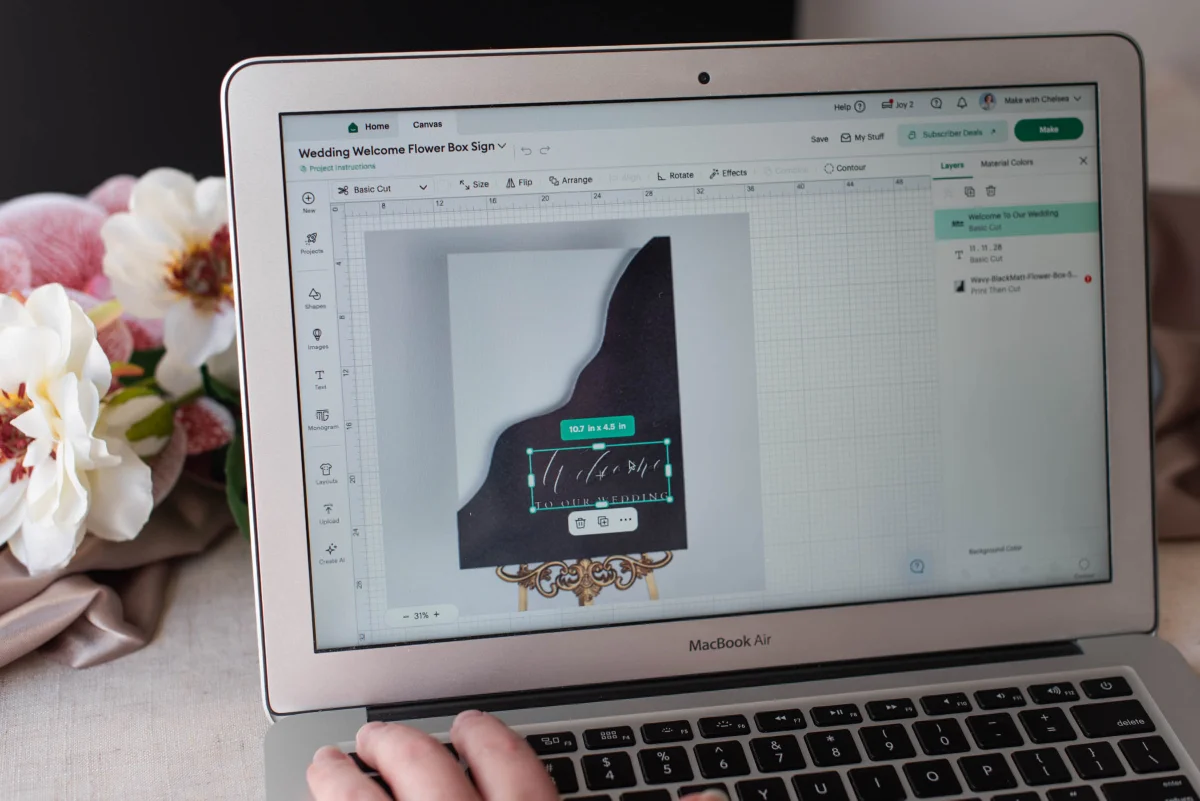
- Measure Your Sign: Use a ruler to determine where you want your design on the sign. You can upload an image of your flower box to Design Space to help visualize placement, ensuring you hide this layer before cutting.
- Edit and Resize Your Design: Modify your design in Design Space to fit your measurements. Add any personal text like names or wedding dates. Avoid attaching layers as you’ll be cutting in segments.
- Click 'Make': Make sure to select 'No Mat' for Smart Vinyl. Follow the software prompts to determine the amount of vinyl needed and cut your design.
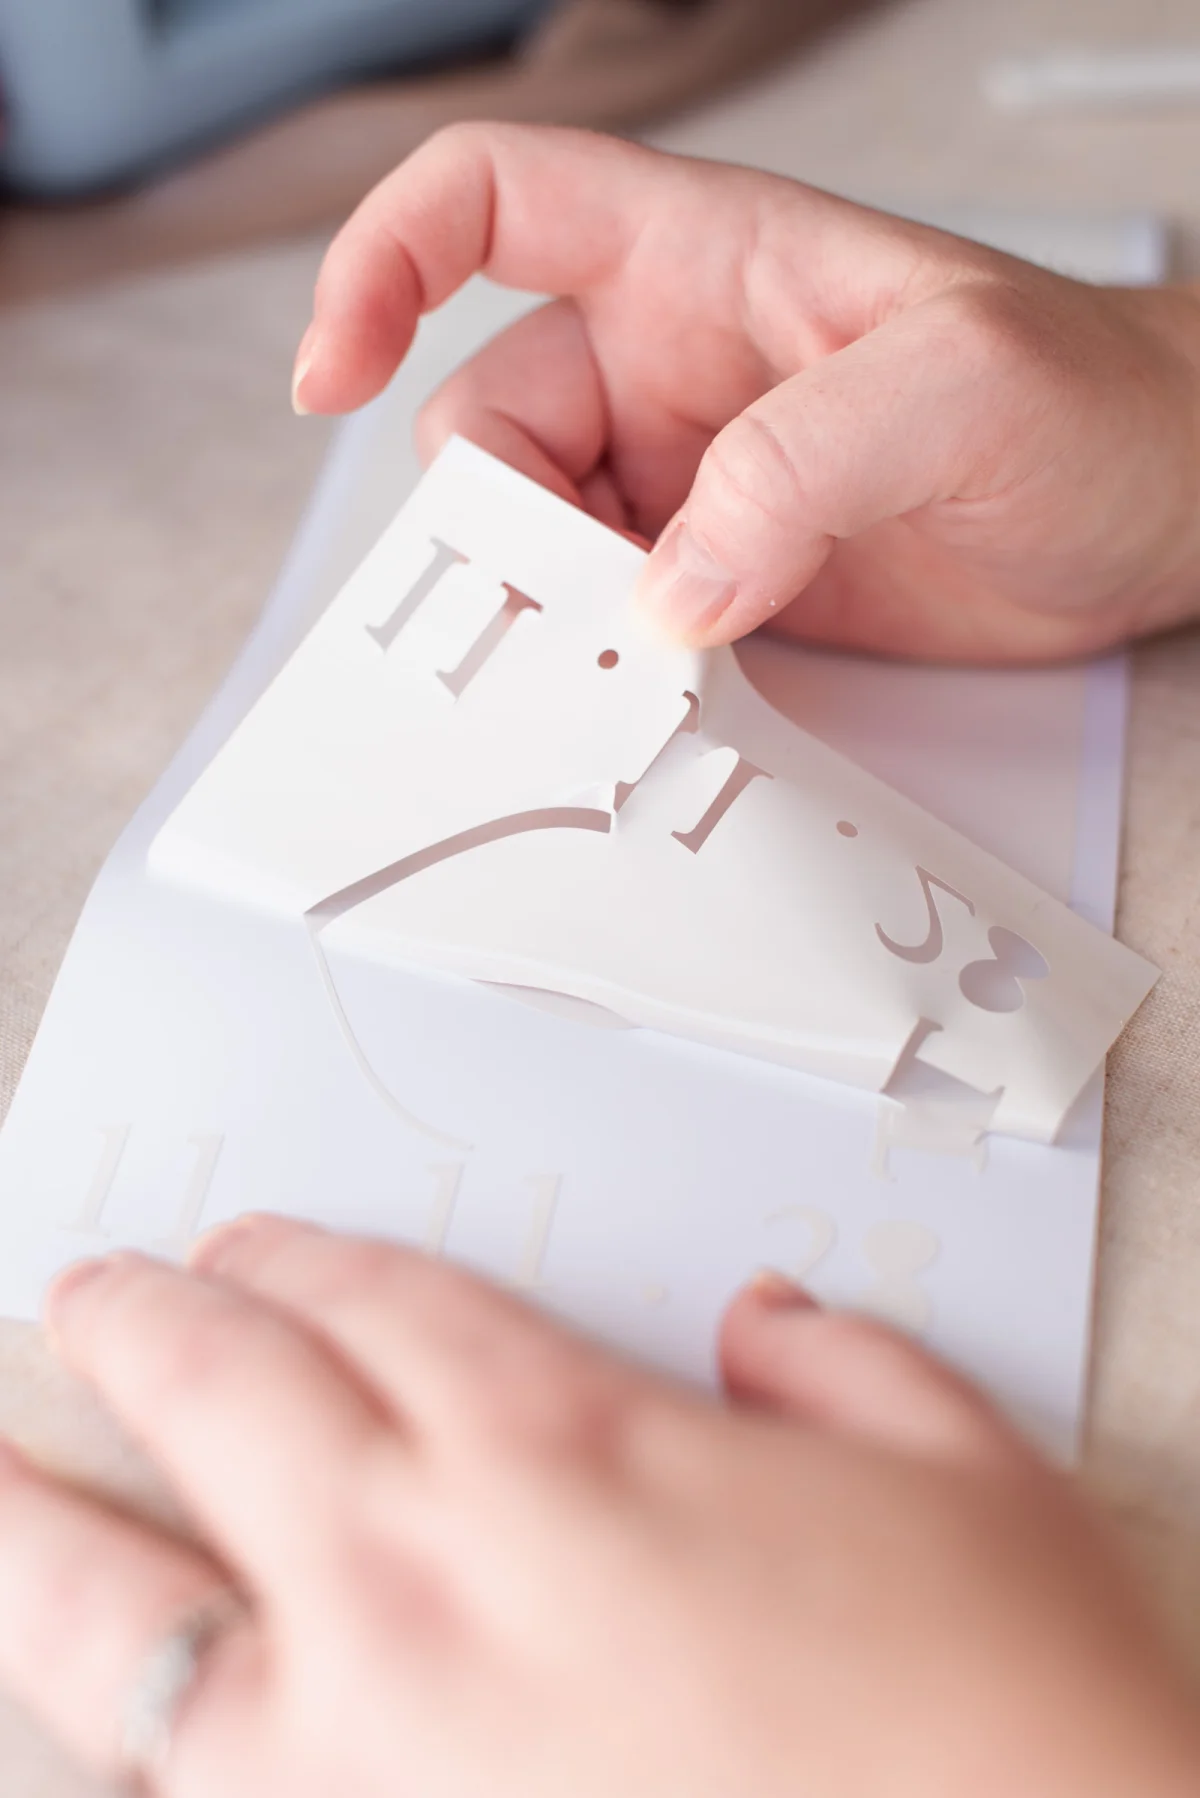
- Cut and Weed Your Vinyl: Once the cutting is complete, unload the Smart Vinyl. Weed out the excess vinyl before sectioning your design into manageable pieces.
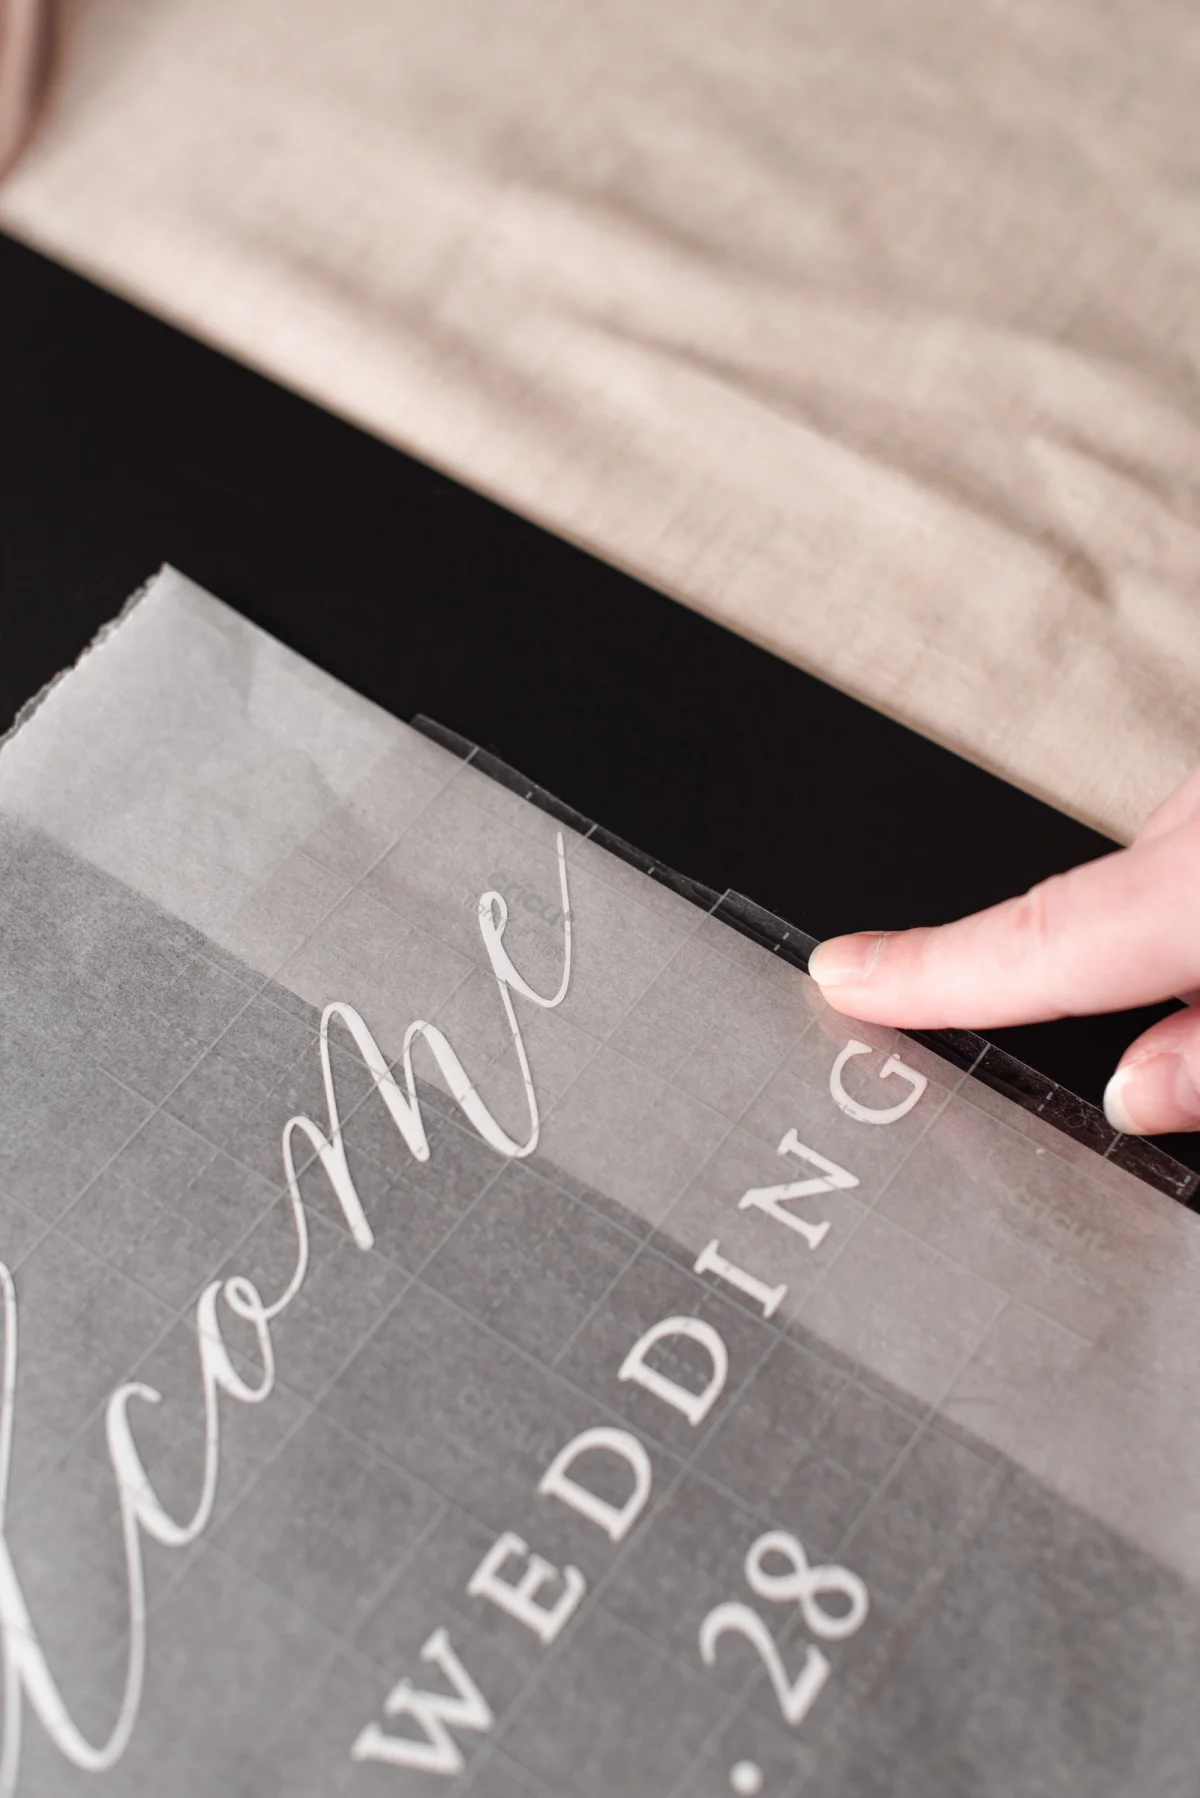
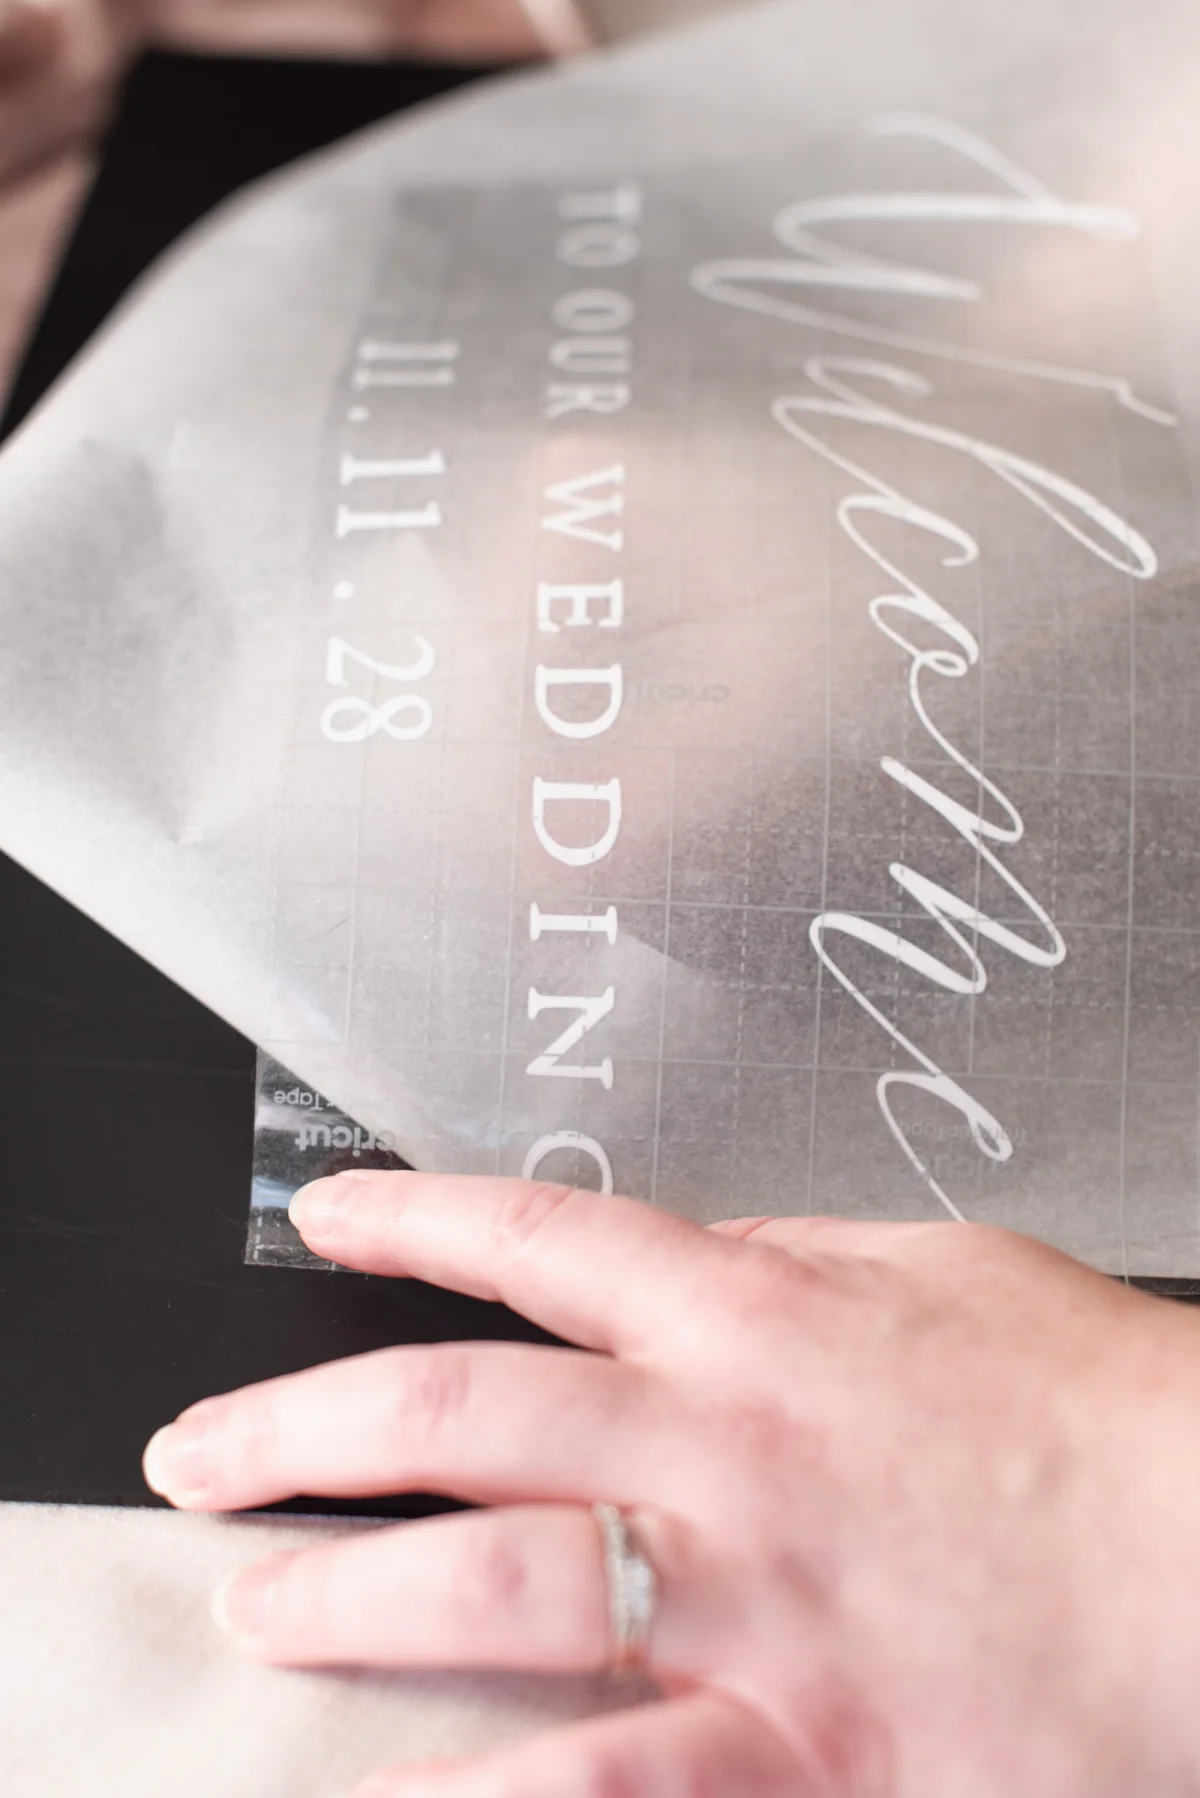
- Apply Transfer Tape: Arrange the cut pieces according to your layout. Use small strips of transfer tape to attach them, making it easier for the next step.
- Utilize the Greaseproof Paper Hack: Lay a sheet of greaseproof paper on your work surface, then position the vinyl on it before applying to your sign to allow for adjustments.
- Adjust Your Vinyl: Position the vinyl on your sign using the greaseproof paper for guidance. Check alignment before permanently affixing it.
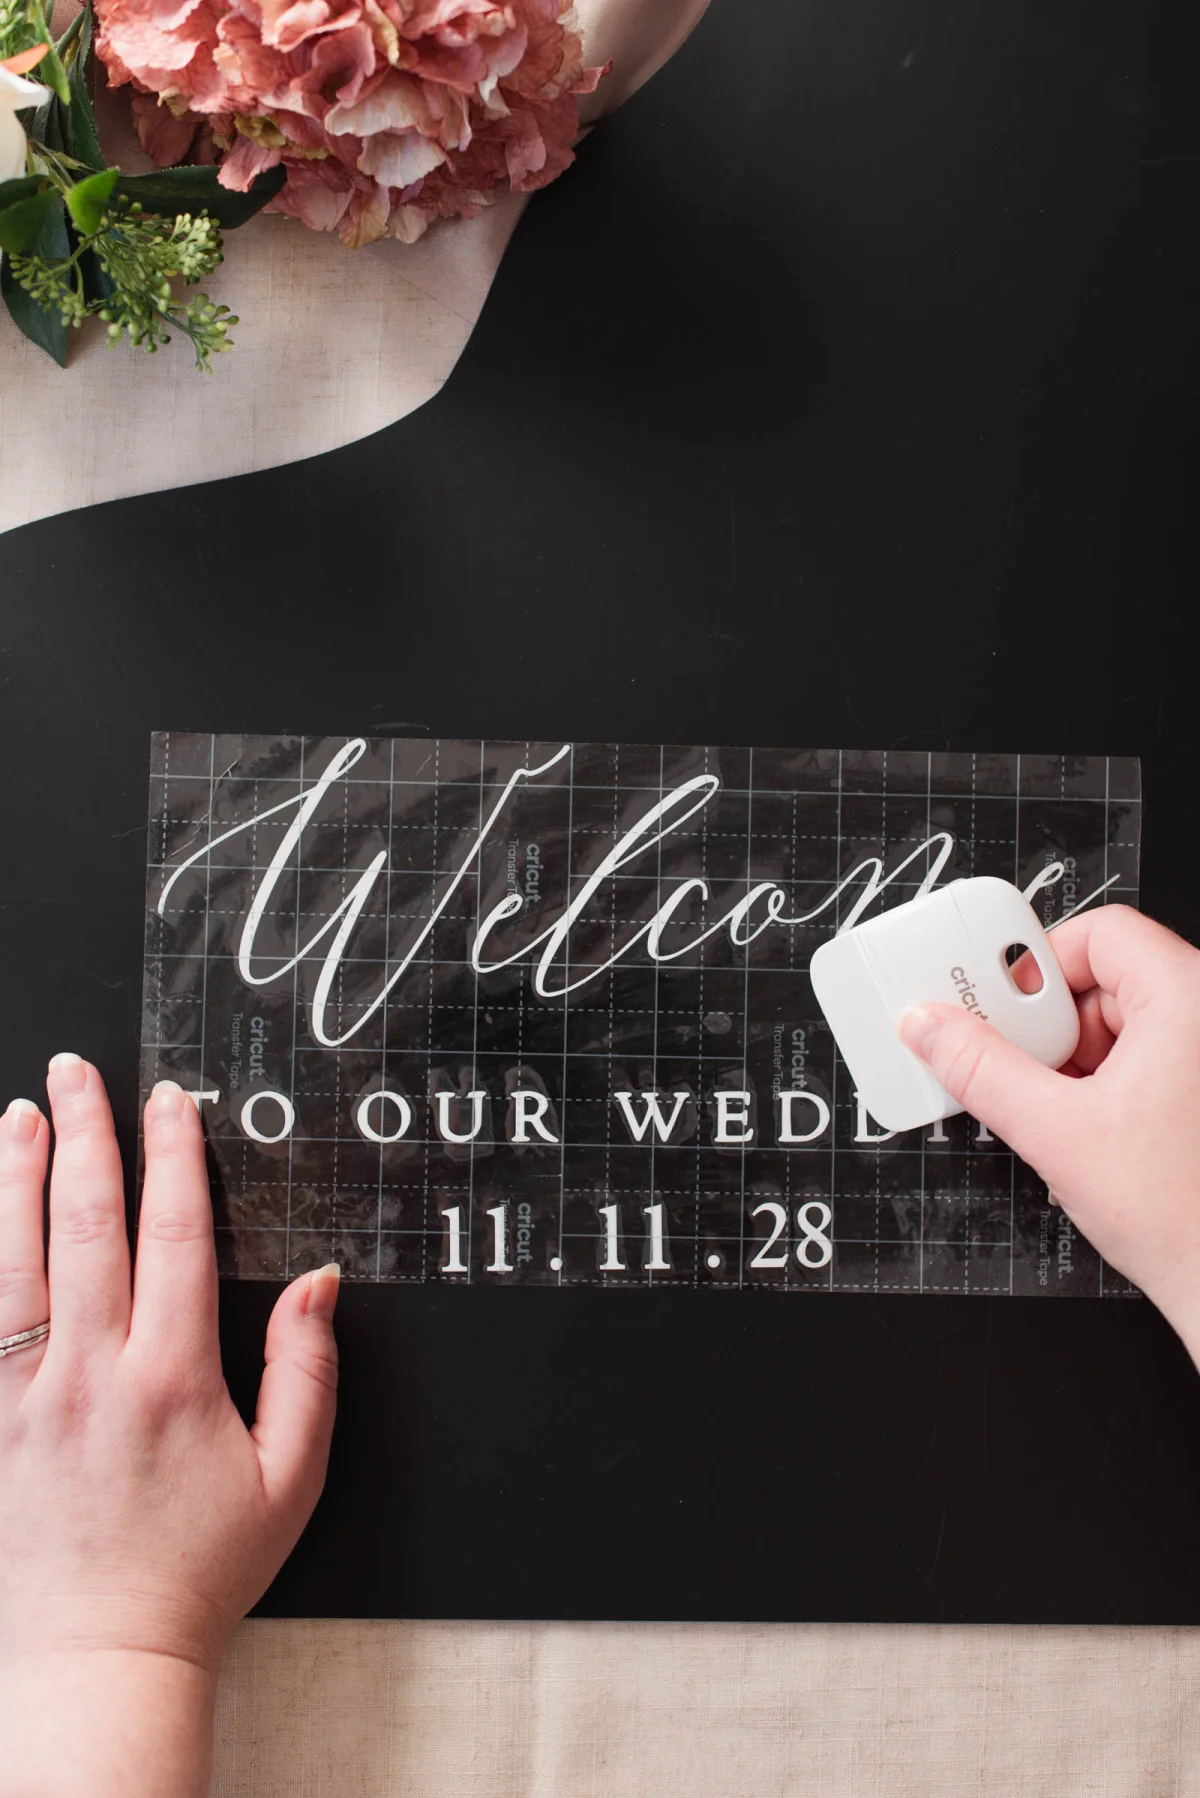
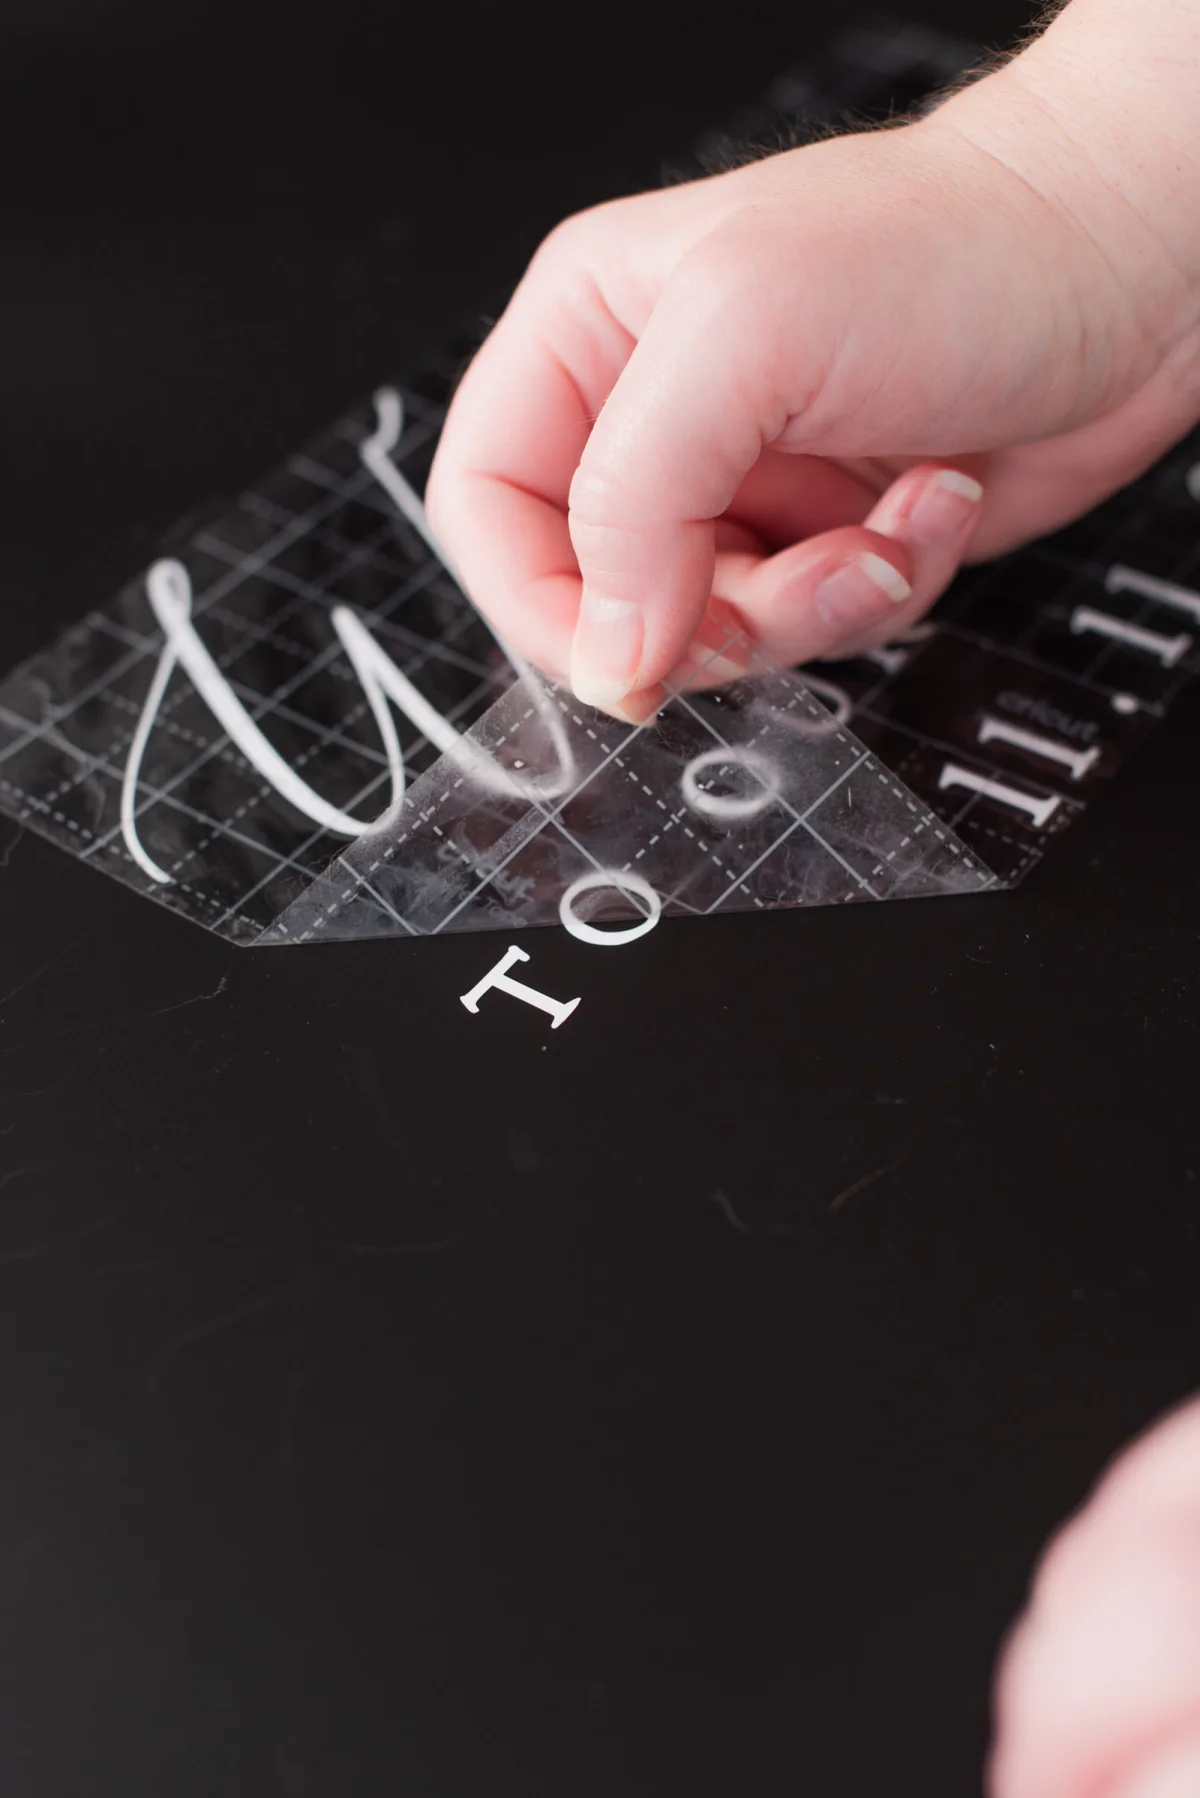
- Apply to Your Sign: Remove the greaseproof paper and apply the transfer tape to your sign. Use your scraper tool to press it down and eliminate any air bubbles.
- Decorate: Finally, arrange faux flowers in your flower box, utilizing foam noodles to keep them in place. Make it match your wedding theme for a finished look.
Addressing Common FAQs Regarding Cricut Joy Wedding Projects
How do I slice a design in Design Space if my images are too wide for the Cricut Joy?
You can slice designs using the Slice Tool by adding a rectangular shape to your Canvas, adjusting its size to match your cutting mat, and slicing your large design into segments that can be cut and reassembled on your sign.
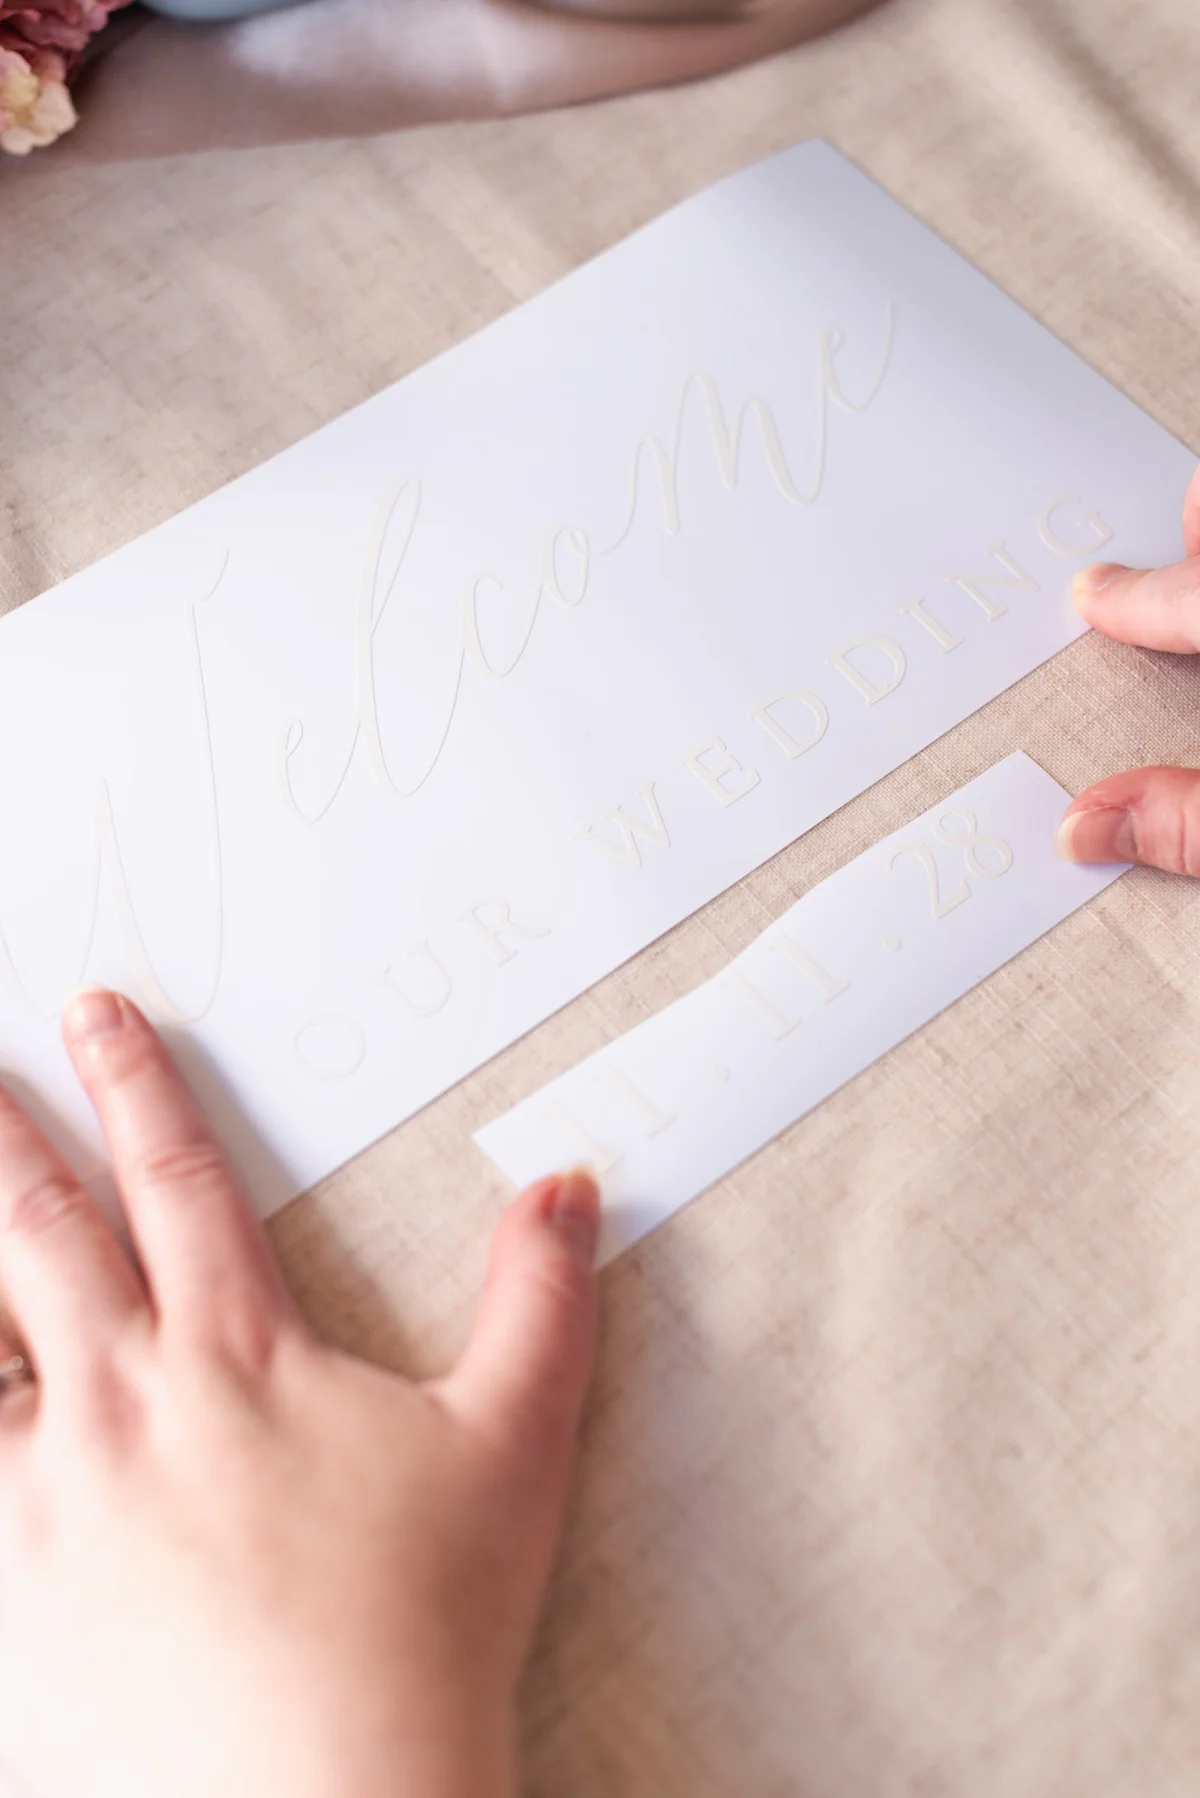
Alternatively, use Bearly Arts' free "Off the Mat" tool for simplifying the process of slicing large SVG files for your Cricut Joy.
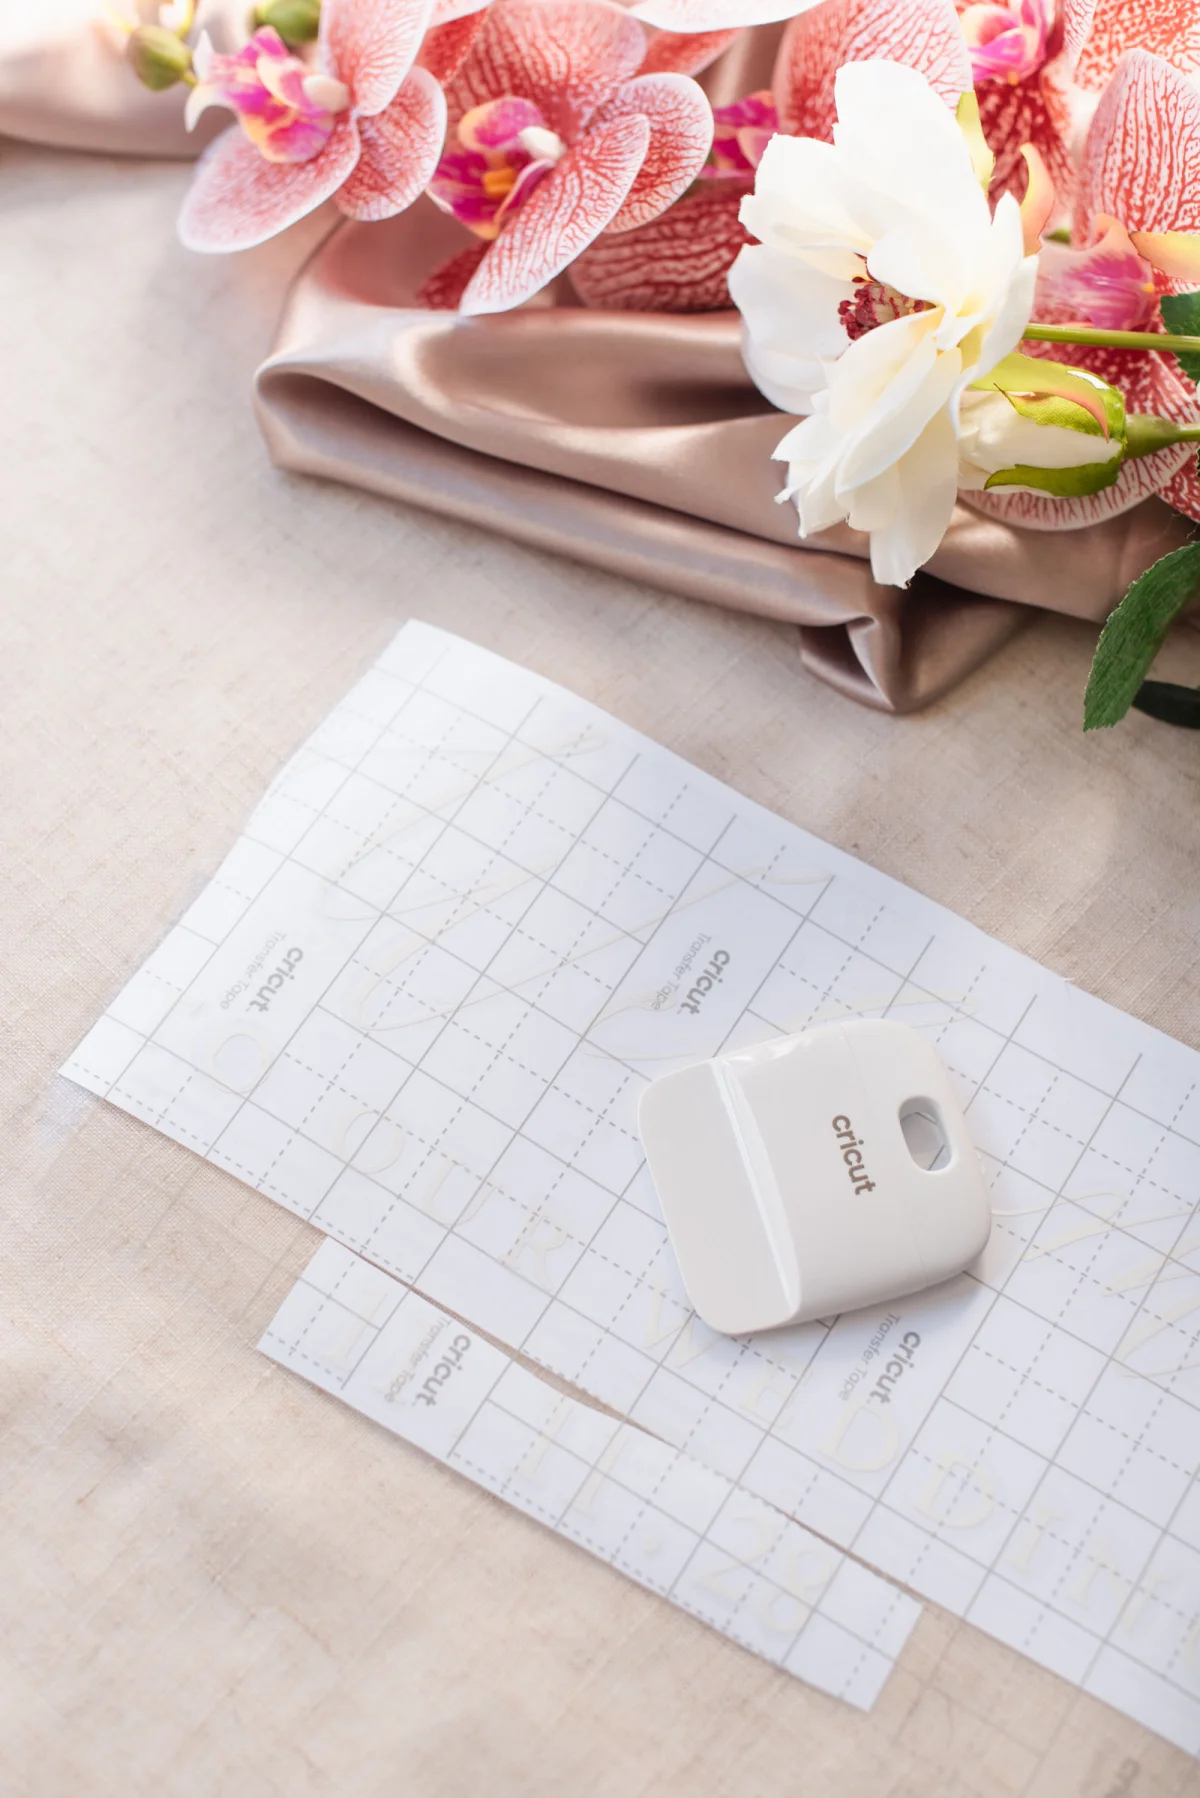
How do I ensure my vinyl text is straight while applying it to a large sign?
Utilize painter's tape and a ruler for precise alignment, or apply the greaseproof paper technique for easy adjustments to achieve straight placement.
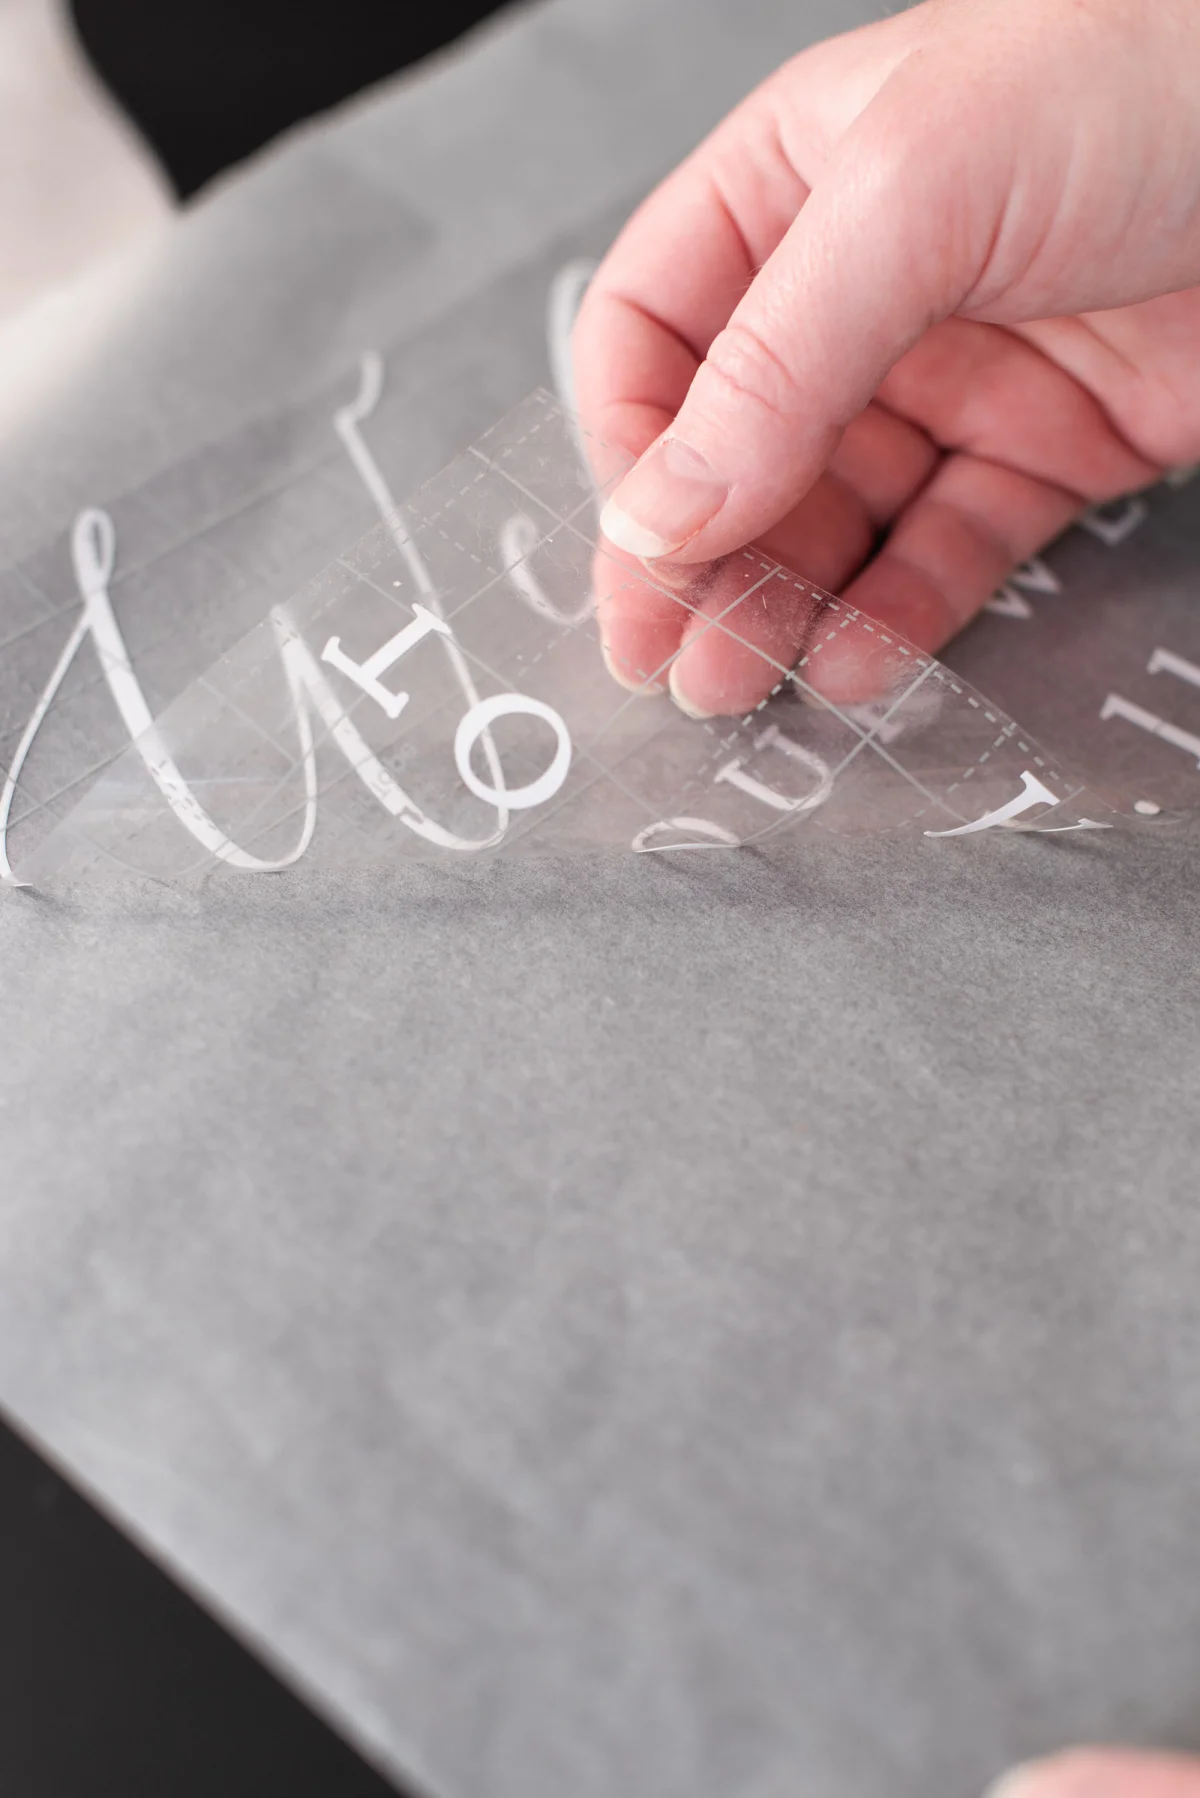
What’s the best method to avoid bubbles while applying vinyl?
Always apply your vinyl starting from one side and moving across to minimize bubbles. Use a scraper tool to smooth out imperfections as you go.
Creating Handmade Magic for Your Wedding
In just a few steps, you can turn a simple flower box into an elegant DIY welcome sign, enhancing the beauty of your wedding with personalized touches. With the Cricut Joy 2, Smart Vinyl, and a little creativity, your wedding decor can become a meaningful reflection of your style.
For additional DIY projects and ideas to elevate your celebration, feel free to explore our other Cricut wedding tutorials!

BY
Chelsea Barton
Founder & Wedding DIY Expert
Chelsea is a former wedding photographer and founder of Tidewater and Tulle, providing couples with ideas and guidance to make their wedding vision a reality since 2009.
Credits:
Photography and Video: Chelsea Barton | Products: Craft Market